Resource Rates
A Resource Rate an be set should one or indeed a team of your resources have their own indicative rate. For example, there are many levels of resources within a project such as ‘Developer’ and subsequently ‘Senior Developer’ all of which will contain various salary scales. By setting a Resource Rate allows you to keep track of their rates with accordance to your scheduling and budget spend.
You can apply a Resource Rate from your Billing Rate Card that you may have set up previously or customize one by adding a new rate. Utilized separately for both External and Internal capacities you also have the ability to select a range of dates to apply your desired resource rate with a number of alternatives to customize the stating / finishing date or simply no date range. The Resource Rate will override the rate for any project rate allocated. To manage the rates of a resource you need to navigate to the resources profile and click on Rates Management. Your options will include the following:
- External Resource Rate – Apply an existing rate from your Billing Rate Card
- Add New External Rate – Create a new customized rate for a resource to bill externally / Apply an existing rate for a particular booking or date range
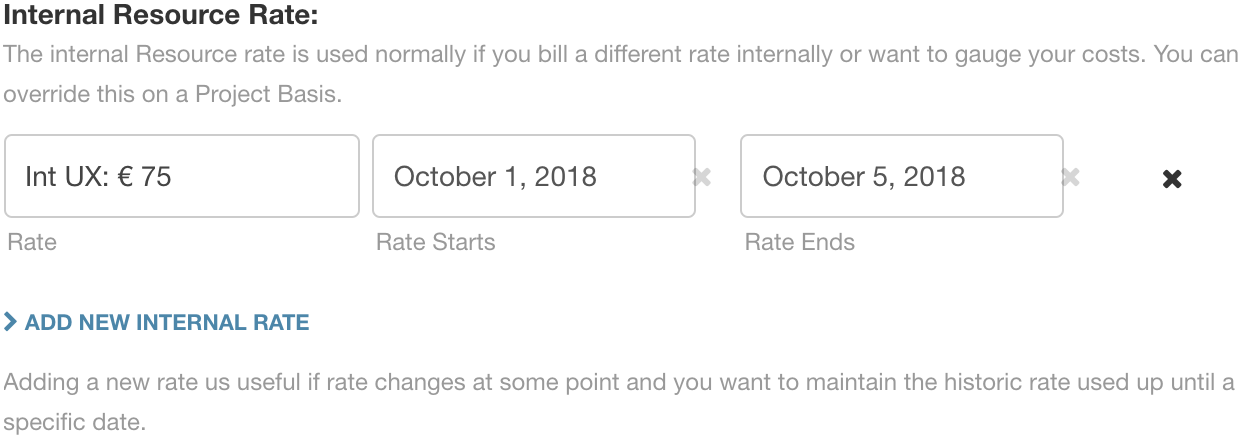
- Internal Resource Rate – Apply an existing rate from your Billing Rate Card
- Add New Internal Rate – Create a new customized rate for a resource to bill internally / Apply an existing rate for a particular booking or date range
How to Apply A Resource Rate
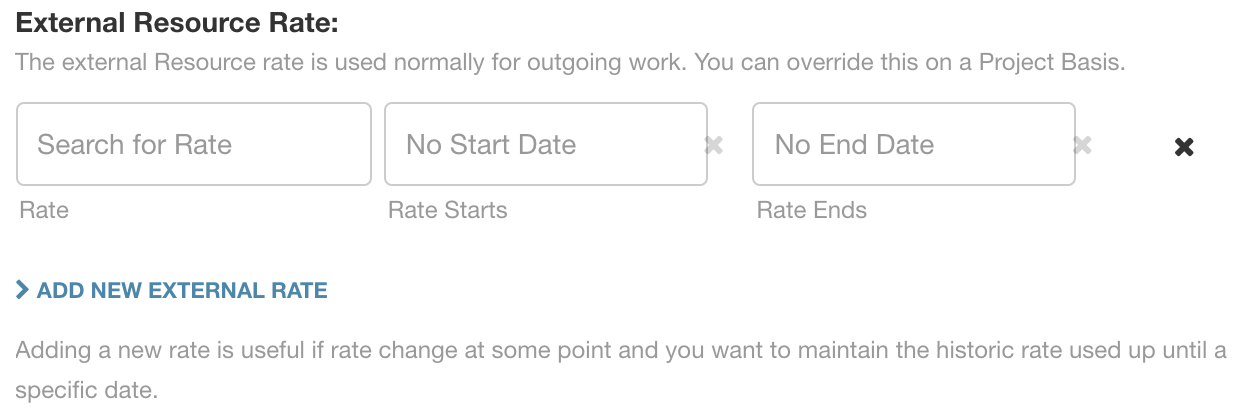
To apply an external or internal resource rate, simply click on the first tab ‘Search for Rate’. A drop down list will appear with the rates that are existing in your Billing Rate Card . You can select a rate from here or scroll on down to ‘Add New Internal Rate’ to create a customized rate. The rate selected will be the external and internal billing rates respectively that will appear in your Billing Panel.
Defaulted to no start and no end date you have the option to select a date range for the resource rate to apply. Alternatively you can also set a start date and leave an end date open and visa versa. For example a specific booking or project. The Resource rate can be overridden at project level. Click ‘Update’ and the bottom of the page to apply.
Resource Rates will act as a default rate for all projects unless a Project/Booking Rate is applied. Should you utilize applying rates for budgetary requirements, it would be imperative for you to apply an ‘Internal Rate’ to ensure coincide with the ‘External Rate’.
Lastly, you must confirm by clicking on the green ‘Update’ button or alternatively click Cancel to delete any changes.
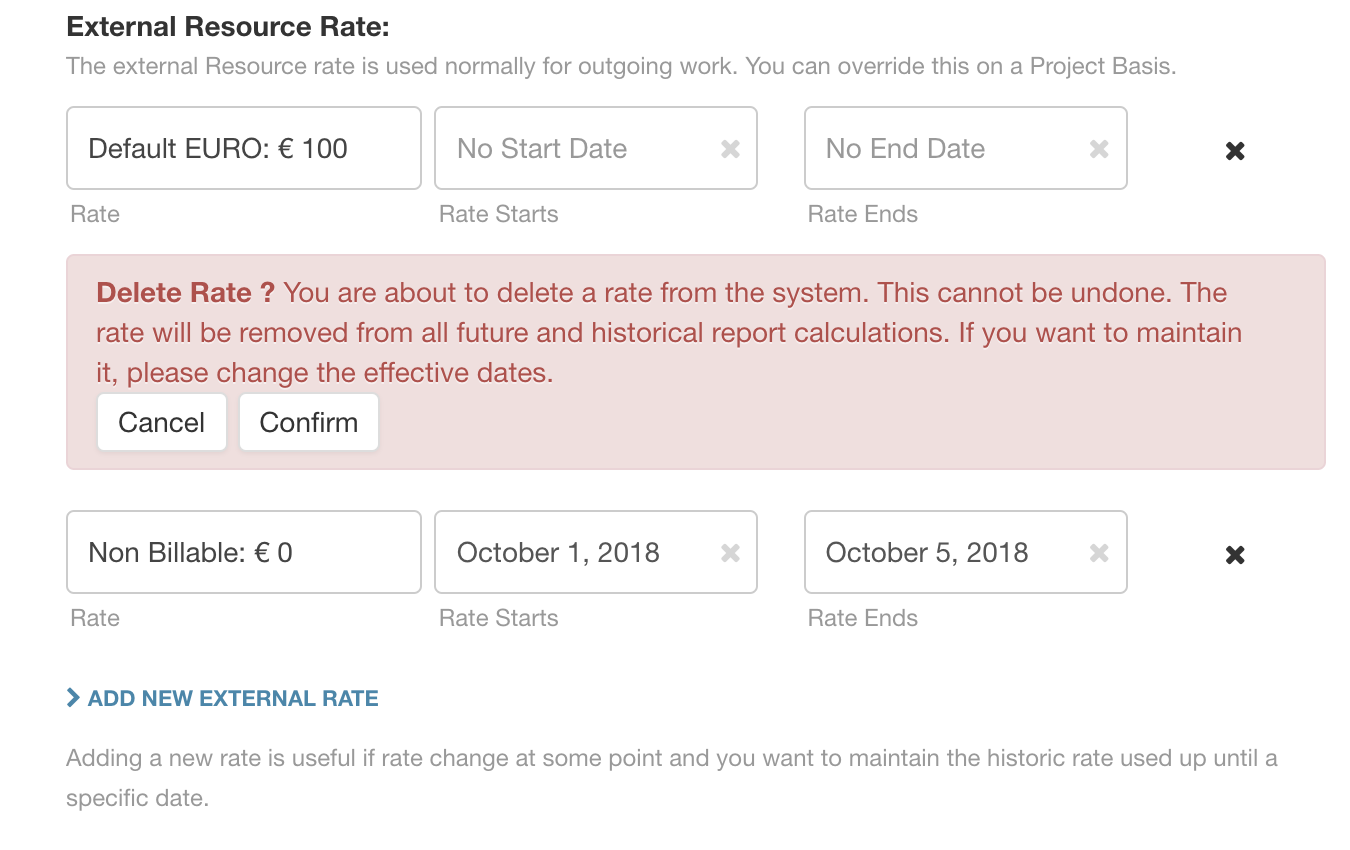
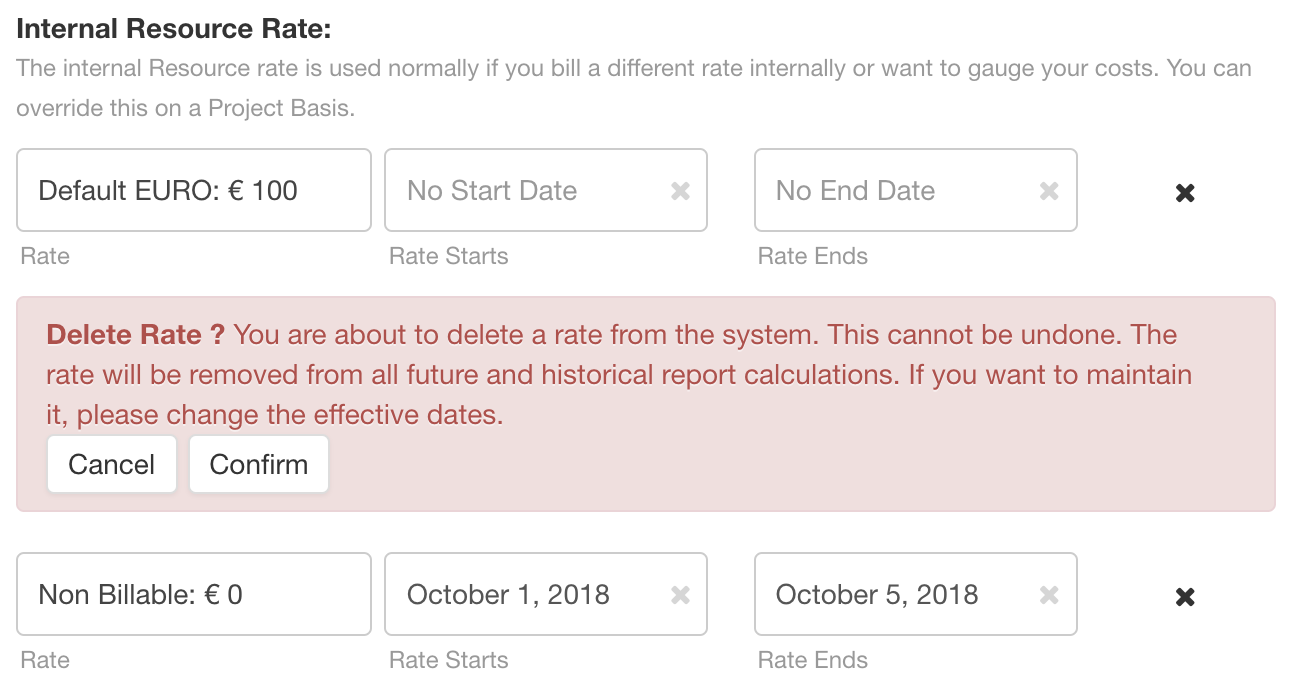
Remove Resource Rates
And again, not forgetting you can delete an applied resource rate at this point should you need to. Alternatively you can manage your rates via the Billing Rate Card in Settings.
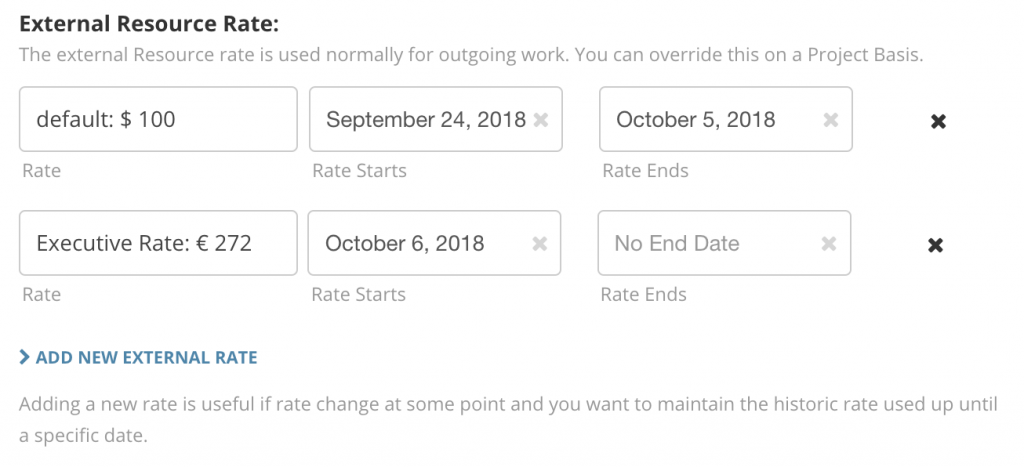
Preserving and Changing Resource Rates
You can add new resource rates on projects if they change. This allows you to change the rate of a resource during a project without losing the historical information on the legacy rate. This can be useful if you change what you are billing a customer in the middle of a project, or if a resource or freelancer now change their rate, you can accommodate the change seamlessly.
These rates can be applied externally, internally or indeed both. Therefore, for example should you need to amend the rate solely on the internal side without exposure on the external side then that can be solved immediately. You can instruct as many rates as required, however just to note that no rates can overlap by date range. You can also remove resource rates should you require to do so at this point.
All rates created will be stored permanently within your Billing Rate Card for future use. It’s good to note here that these will be the overriding rates giving priority over any other rates applied or defaulted to the project or resource. This rate will act as the External and Internal billing rate that will appear in your Billing Panel view.
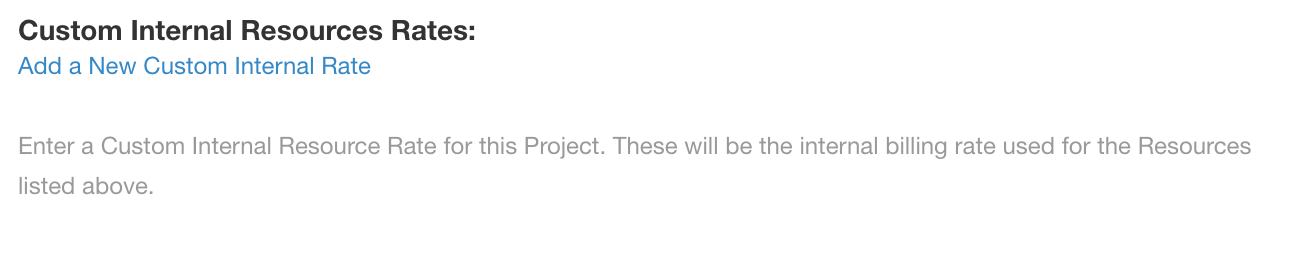
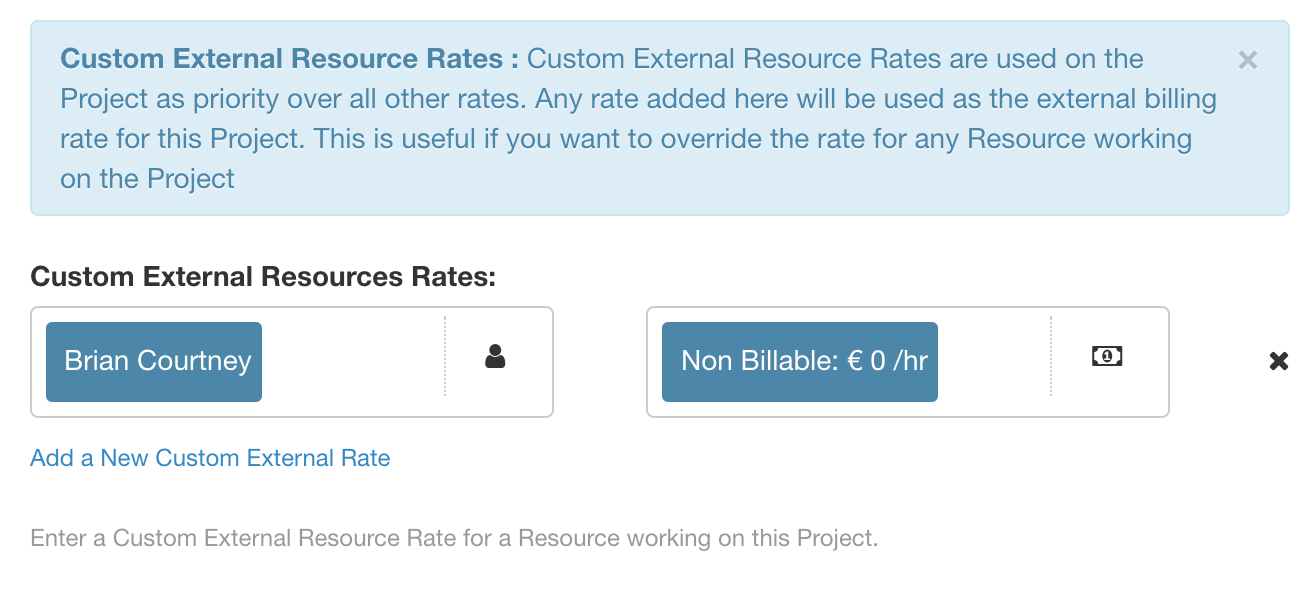
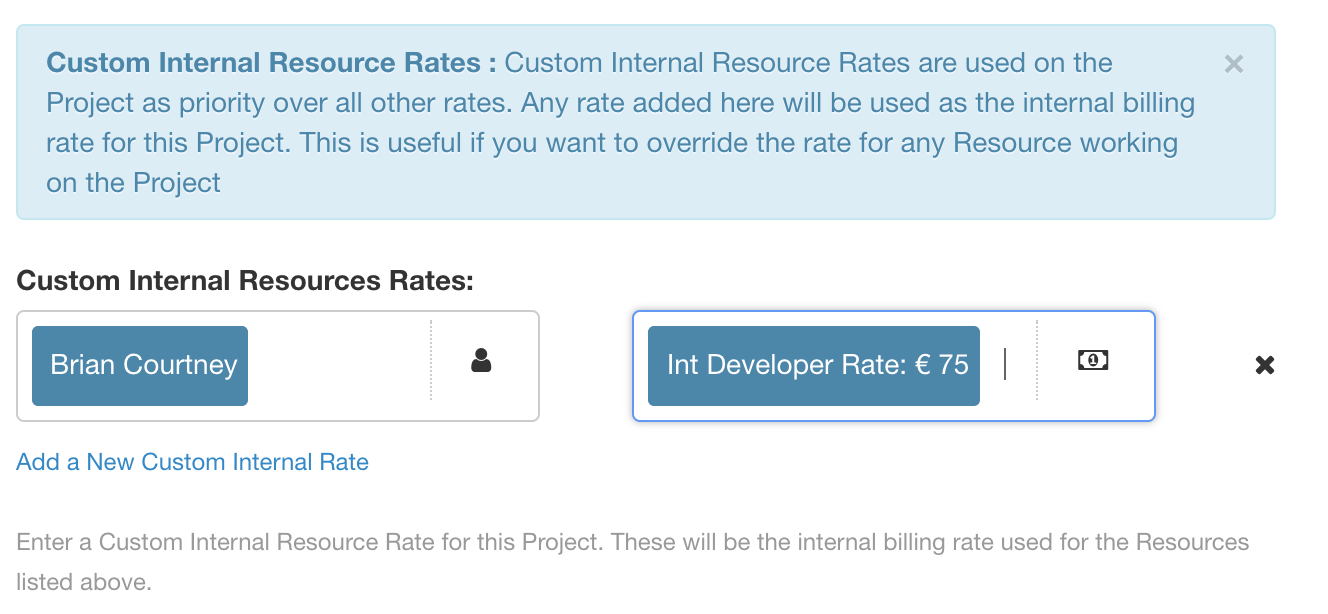
Add New Resource Rate
At this point you also have the ability to create a new rate for a particular resource or indeed a number of resources that are working on this project.
To apply, simply click ‘Add a New Custom External Rate’ / ‘Add a New Custom Internal Rate’. Two tabs will appear for you to select your resource from the drop down list followed by your desired rate. You can add multiple resources and multiple rates, and just to note this rate will override any project rates set out above. Also, not forgetting you can always manage these rates accordingly from this page or by editing the individual resource.

Rate Reports
Reporting is imperative throughout resource scheduling and now you have the ability to provide reports from a billing and forecasting perspective to include scheduled verses actual.
By including Internal and External rates you can now provide vital data from a budgeting point of view as well as identify any area specifics that are highlighted. For example, you may see that there is more time allocated than necessary to UI and Bug Fixing needs more resource time. Another example could be that you pinpoint an increase in budget spend for Delivery, where you have identified Sprint Planning could use more. Either way, these reports can provide vital information of resources to create a more efficient planning process. Not only that, these reports reflect the real time providing even further benefits to your resource scheduling.
How to access
To access the reporting for Billing Rate, select the Settings tab on the top right hand side of the interface. Scroll to Billing & Forecasting on the left hand sidebar. Here you will see a number of reports that can assist you in reviewing data in a real time manner. There are 5 reports under the umbrella of Billing & Forecasting which lead into three reports by External Rate, Internal Rate and Scheduled Profit:
-
Scheduled Project Spend
-
Actual Project Spend
-
Scheduled vs Actual Spend
-
Actual Resource Capacity
-
Scheduled Resource Spend
When you have selected a report, you then have the option to choose a specific project which can be filtered or navigated to by filter.
Choosing Date Range
Your next step is to identify the range of dates you wish to view the report by. You have been given multiple options within a smart pop up interface. Options include the entire project duration, or perhaps you wish to view what’s happening next week or indeed what happened last week. This intuitive pop up covers all options from quarterly view to the next six months. If that is not enough, you also have the ability to create a custom range of dates to reflect your desired report.
Filters
Underneath Project Range you will see ‘Filters’ which has an extensive drop down listing of features that you can filter your report by. From Resources, projects, tags, budget and custom fields – there is an abundance to select from.
Reporting Panel
Once you have selected your date range, your report panel displays a multiple choice of filters and options which include the following:

Your Content Goes Here
| Type | Details |
|---|---|
| Project Report Name | Name of your project or report name |
| Project Range | Displays your report date range which you can alter by clicking once where the pop up date range interface appears. Simply pick and choose a desired date and your report will automatically update. |
| Days / Hours | Moving to the top right hand side of the panel the report is defaulted to Days. With the click of a mouse you can change to hours. |
| Expand / Collapse | You have 3 options to choose from. The report shows more details as you expand |
| The Print icon allows you to print the report or perhaps save as a PDF file etc. | |
| Invoice | This clever panel also allows you to generate an invoice based on the information you have selected. |
| Save | Naturally, there is an option to save your report. A pop out allows you to create a name for the specific report and also apply visible access rights to the report. |
| Export | An extensive range of exporting options available to you from Excel to CSV but also down to the finite details of specific headers and totals. |
| Help |
Lastly, on the right hand side of the panel you will see a Help Guide which can take you on a tour to create dynamic and customized reports
|
Report Data
Depending on the report chosen, the report headers will vary but will include subsequent data such as the following example for Scheduled Project Spend > Scheduled Profit.
![]()
How Billing Rates are Determined
The following table displays the hierarchy of the billing rates and how they are used in the system. The same hierarchy applies to both Internal and External rates.
| Type | Rate Type | Scheduled Time | Actual Time |
|---|---|---|---|
| 1 | Booking rate | Yes | No |
| 2 | Custom Resource Rate on Project | Yes | Yes |
| 3 | Resource Rate | Yes | Yes |
| 4 | Project Rate | Yes | Yes |