In this article we will take you through step by step instructions of setting up Okta SSO (Single Sign On) with Hub Planner.
Add Hub Planner to Okta SSO
A direct link to adding Hub Planner: Integrating Hub Planner
- Login to Okta
- Admin Console
- Applications
- Applications
- Add Applications
- Create New App
- Platform = Web
- Sign on method = SAML 2.0
Configure Hub Planner in Okta to activate SAML SSO
- Login to Okta
- Admin Console
- Hub Planner App ‘General’ tab
- Company ID: Paste your Hub Planner URL
- Save
- SSO tab
- Ensure SAML 2.0 is ticked
- Login: Enter your login URL for Hub Planner
For more help: Integrating Okta with Hub Planner
Configure Hub Planner
- Settings
- System Settings
- Authentication
- SSO
- SAML 2.0 – Paste from Login URL in Okta
- Identity Provider Issuer – Paste from Okta Identifier
- Upload Base 64 Certificate from computer to X.509 certificate field
- Click ‘Save’ within Hub Planner – now it is possible to log in only with SSO (Account Owner will be able to log in with SSO,
password & Google)

What happens now that I’ve activated SSO?
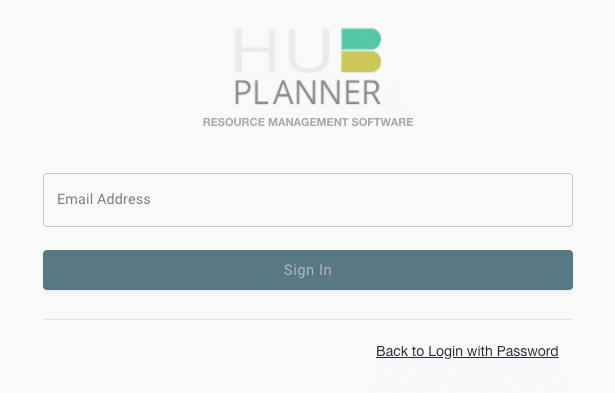
Login without Okta
- Enter email address
- A pop up will appear for you to choose your Okta account
Save domain for faster access
Save your Hub Planner URL as a bookmark. Once you do, this will then take you directly through to your homepage. Meaning you don’t have to enter in your email address.