Booking Rates
Booking Rates – Applying a rate externally or internally to a particular scheduled booking which will override Project and Resource Rates
Once you have made a selection or a booking you have the ability to define a customized rates for the particular project booking. Again, this can be allocated both externally and internally. These rates will override any inherited rates that may have been applied at ‘Resource Rate’ or indeed ‘Project Rate’ level. Users will find this particularly useful should you need to bill a certain part of the project separately, or perhaps you need to provide ‘Non Billable work’ for a booking.
Non billable work which is an essential business expense reversed and perhaps a hidden value to some. Now you have the ability to track non billable hours through the Billing Rates extension thus providing imperative feedback. The sheer volume of information of where your non billable hours are going can indeed assist in helping you to efficiently strategize going forward and create a ‘best practice’ of resource scheduling. There are many examples of how non billable hours can be generated such as; networking, client pitches, employee development and of course admin duties. However, by tracking non billable work will help you remove any inefficiencies and in the long run find more billable hours.
As mentioned above in Single Billing Panel, Timesheets which compliments Billing Rates by endorsing Scheduled verses Actual resource time and financials.
How to Apply a Booking Rate
To navigate to the booking rate follow these steps:
- Click the 3 dots of the desired booking.
- Edit
- Edit Booking
- Navigate to second tab entitled ‘Booking Rate’


Here you will see any inherited rates that have been allocated to at a resource or project level.
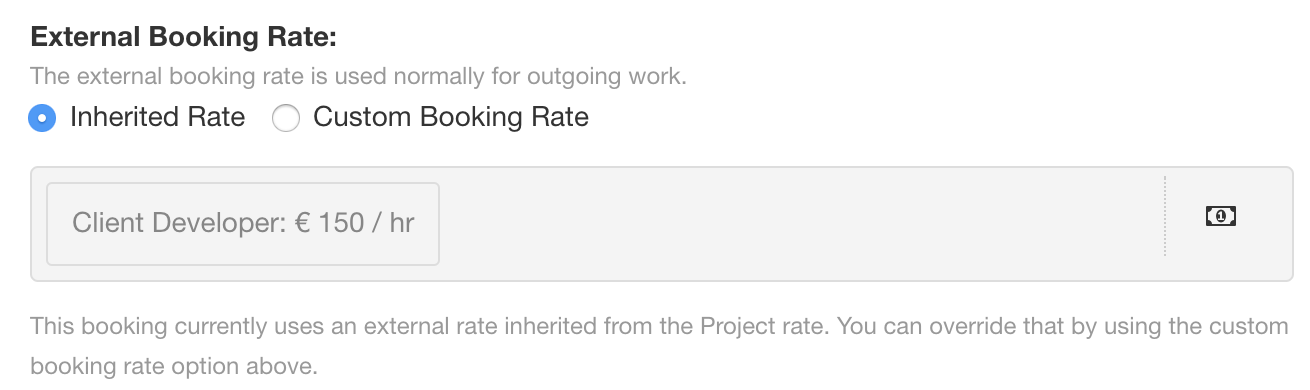
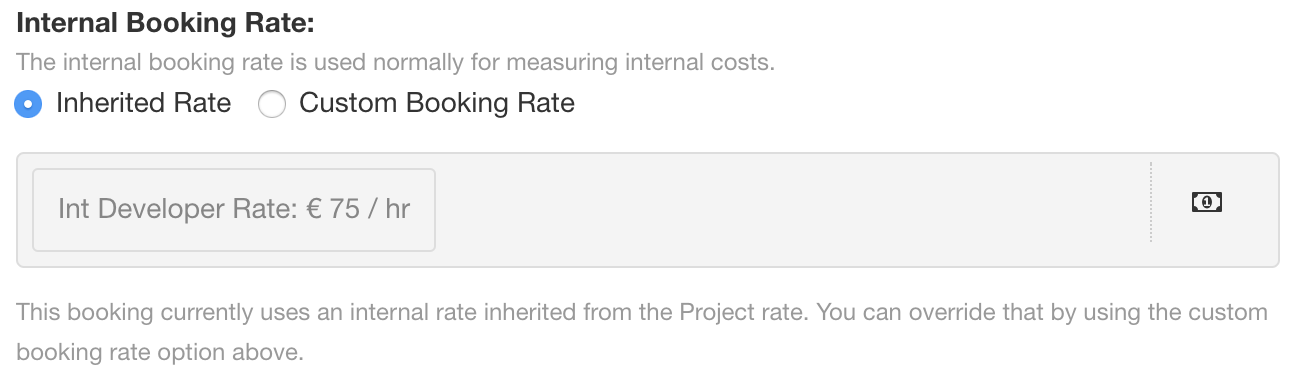
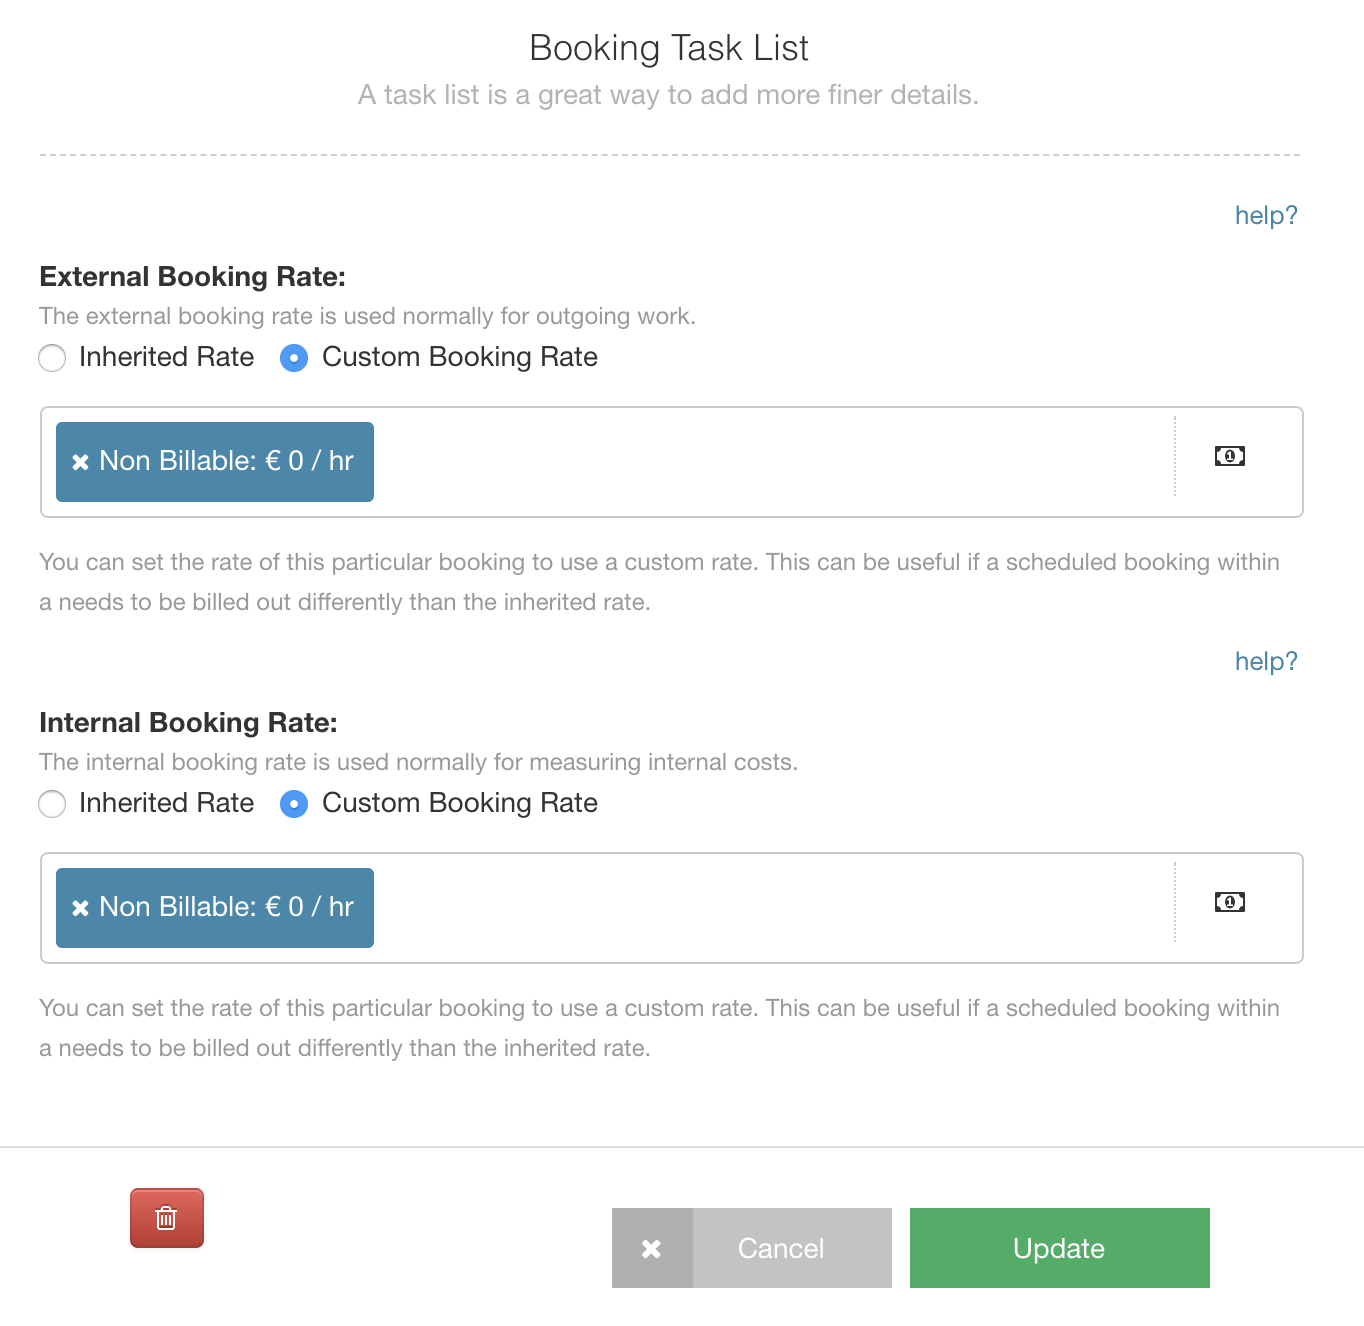
Too amend the inherited rate and apply a different rate to the booking you need to firstly click on ‘Custom Booking Rate’. Should an existing rate exist you can simply delete this by clicking on the ‘X’ of the rate. Next, select from the drop down scrollable listing of rates set in your billing rate card. Or alternatively, add a new rate by selecting the first option.
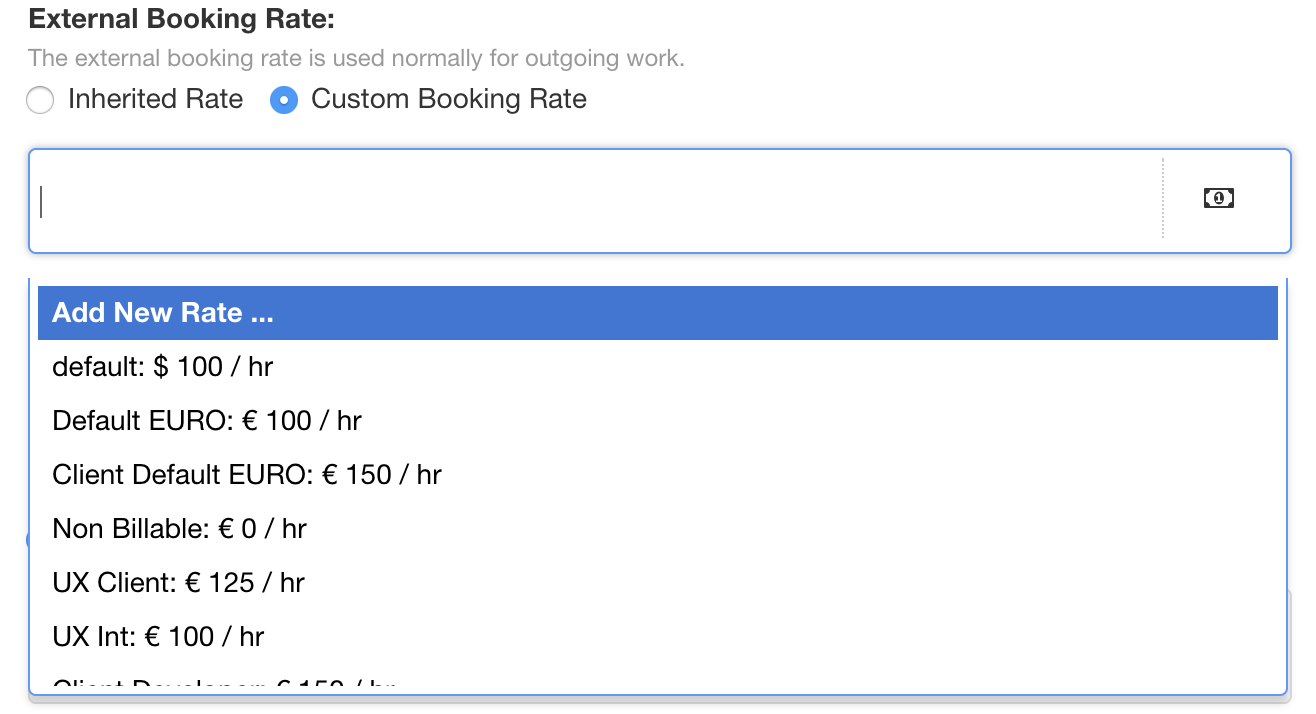
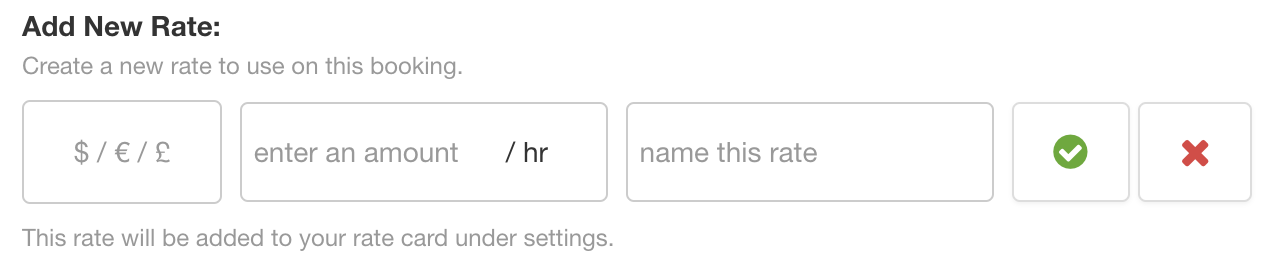
Add New Booking Rate
After selecting ‘Custom Booking Rate’, you have the ability to add a new customised external / internal booking rate by clicking ‘Add New Rate’ the first option from the drop down list. This rate will act as the billing rate and override any other existing rates from a resource or project level. To add a new rate, simply click on your desired currency, apply the rate amount you wish to bill followed by the name you wish to refer to. Lastly, ensure to select the green tick box to confirm or the red X to cancel. Note, see below who rates are determined when it comes to Reported Spend.
Confirm Booking Rates
Click ‘Update’ to apply to the selected booking segment or ‘Update All’ for any repeated bookings within the cycle. You of course have the option to cancel here and it will not save any changes.

Rate Reports
Reporting is imperative throughout resource scheduling and now you have the ability to provide reports from a billing and forecasting perspective to include scheduled verses actuals (reported).
By including Internal and External rates you can now provide vital data from a budgeting point of view as well as identify any area specifics that are highlighted. For example, you may see that there is more time allocated than necessary to ‘UI’ department and the ‘Bug Fixing’ element needs more resource time. Another example could be that you pinpoint an increase in budget spend for ‘Delivery’ stage of the project, where you have identified ‘Sprint Planning’ could use more. Either way, these reports can provide vital information of resources to create a more efficient planning process. Not only that, these reports reflect the real time providing even further benefits to your resource scheduling. Note, further below will explain the hierarchy of how rates are determined in reports and the project billing panel.
How to access
To access the reporting for Billing Rate, select the Settings tab on the top right hand side of the interface. Scroll to Billing & Forecasting on the left hand sidebar. Here you will see a number of reports that can assist you in reviewing data in a real time manner. There are 5 reports under the umbrella of Billing & Forecasting which lead into three reports by External Rate, Internal Rate and Scheduled Profit:
-
Scheduled Project Spend
-
Actual Project Spend
-
Scheduled vs Actual Spend
-
Actual Resource Capacity
-
Scheduled Resource Spend
When you have selected a report, you then have the option to choose a specific project which can be filtered or navigated to by filter.
Choosing Date Range
Your next step is to identify the range of dates you wish to view the report by. You have been given multiple options within a smart pop up interface. Options include the entire project duration, or perhaps you wish to view what’s happening next week or indeed what happened last week. This intuitive pop up covers all options from quarterly view to the next six months. If that is not enough, you also have the ability to create a custom range of dates to reflect your desired report.
How Billing Rates are Determined
The following table displays the hierarchy of the billing rates and how they are used in the system. The same hierarchy applies to both Internal and External rates.
| Order | Rate Type | Scheduled Time | Reported Time |
|---|---|---|---|
| 1 | Booking rate | Yes | No |
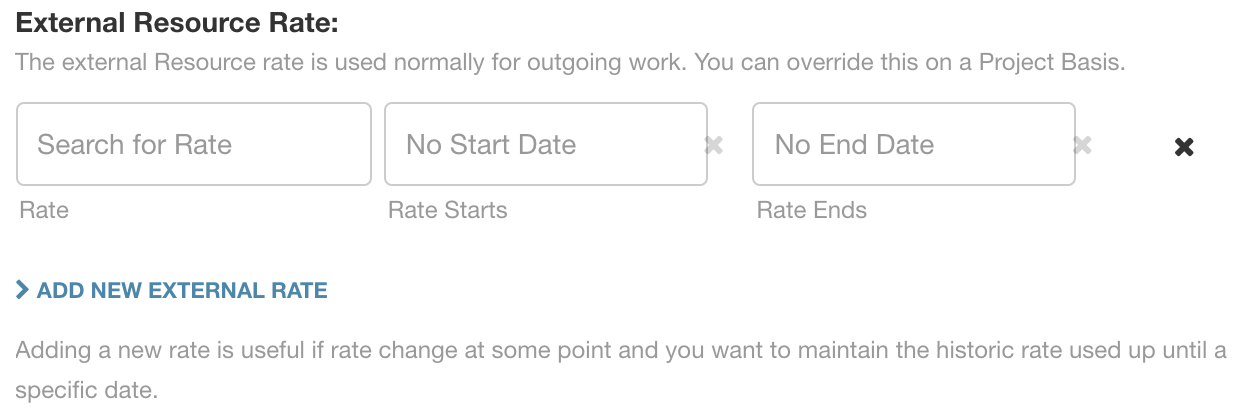
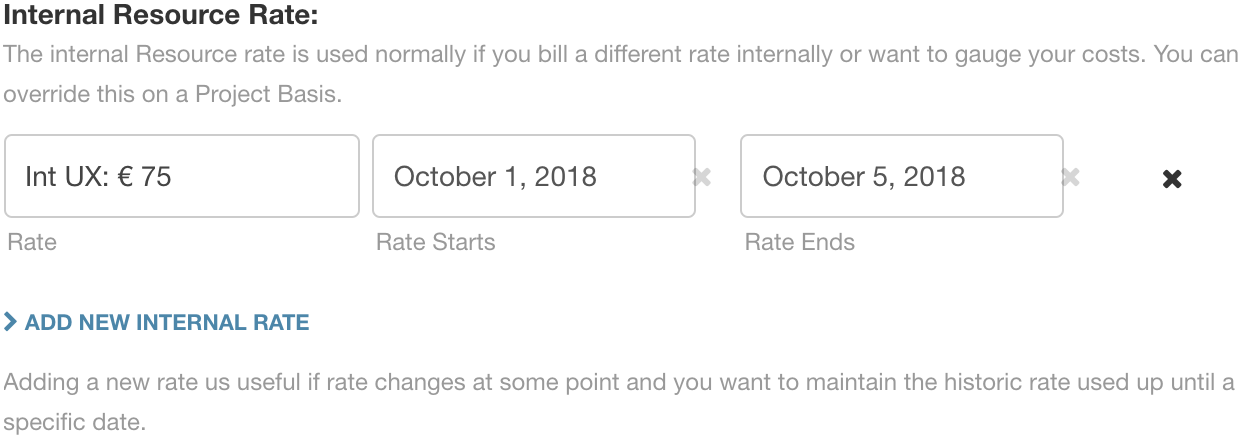
| 2 | Custom Resource Rate on Project | Yes | Yes |
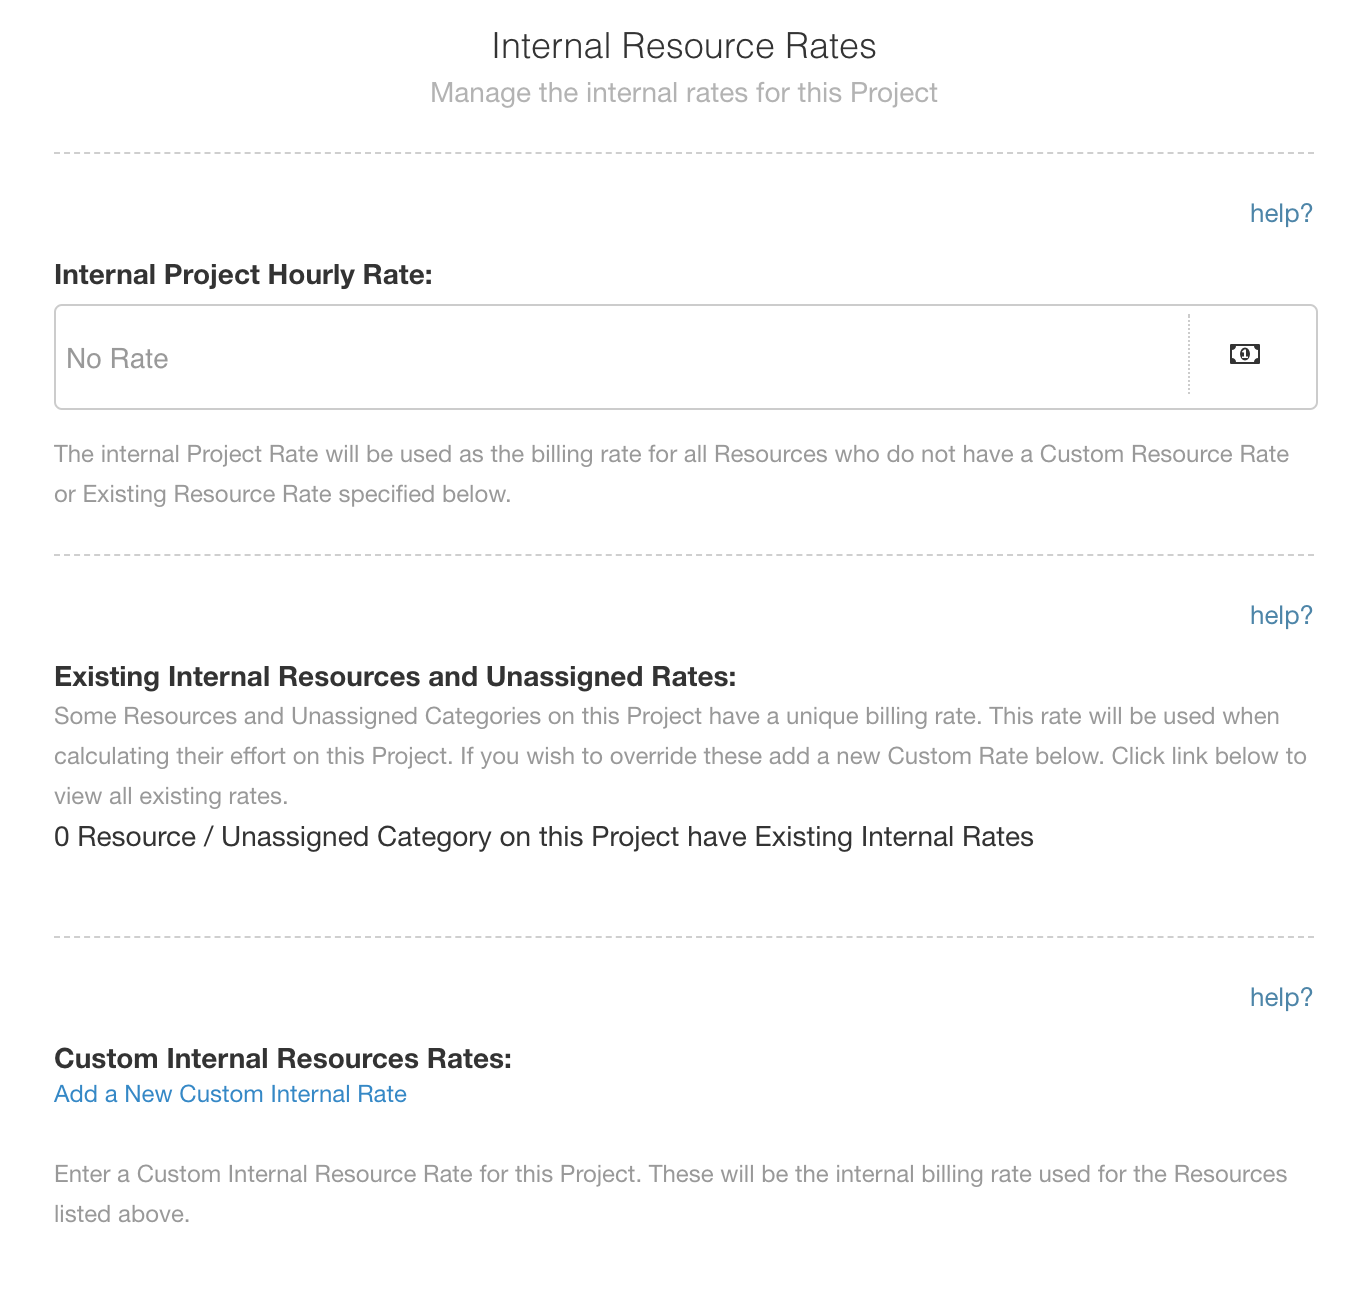
| 3 | Resource Rate | Yes | Yes |
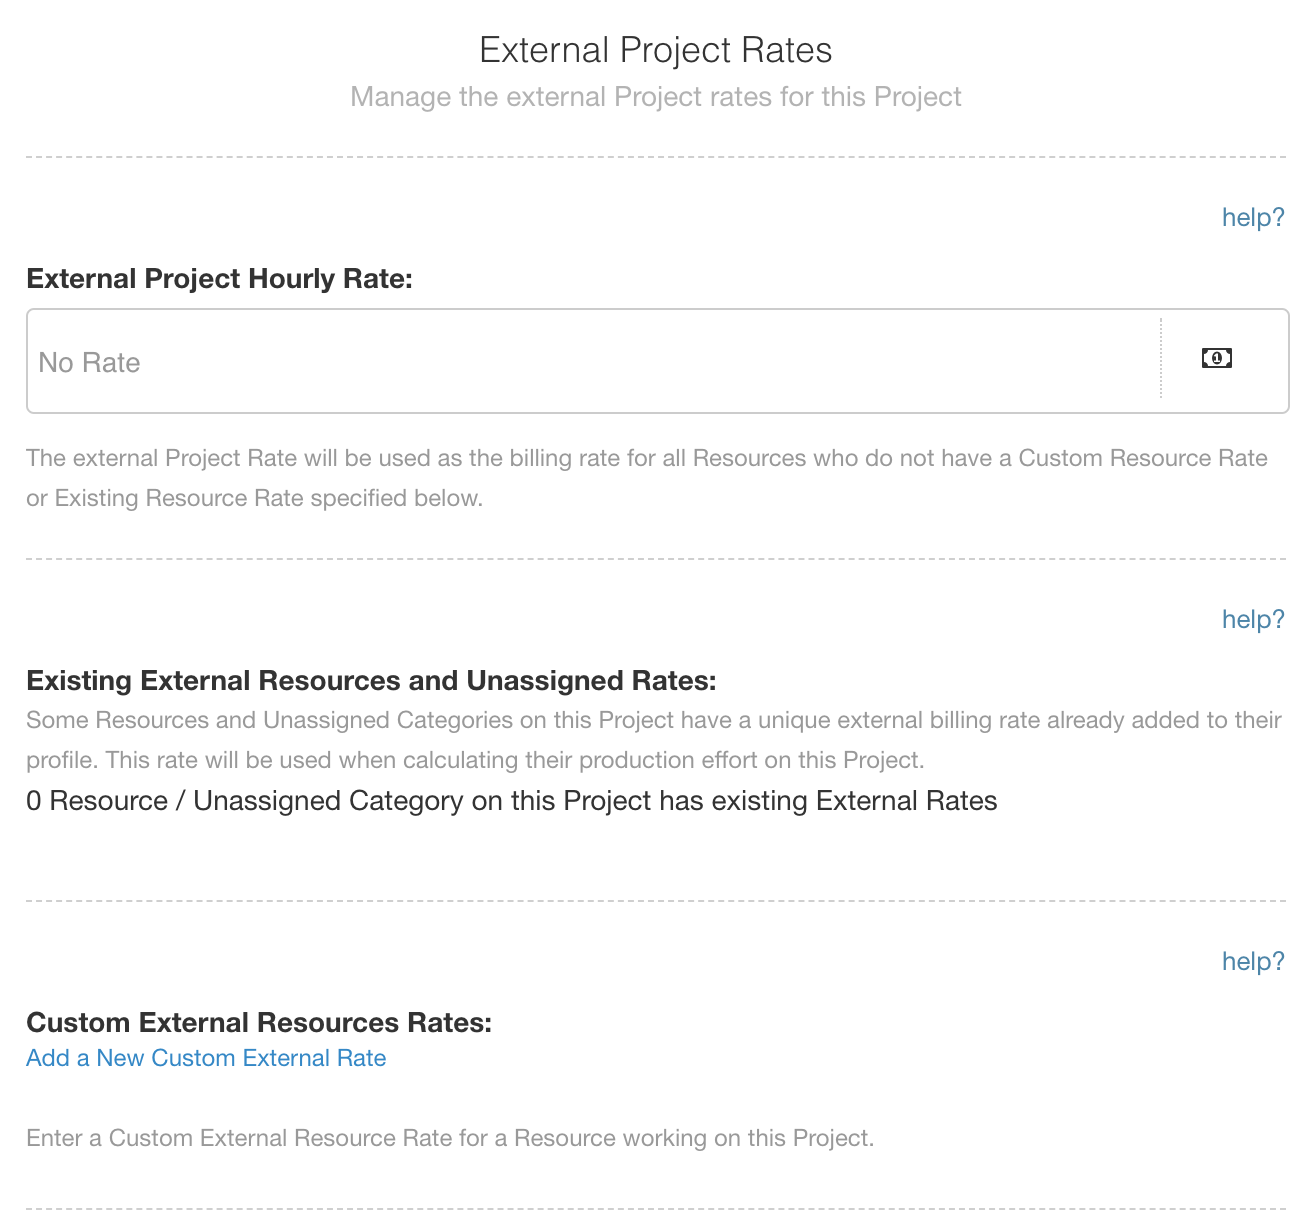
| 4 | Project Rate | Yes | Yes |
Example 1 – Scheduled Spend:
Example 2: Reported Spend:
To Note:
- Booking Rates are not applicable in Reported Spend.
- Should none of these criteria meet the requirements, the data will return as zero.
Scheduled Spend Hierarchy
- Booking Rate
- Custom Resource Rate on Project
- Resource Rate
- Project Rate
Reported Spend Hierarchy
- Custom Resource Rate on Project
- Resource Rate
- Project Rate