How can I create a Sick Leave Report for last year?
Sick Leave is scheduled and reported as an Event within the Hub Planner Resource Management tool. You can create as many Events as you wish within Settings. For example, Training Days, Not Available, Vacation, Personal Time off etc. To create a report per Event you can generate from the pre formatted templates located within the Report Folders.
There are 4 Event Report options. Scheduled Time, Reported Time, Booking Categories and Event Burn.
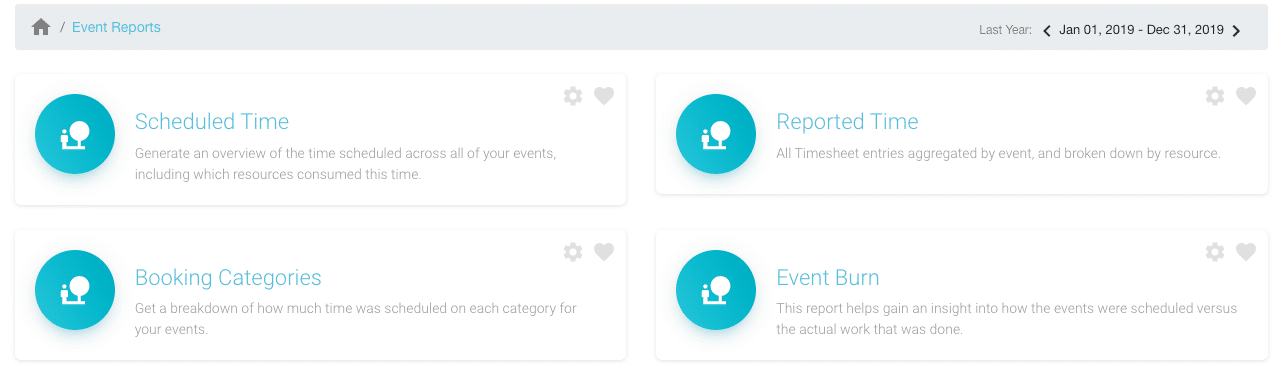
Step 1 – Event Reports
To create a sick leave report for last year, you need to follow these few steps. Firstly, we need to access the Event Reports
- Navigate to Reports
- Select the Event Reports folder
- Click Reported Time (as time will be reported via Timesheets)
Your report will appear with the following data:
- Event Name
- Reported Time (for date range chosen)
- Reported Time to date
- Future Reported Time
- Reported Time (all time)
Next, we need to centre in on the Sick Leave event and remove the data we don’t need.
Step 2 – Filter and Edit
Select ‘Sick Leave’ or another chosen event you wish to report on.
Now you have sight of the Sick Leave broken down by Resource.
Change the date range if required.
More than likely your data is set to ‘hours’ and we want to see Sick Leave by ‘days’. To do this, simply select ‘Units’ from the Report Toolbar and click on ‘Days’. Now the data will have changed from hours to days.
Step 3 – Optional Further Edits
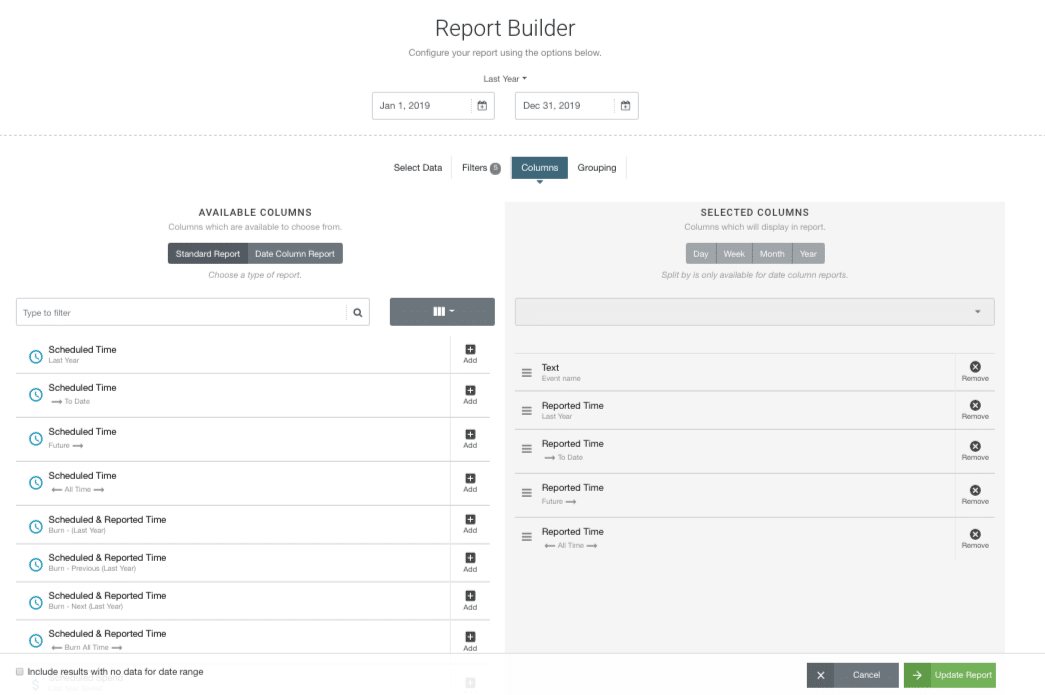
You can go a step further and remove data columns you don’t need and maybe add some data columns that you might like. To do this:
- Select ‘Edit’ from the Report Toolbar.
- Click ‘Columns’ to open up the Report Builder
- Select from the ‘Available Columns’ to add data to your report. For example, ‘Scheduled Time’ to give you a scheduled verses actual perspective. Another idea is to add in the ‘Event Burn’ which gives you a percentage format for a more visual aspect.
- Within ‘Selected Columns’ you can remove any unwanted data columns from the report.
- Click ‘Update Report’ when ready.
Save for Future
Suggest that you save this report for future reference. Saves you having to repeat the process each time. The date range will update accordingly. When it comes to saving a report, there are two options available. You can save privately or internally. Privately will save to My Saved Reports folder, and saving internally will save to the Internal Reports folder. To do so:
- Click ‘Save’ within the Report Toolbar.
- Opt to save to your own folder ‘My Reports’ or alternatively save within ‘Internal Reports’ which gives all colleagues access to this report.