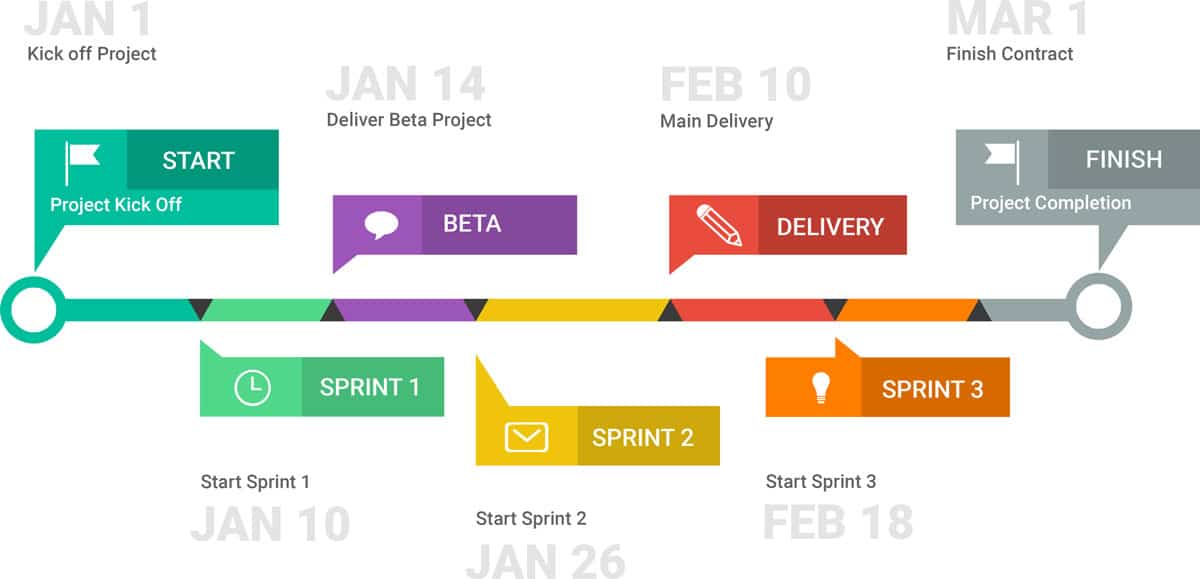
How do Project Phases work?
Project Phases are visual indicators in the project when in project view mode. You can create visual reminders in the production schedule, sprint planning etc. Right now they are more visual aids than functional ones. For example, some customers create a Project Group in sidebar with the name of the project “Project MTV”, and then create projects in there to represent the phases. e.g. MTV – Phase 1. This allows you to control the phase like a project and from the group level you can see the bigger picture of all phases under the 1 group.
How to create a Project Phase
- Locate the project, and click edit to access the project modal.
- Navigate along the project toolbar to Phases
- Select a color you wish to choose for the phase. Or leave it as it is defaulted.
- Enter the Phase name
- Add the Phase dates
- Enter a repeat if required
- Add the next Phase and as many as you wish.
- Click Update at the bottom of the screen to save.
Alternatively, you can right click on a booking or an empty/selection of cells within the scheduler. Another way you can create phases is the same way as adding ‘Milestones’ and ‘Start and End Dates’ via the General Settings modal
How to view Project Phases in the scheduler?
- Go to Project or Project Group
- Select ‘Grouped Rows’ from the view options (Small tv icon top left)
- Alternatively select ‘Single Rows and Resources’ which will also display the phases.
Can I view / create a phase on a resource?
Phases are project specific not resource specific. So they can only be viewed in project context.
You will be able to: name the phase, choose start and end dates, pick a repeat function and select a colour for the phase.


