FAQ’s about Hub Planner’s Smart Schedule premium extension
Some quick fire, frequently asked questions. We will also take you through a step by step instruction of how to build a new schedule. If you cannot find the answer to your question here. Please do reach out to us using the contact modal or the chat.
FAQ: What are smart schedules?
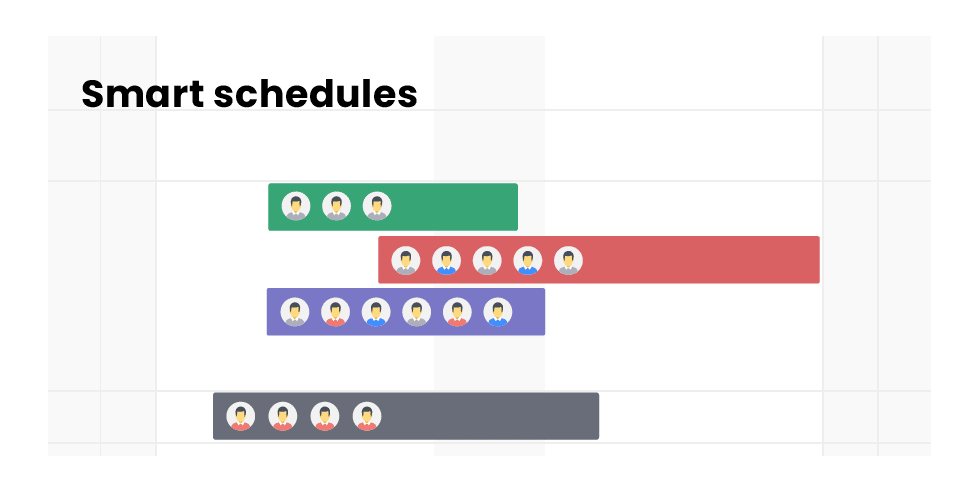
The scheduler builder is effortless in handling the assembly of the scheduler you want to create. Select from the options to build and configure the scheduler. Options are grouped by two mains aspects: the type of scheduler to build and the filters applied.
- Type of scheduler = Smart or manual, project or resource?
- Filters applied = such as skill sets, location (custom fields). The project, resource and booking status options. Apply capacity finder filters etc.
FAQ: What are the main features of Smart Schedules?
The key features and highlights of smart schedules are as follows:
- Build and customize your own schedule, unique to your criteria applied.
- Create project based smart schedules by client, status, booking categories etc.
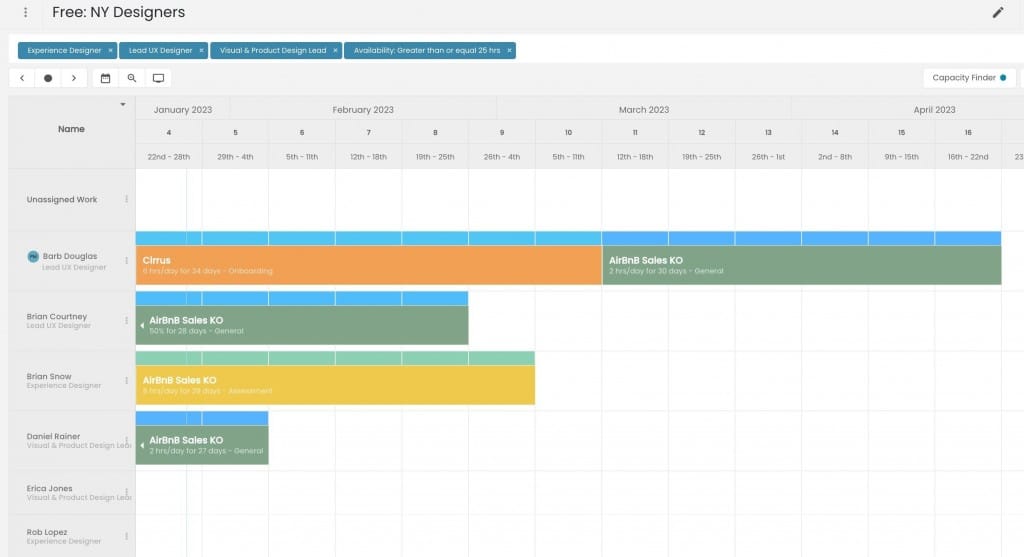
- Build and save resource smart schedules based on multiple filters including a skills matrix, resource status, and booking status.
- Quick access search and schedule using the dynamic search bar.
FAQ: How do smart schedules work?
After you have installed the smart schedules extension, click to the scheduler.
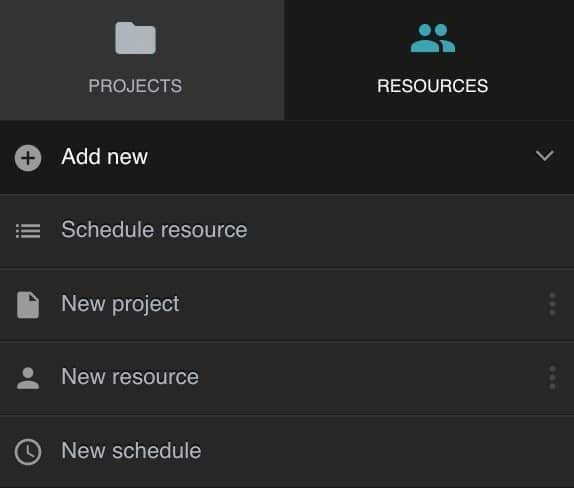
- From the sidebar, click ‘Add New’
- Select ‘New schedule’
- The schedule builder will open.
- Navigate through the tabs to build and save your new schedule.
Step 1 – Type of schedule
- After you have installed the extension. Click on the sidebar ‘Add New’
- New Schedule
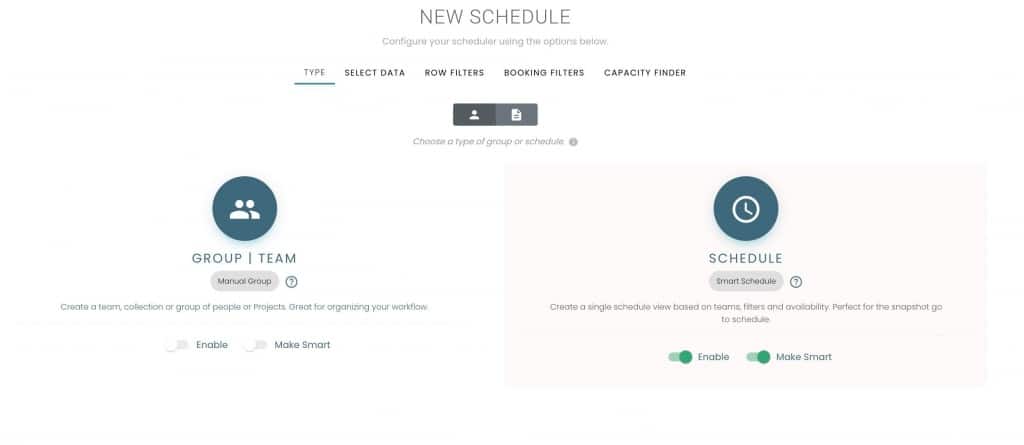
- The schedule builder appears
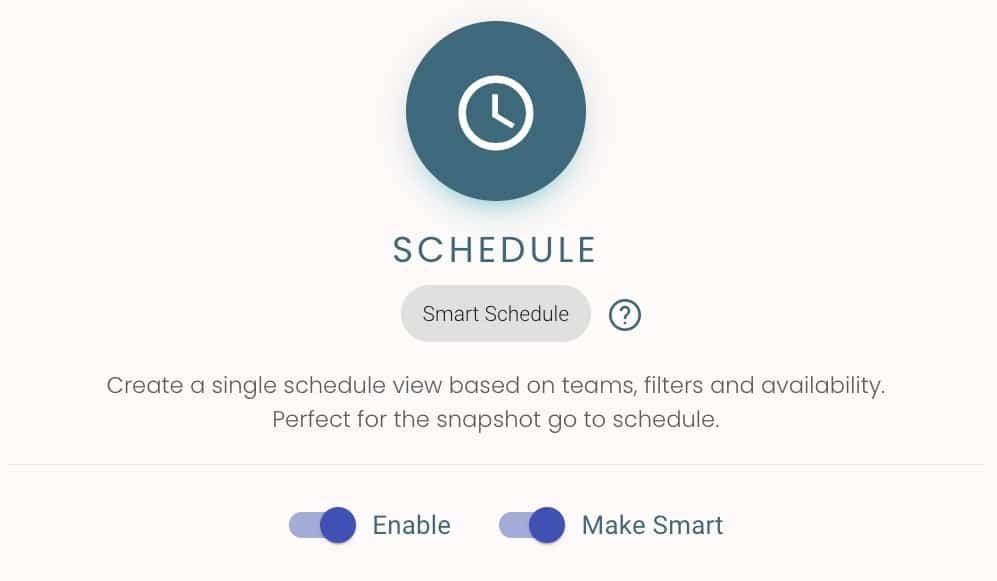
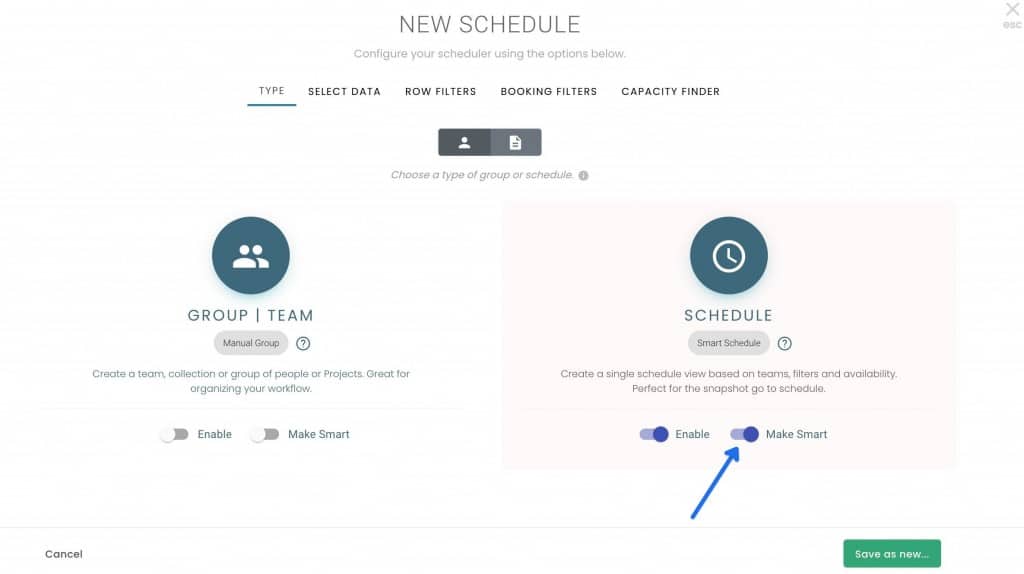
- Type tab, make sure you have chosen schedule
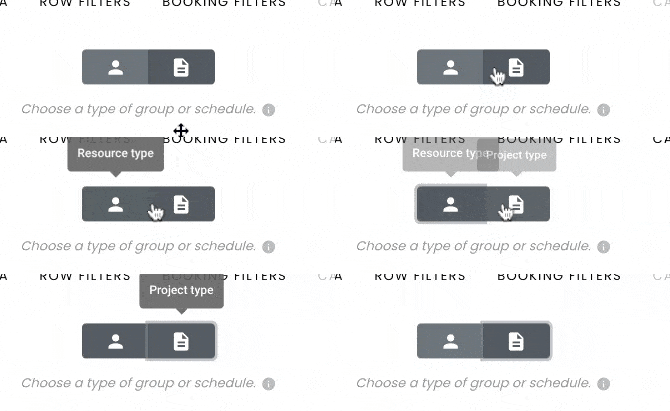
- Choose between project or resource based schedule
- Enable ‘make smart’ option
Step 2 – Apply row filters
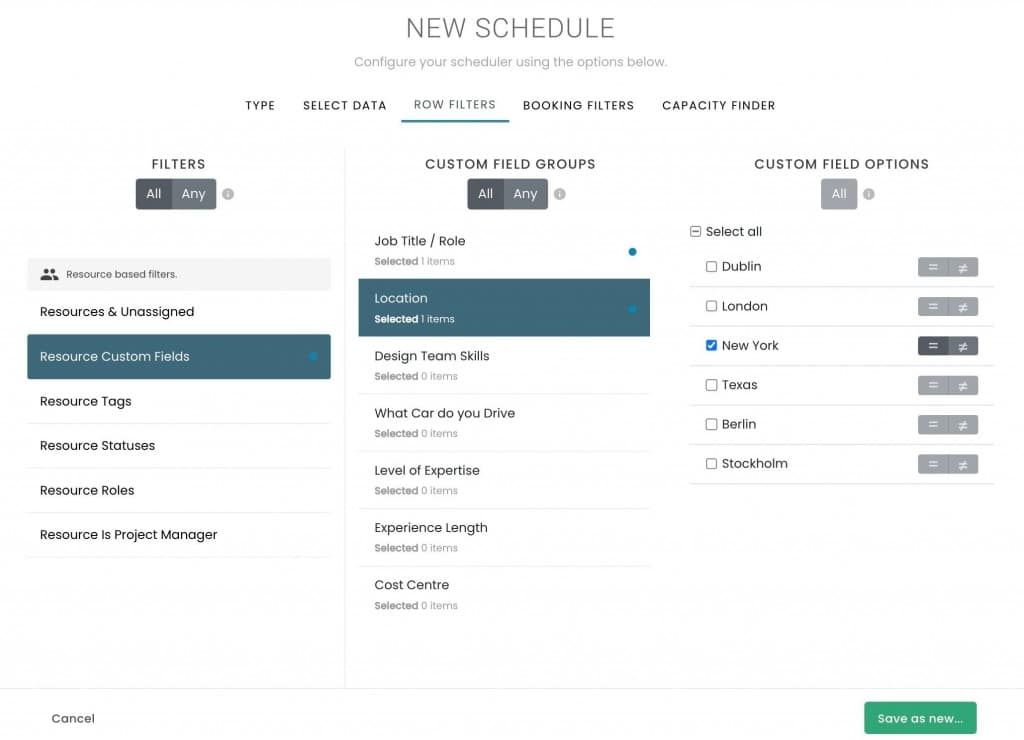
Now, let us apply some filters.
- Click onto the ‘row filters’ tab
- Apply filters such as
- resource custom fields
- resource tags
- role types etc.
Step 3 – Apply Booking filters
Let’s add some more filters.
- Click onto the ‘booking filters’ tab
- Apply filters such as
- booking category
- booking status
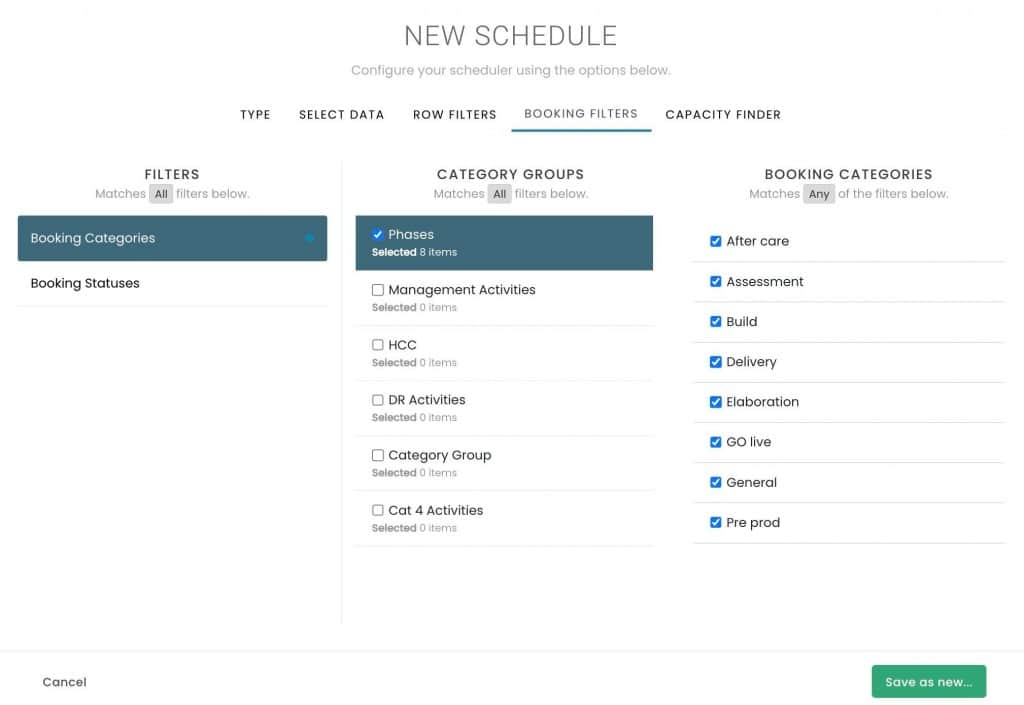
Step 4 – Apply capacity finder filters
Note, this will need to be installed prior to applying any capacity finder filters.
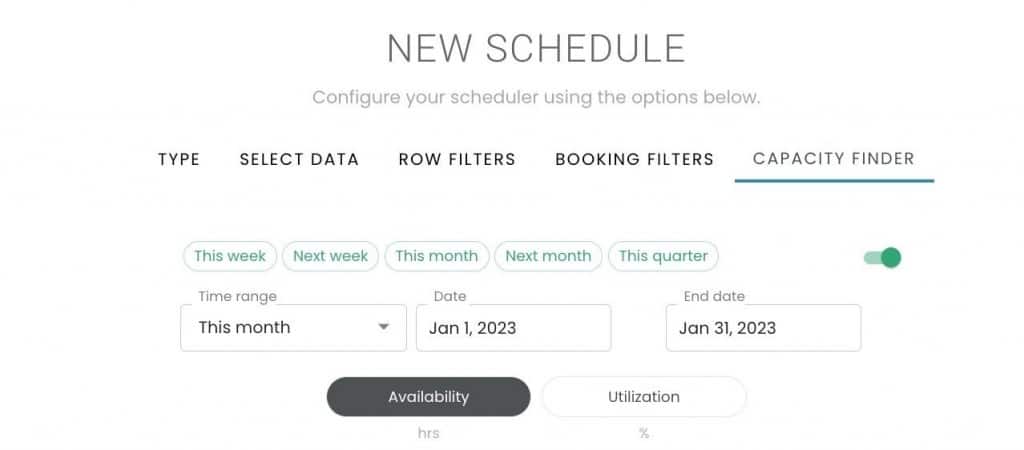
- Click onto the ‘capacity finder’ tab
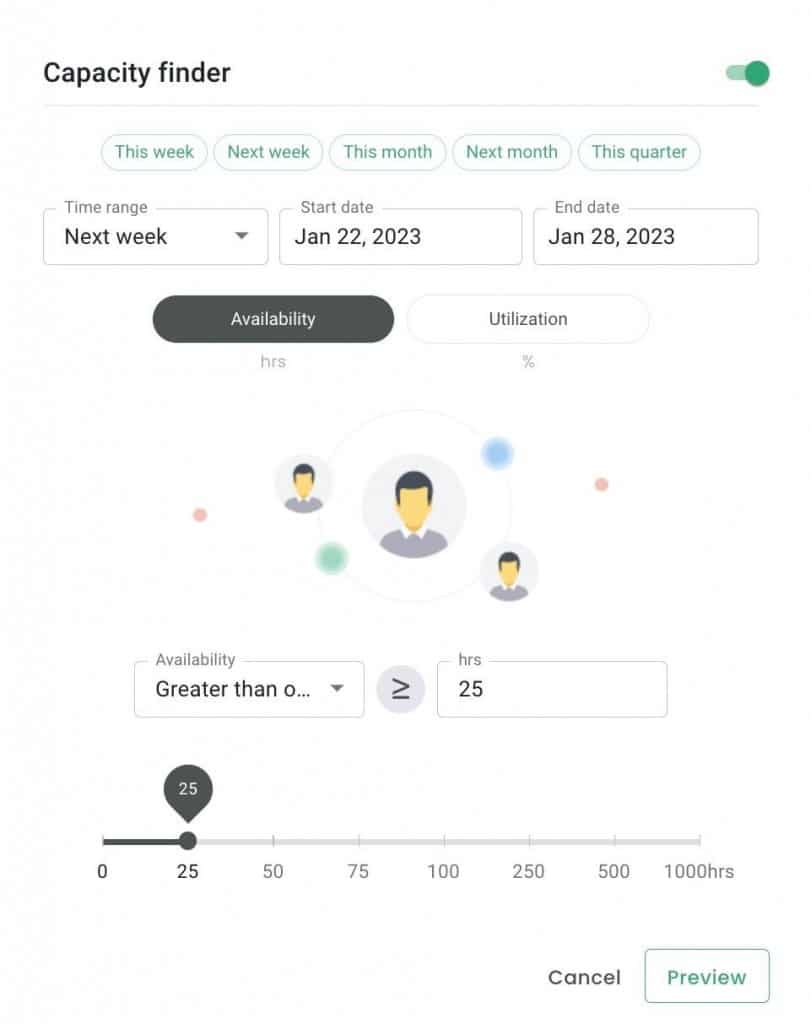
- Enable the capacity finder (top right)
- Select date range
- Choose filter, either from:
- Availability
- Utilization
- Apply math equation, (greater than, equal to, etc.)
Step 5 – Save as new
- Ready to preview or save?
- Click save as and the options will appear
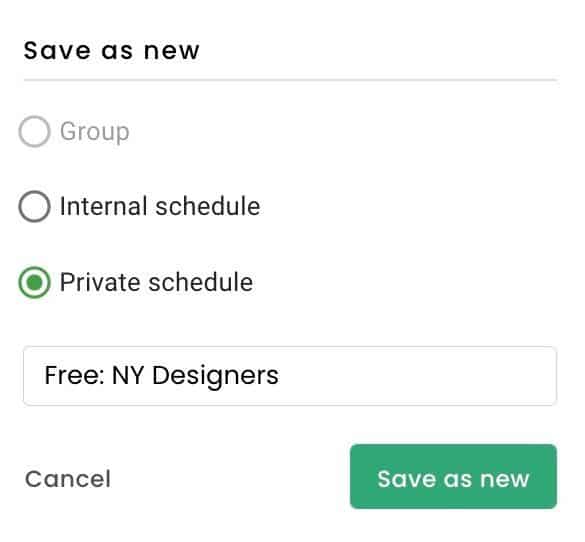
Your new smart schedule is ready!
Once ready, your newly built schedule is available to view. Note the schedule is also saved to your sidebar. You can click into the schedule to readjust filters, date ranges etc.

How to edit the schedule?
There are two potential ways to edit the schedule.
1 – Access within the schedule
- Either click the pencil icon or the 3 vertical dots and select ‘edit schedule’.
- This opens the schedule for you to apply any changes.
- You can either ‘update’ or ‘save as a new’ schedule.

2 – Access from the sidebar
- Navigate to your sidebar
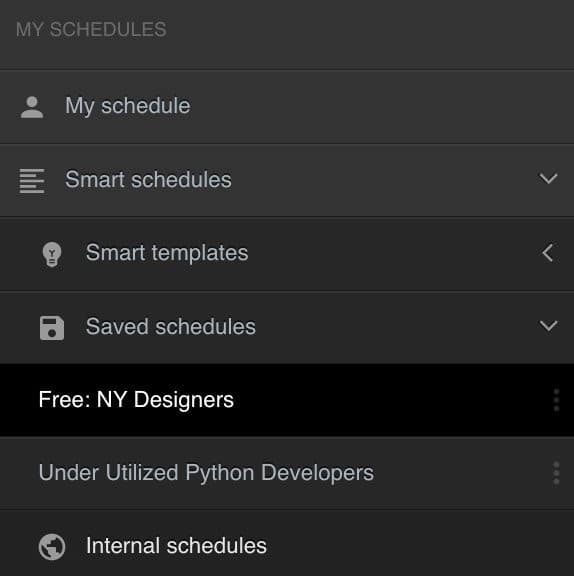
- Smart schedules
- Click to saved schedules or internal schedules
- Click the 3 vertical dots of the schedule you saved
- Select ‘edit schedule’ to open the builder
- Apply changes and either update or save as new
FAQ: What filters can I apply?
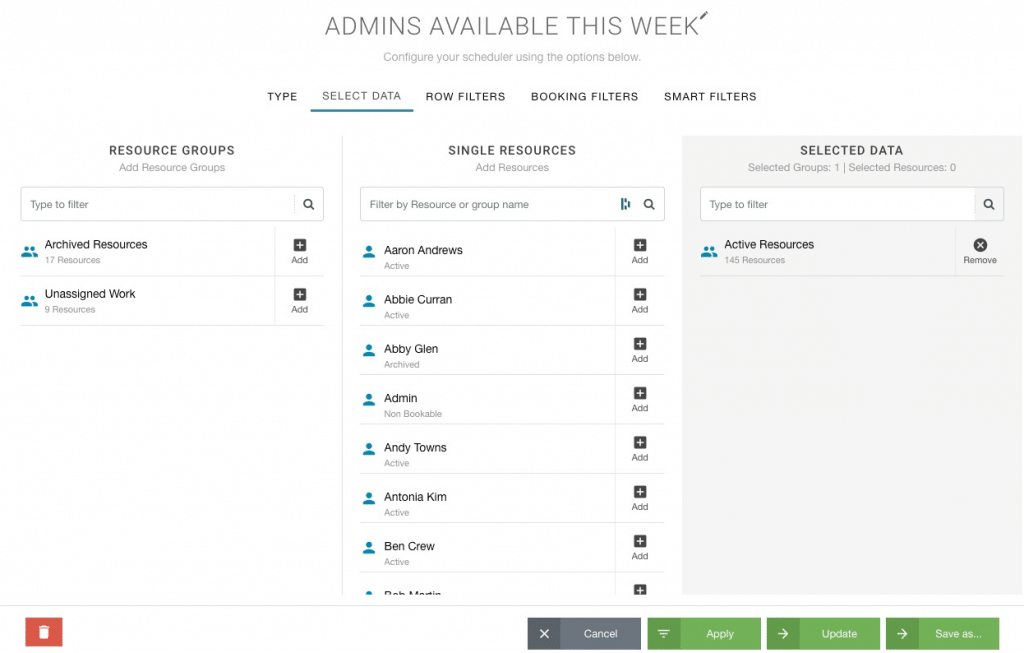
Row filters
- Project based filters such as custom fields, specific projects, clients and statuses.
- Resource based filters such as custom fields, specific resources, roles and statuses.
Booking filters
- Categories – Select and filter by Booking Categories (leave blank if you want to include all results from all categories)
- Booking Statuses (Requested, Approved, Scheduled) (works with the request & approval workflow)
Capacity finder – please note this is a separate Premium Extension
- Date Range
- Utilization Rate
- Availability
FAQ: Can I match ALL or ANY filters?
Either. You can choose to match All or Any of the filter combinations, it will be defaulted to ‘ALL’. To switch, simply select the button in Row Filters tab.
FAQ: How do I know what filters are being applied?
A blue dot will appear beside a filter that is being actively used.
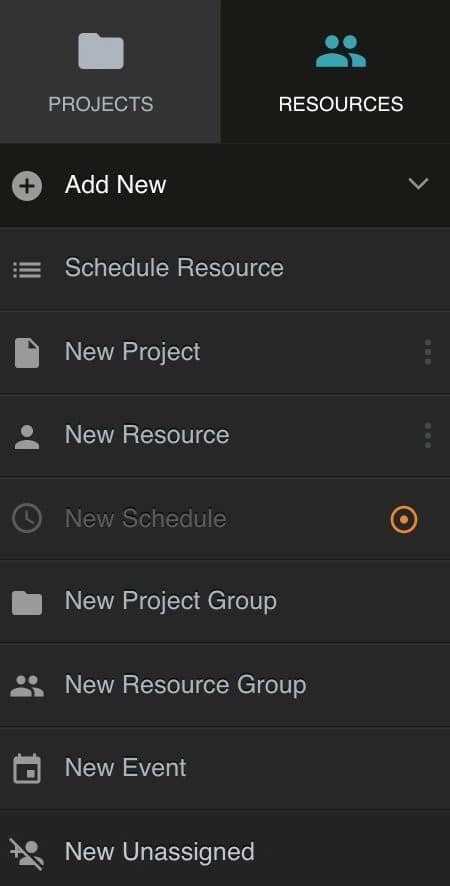
FAQ: How come New Schedule on the sidebar is faded out with an orange circle?
This means you don’t have the Smart Schedules extension installed. So, you need to install the extension. To trial out for free, please access via the following steps:
- Settings
- Manage Extensions
- Add/Remove Extensions
- Smart Schedules
- Try Free
You are welcome to trial out Hub Planner’s Smart Schedules for 30 days.
FAQ: Are Smart Templates a part of Smart Schedules?
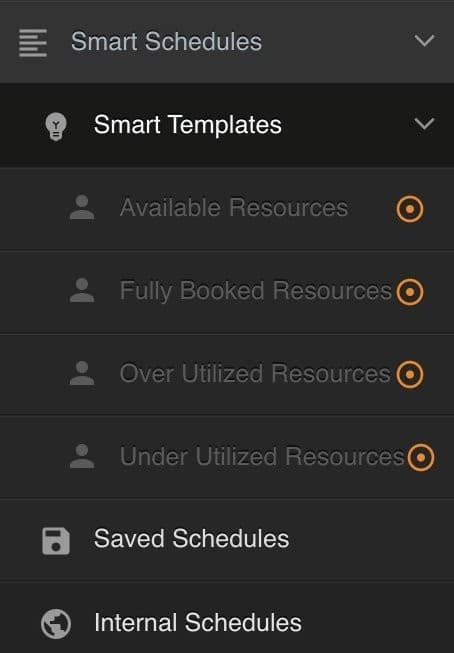
Not exactly no, they are a part of the Capacity Finder extension. These templates will show you a schedule of data based on the availability and utilization filters you apply over a date range chosen. Feel free to trial out the capacity finder?
To trial out for free, please access via the following steps:
- Settings
- Manage Extensions
- Add/Remove Extensions
- Smart Schedules
- Try Free
You are welcome to trial out Hub Planner’s Smart Schedules for 30 days.
FAQ: I cannot select anything from the ‘Selected Data’ tab?
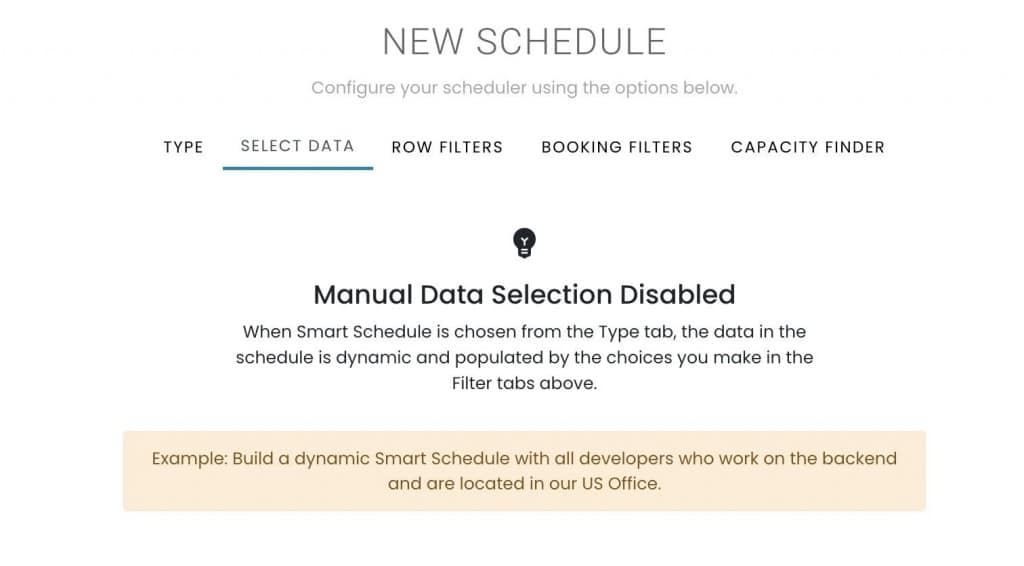
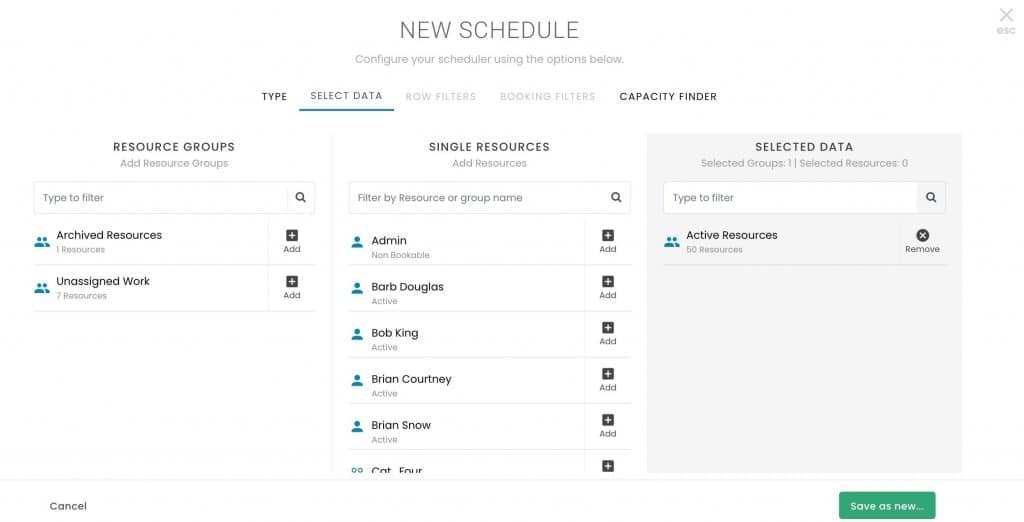
This means you have selected a Smart Schedule in the ‘Type” tab. If this is activated, there is no need to click anything in the selected ‘Data’ tab as the new schedule will populate based on the filters you apply. You will choose from row filters, booking filters and even the capacity finder too.
FAQ: What does “Manual Data Selection Disabled” mean exactly?
When Smart Schedule is chosen from the Type tab, the ‘Select data’ tab becomes disabled as the schedule is dynamic and populated by the choices you make in the Filter tabs of the Scheduler Builder.
FAQ: How come I cannot access row filters? I have smart schedules installed?
Ok, so you have smart schedules installed but you cannot access row filters or booking filters? Please navigate to the ‘Type’ tab and ensure that smart schedules is set to ‘make smart’.

FAQ: How do I switch back to a manual schedule?
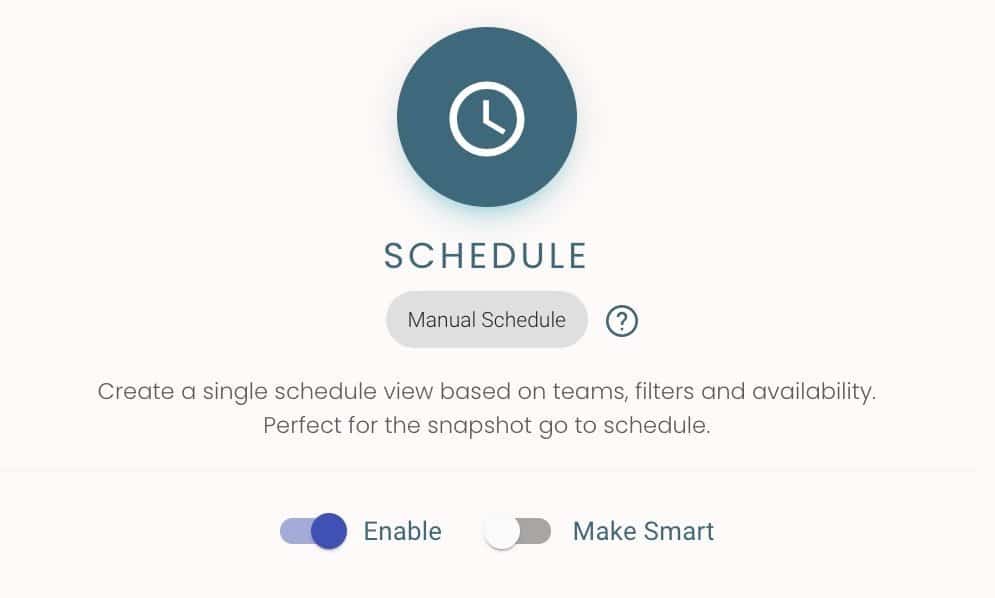
Navigate to the ‘Type’ tab and ensure ‘make smart’ is disabled and switched off.
FAQ: Can I apply row filters to a manual schedule?
No. For a manual schedule type, you can choose from ‘select data’ and the ‘capacity finder’ if installed. If you need access to the row filters (custom fields, resource status etc) or booking filters (booking categories and booking status) you will need to activate the smart schedule. Activate the smart schedule in the ‘type’ tab by clicking ‘make smart’.
FAQ: It says I’m missing the extension?
This means that the smart schedules extension is not installed. Have your Account Owner take the following steps to install the premium extension:
- Navigate to Settings
- Add / Remove Extensions
- Locate the smart schedules extension
- Install
- Try Free
Now you should have active access to add a new schedule in the sidebar.
FAQ: Can I trial smart schedules?
Yes. Try before you buy. All customers can trial out smart schedules free for 30 days.
FAQ: I’m on the Business Leader plan, do I need to pay for smart schedules?
No. Just install the extension and off you go. One suggestion? Also install the capacity finder and smart groups if you haven’t already. These all work hand in hand together.

