Booking Category Groups Premium Extension
Booking Category Groups is a Premium Hub Planner extension which adds significant features to the Hub Planner user.
Installation of Booking Category Groups Premium Extension
Installing Booking Category Groups
- Settings
- Manage Extensions
- Add/Remove Extensions
- Locate the Booking Category Extension it will say ‘Not Installed’.
- Click the green ‘Try Free’ button
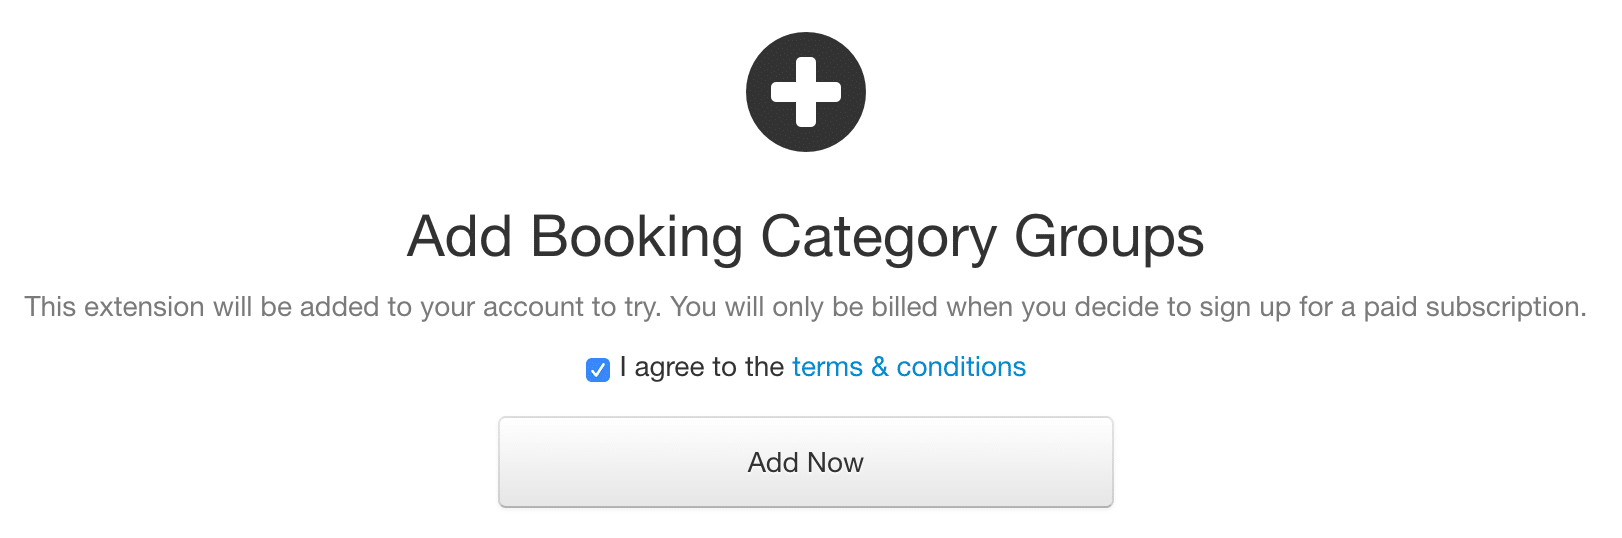
- You will be then asked to agree to the Terms and Conditions. Click the link to view the Terms & Conditions.

- Click Add Now
- Once added, you will see the the below message.


Uninstalling Booking Category Groups
- Settings
- Manage Extensions
- Add/Remove Extensions
- Locate the Booking Category Extension it will say ‘Installed’.
- Click the extension
- Got to the Manage tab
- Click ‘Cancel Trial & Remove Extension’
- Read the message and click ‘I Understand’ or select either the ESC key (tope right) or Cancel key (bottom right).

Uninstalling the Extension how will the Booking Categories revert?
If extension is removed, projects then should get updated / reverted to default static booking categories group .
Note, if the default booking category was in a different group they choose it should be reset to default category of default group.
Note, if the default booking category is within the default booking category group, then it remains untouched.
For example: If a booking category group called “Design Categories” was deleted this would remove “Design Categories” from all projects which had this selected. If they had no other booking category groups selected such as the default one, then the default one is added to the project.
For example: If a booking category group called “Design Categories” was deleted and a project had their default booking category set to something from this deleted group, it is updated back to the next default category in the next group they have. If no group then then the default group one of been set per the above.
Setting up Booking Categories outside of the Premium Extension.
Don’t have the extension installed, don’t worry. You can trial the extension out for free. In the meantime, let’s show you how static Booking Categories works.
Add Static Booking Categories
Create and add your own booking categories to any booking on the grid. By default, the category will be given a category called “General” which you can edit. From the settings page you can quickly add category names so you can start tagging your bookings with your own business terminology.
- Settings
- Account Setup
- Booking Categories
- Add Category name in the field.
- Select a corresponding color
- Click ‘Add’
Edit/Delete Static Booking Category
Click the edit pencil icon. A new window will open. You can edit the following:
- Name
- Color
- Default Category option
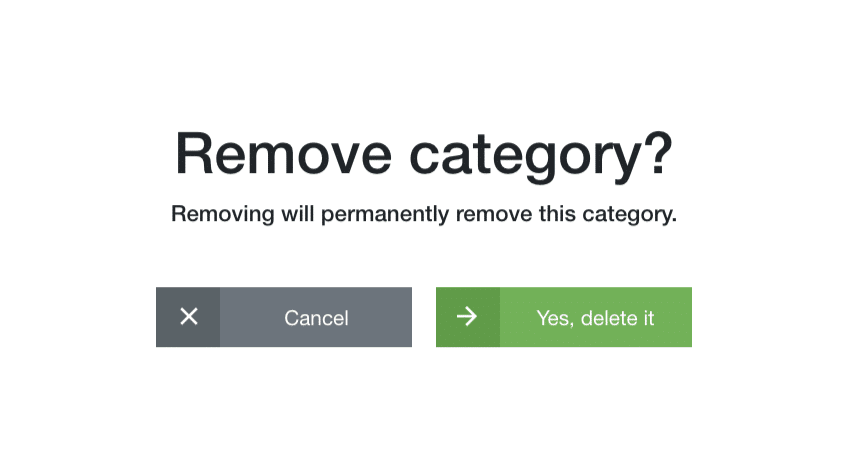
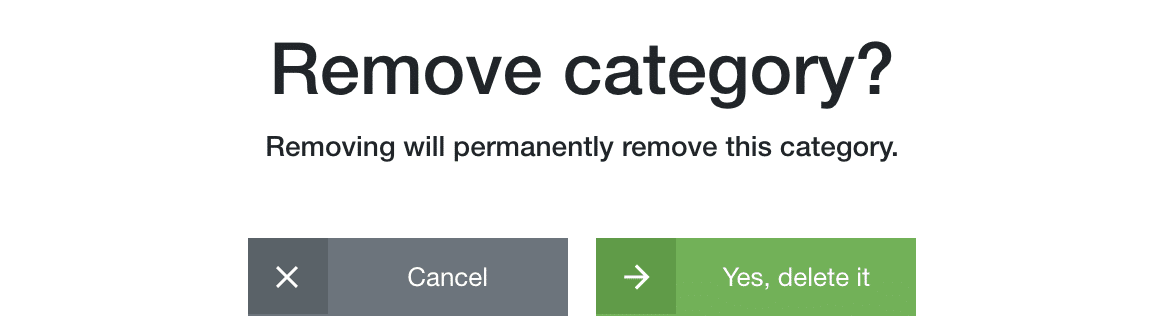
To delete a category, simply click the X on the category row. You will be asked to confirm deletion.
Manage & Assign
Option to assign all or some projects and events. You do not need the Premium Extension for this.
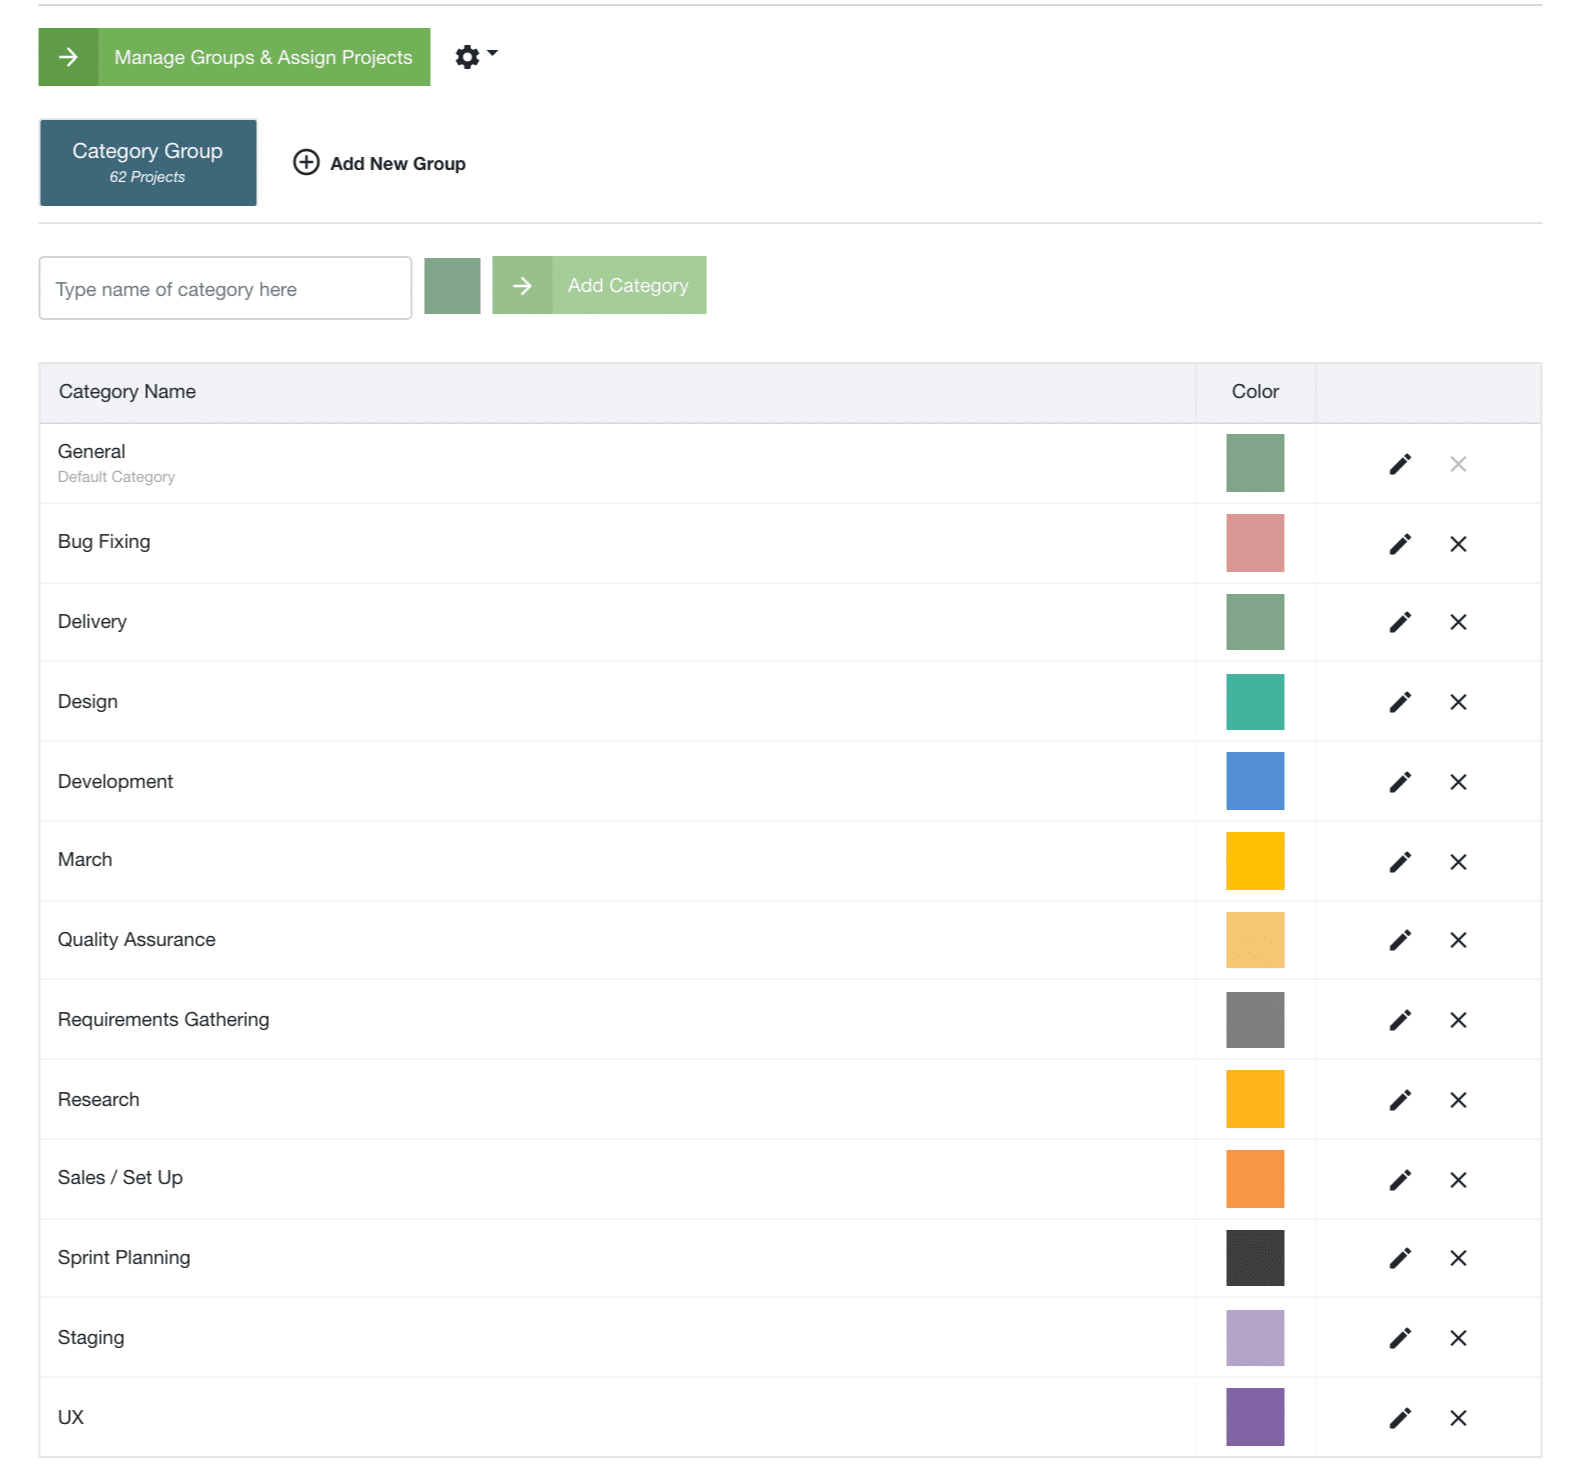
- Click ‘Manage Groups and Assign Projects.
- Select
- Save
Assign a Booking with a Category
Assigning a booking with a category is easy. All you need to do is either right click the booking and choose the “Booking Category” menu and then choose one of your defined categories. You can also use the tools menu for this. The booking will get tagged immediately with the category name which is appended to the end of the title and also in the tooltip.
Further Reading
One of our most popular reference pages is entitled “How to apply the Red, Amber, Green Status using Booking Categories?”
Setting up Booking Category Groups
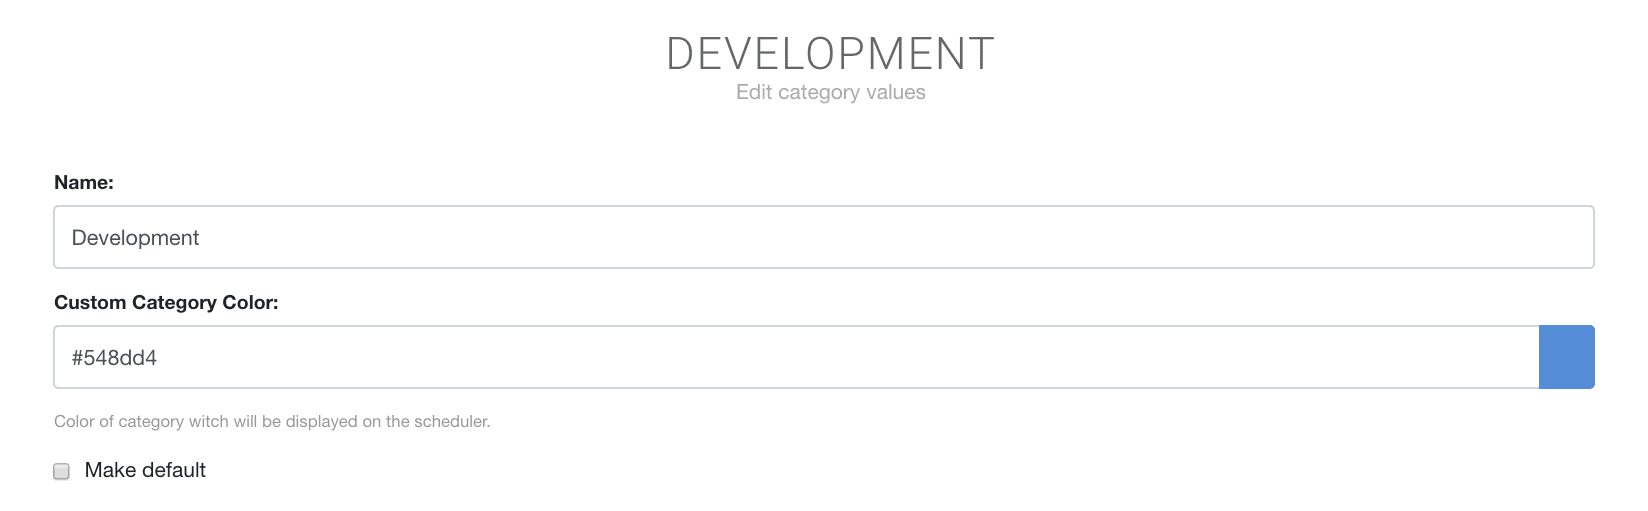
How to edit the Booking Category?
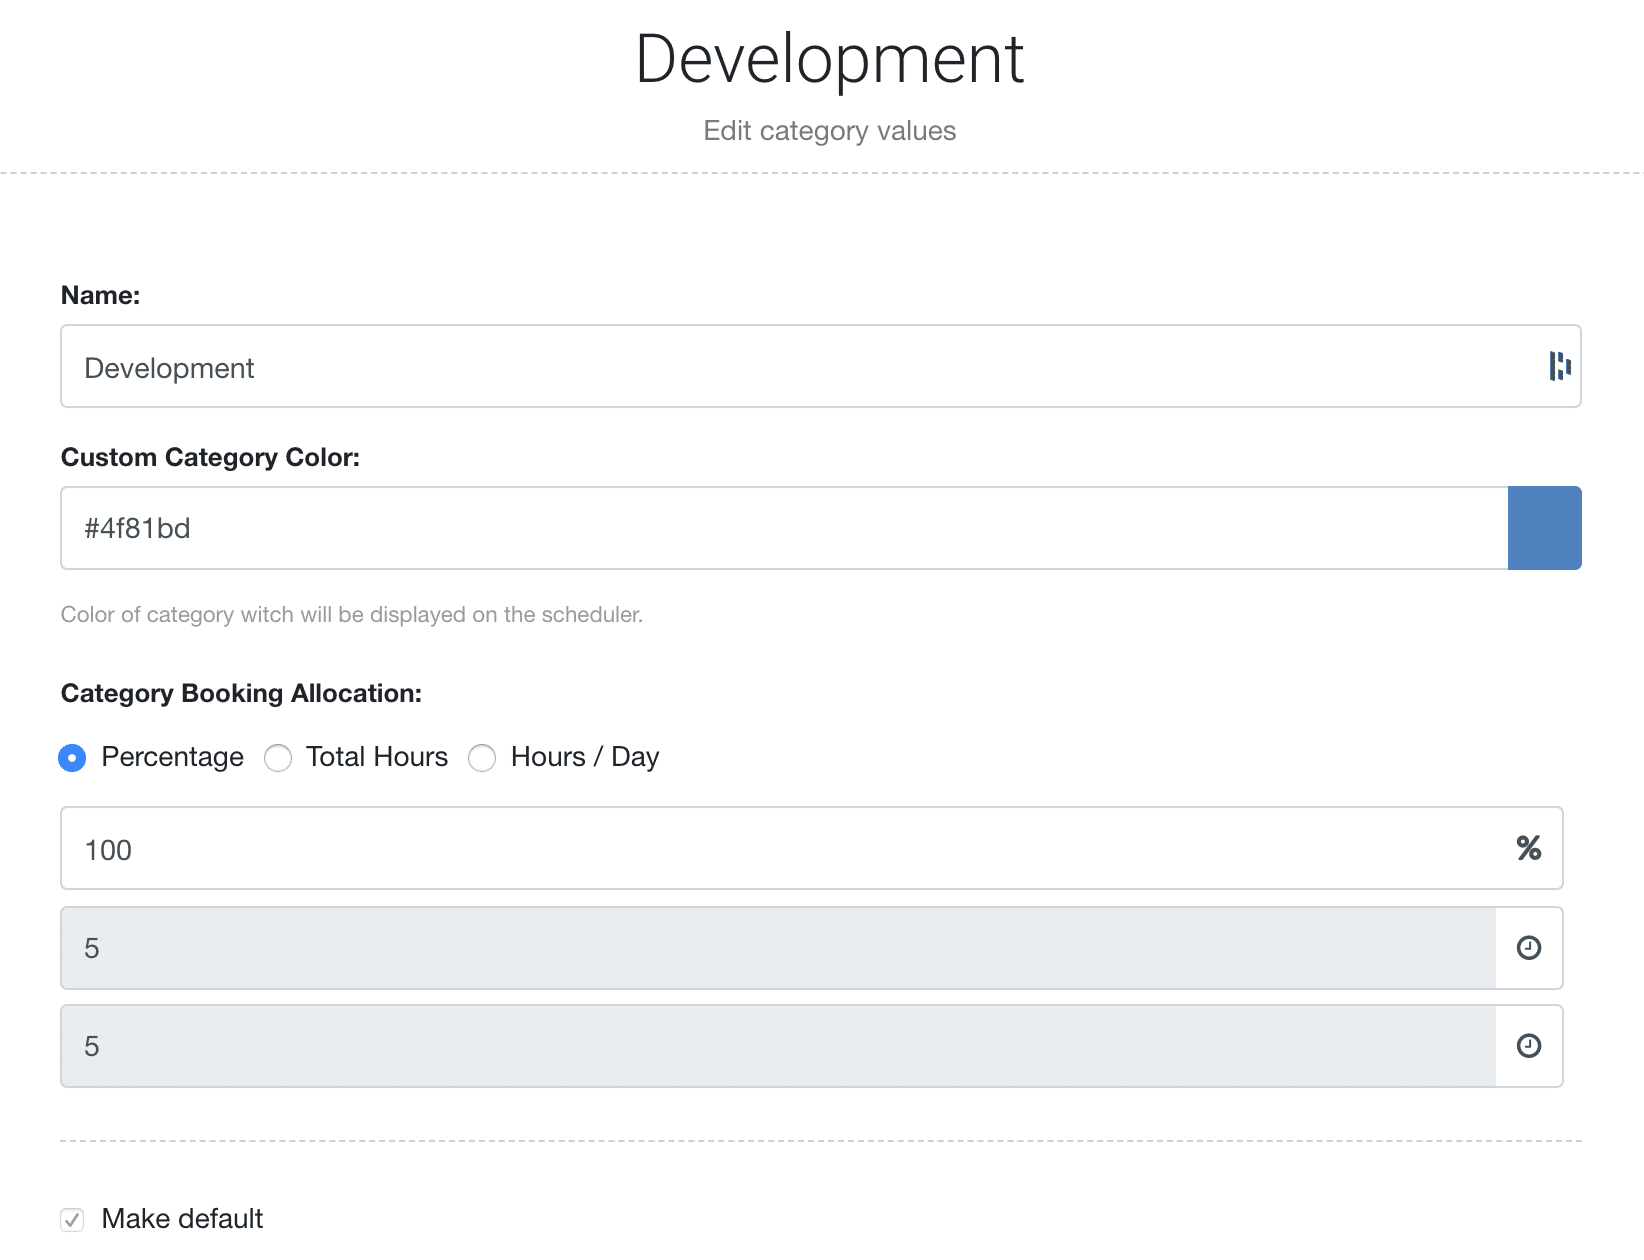
Navigate to the booking category. Click the pen to open up the booking category modal.
![]()
What can I edit?
- Name
- Custom Category Color – chose from the panel or add a custom color code.
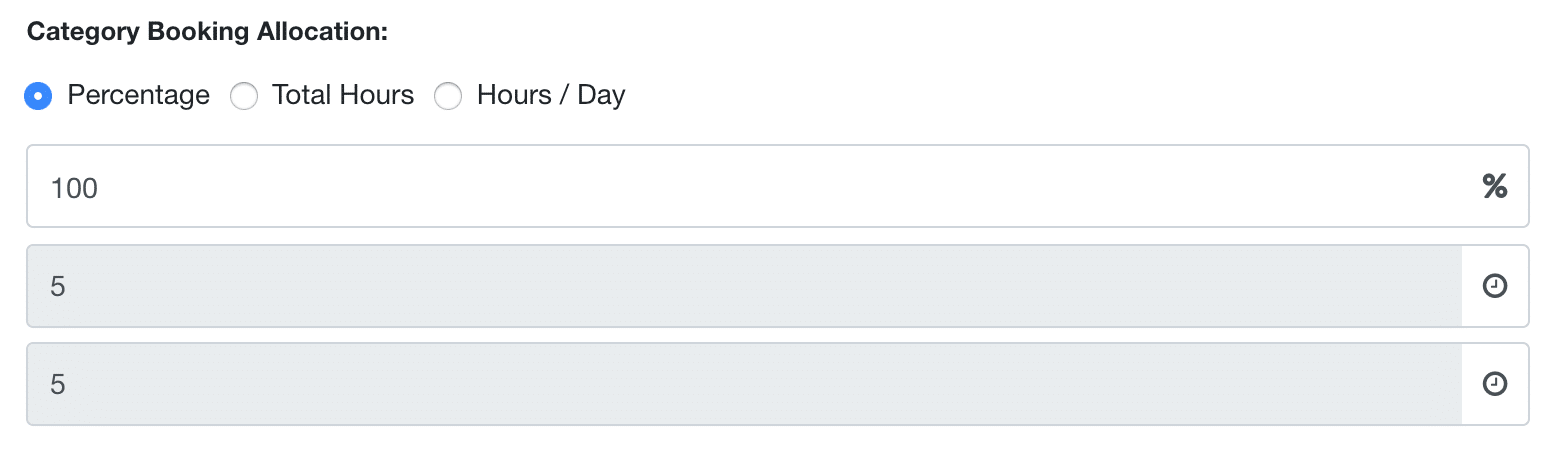
- Category Booking Allocation – choose from Percentage, Hours per Day or Total Hours.
- Make a Category default option
- Don’t forget to click Save
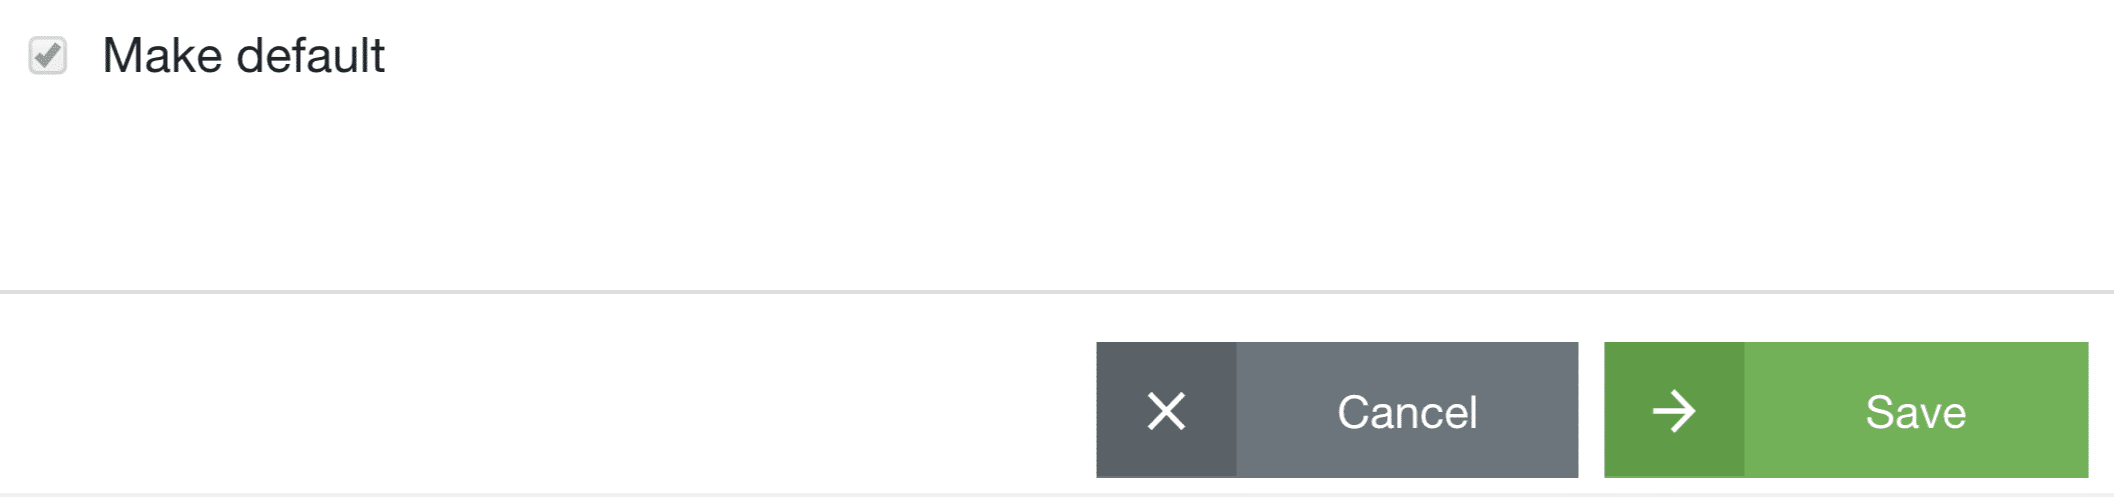
How to make a category the default booking category?
- Click the pen of the booking category you wish to make the default option. This will open the Booking Category modal.
- Scroll to the end of the modal and click the tick box option to select as the default option.
- Don’t forget to click ‘Save’.
- The default category will be visible under the category name.
How to add a Booking Category Group?
Once the extension is installed, you can begin to add numerous groups.
- Settings

- Account Setup
- Category Groups
- Add New Group
- Enter Category Group name and click the green tick box to add.


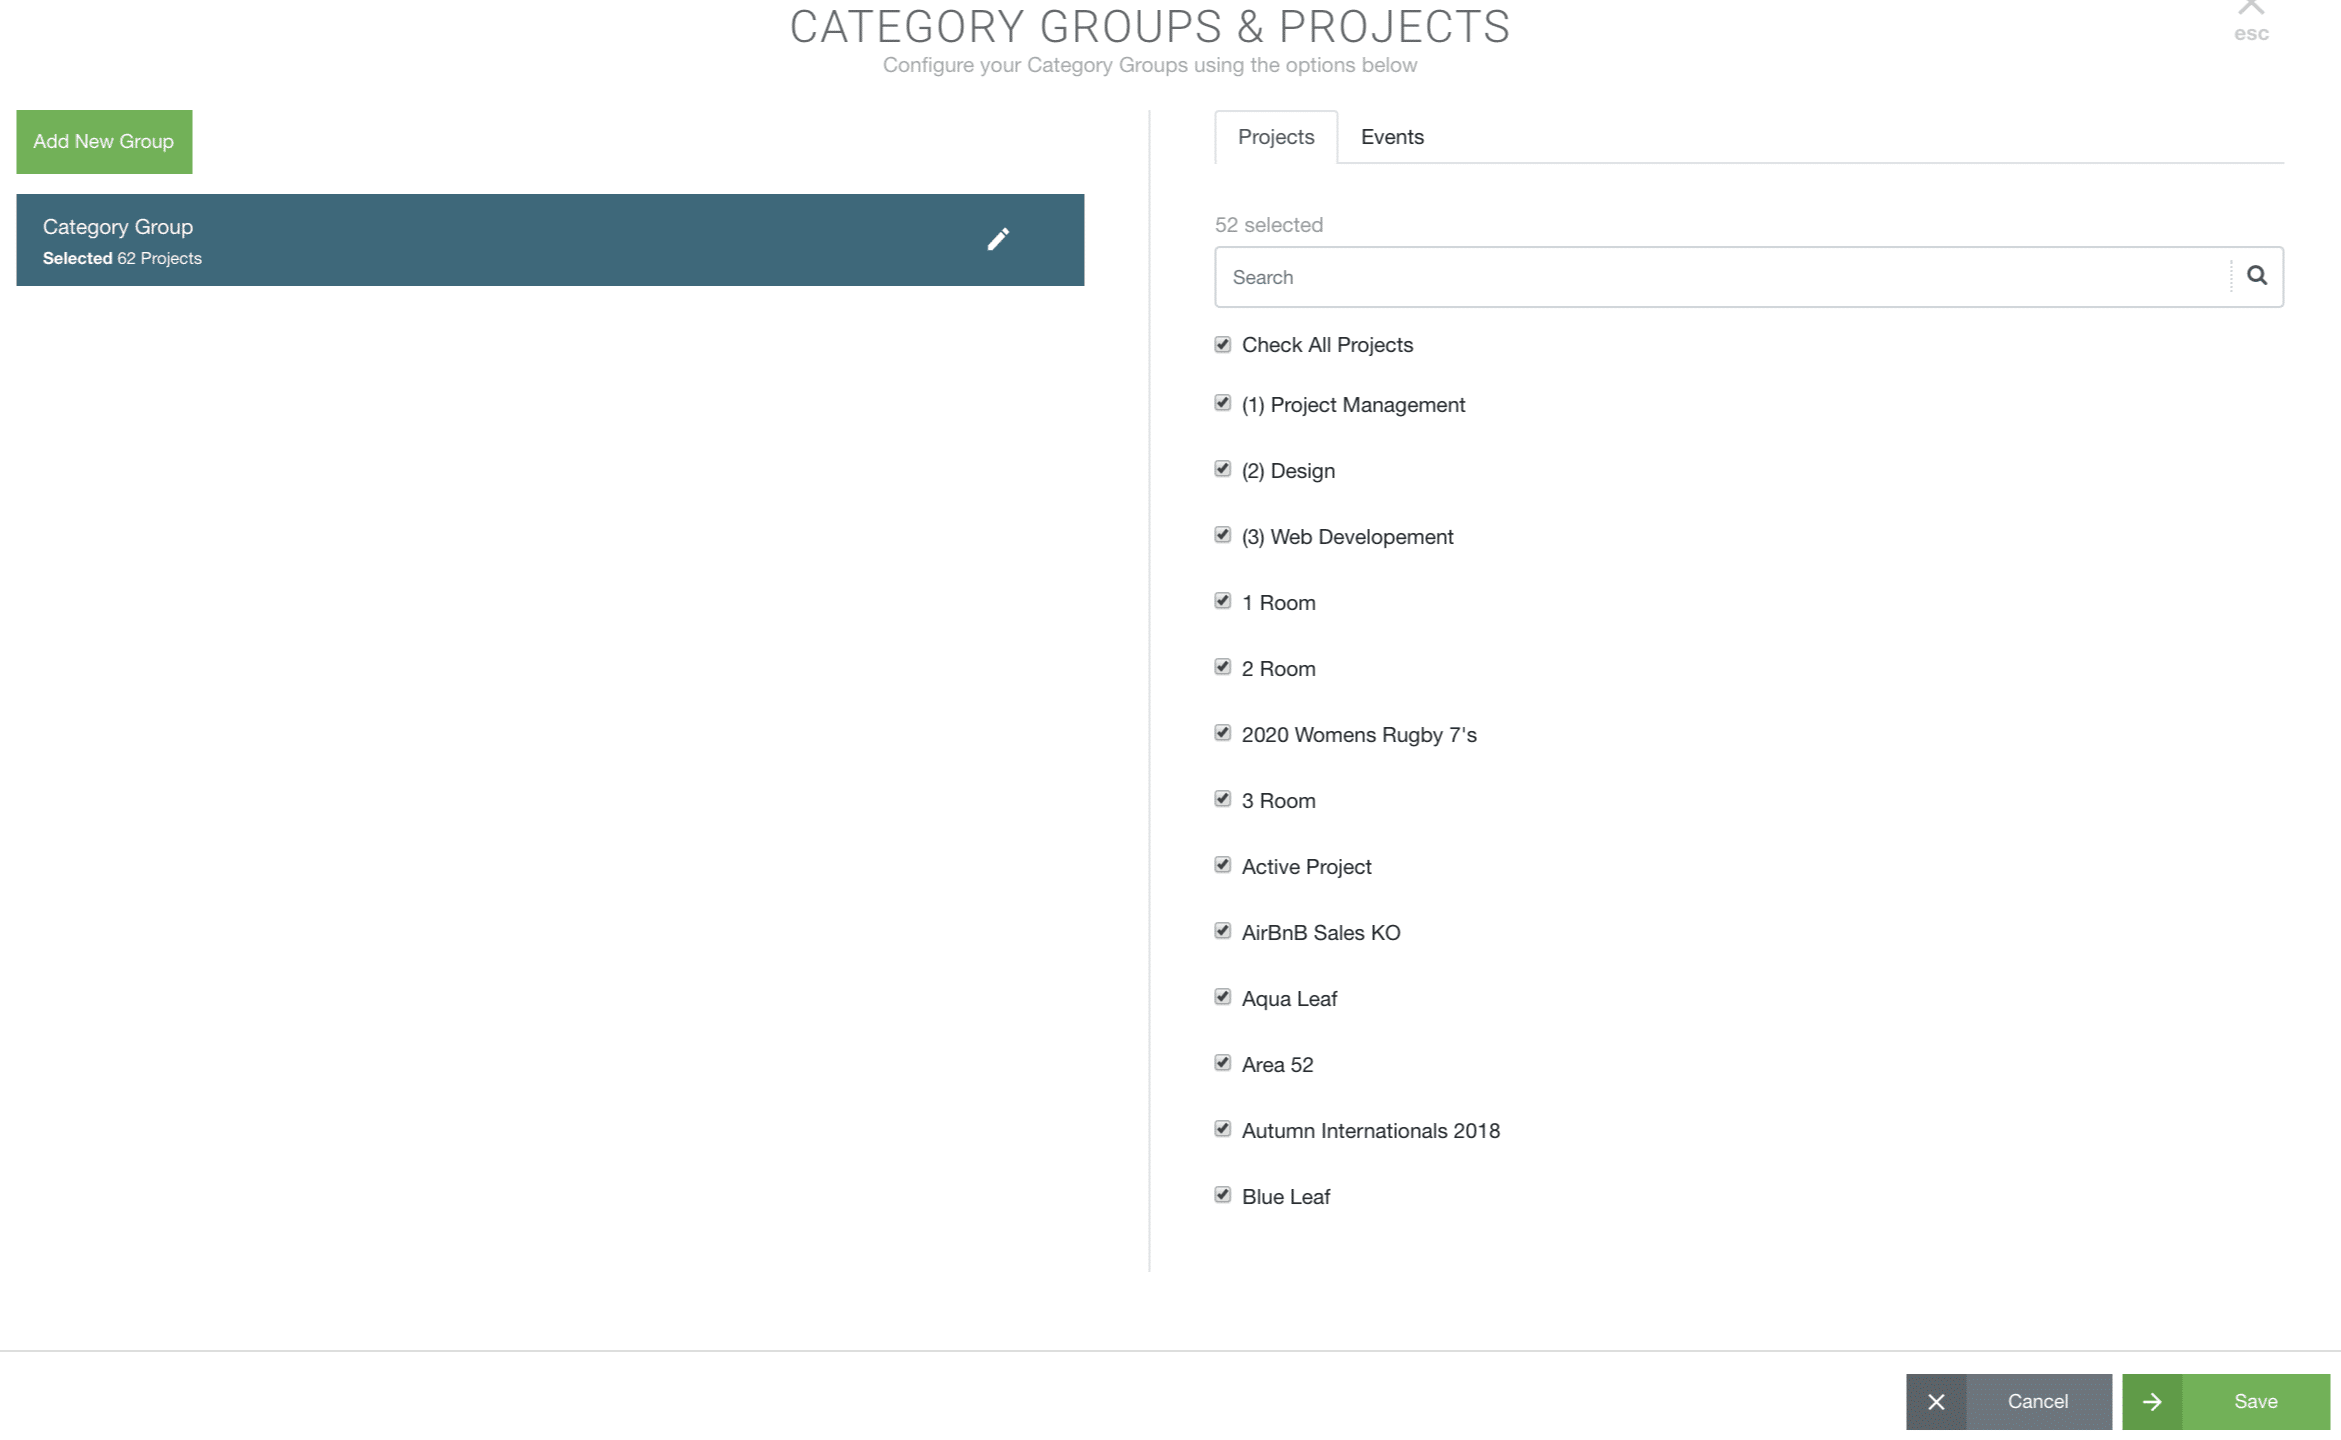
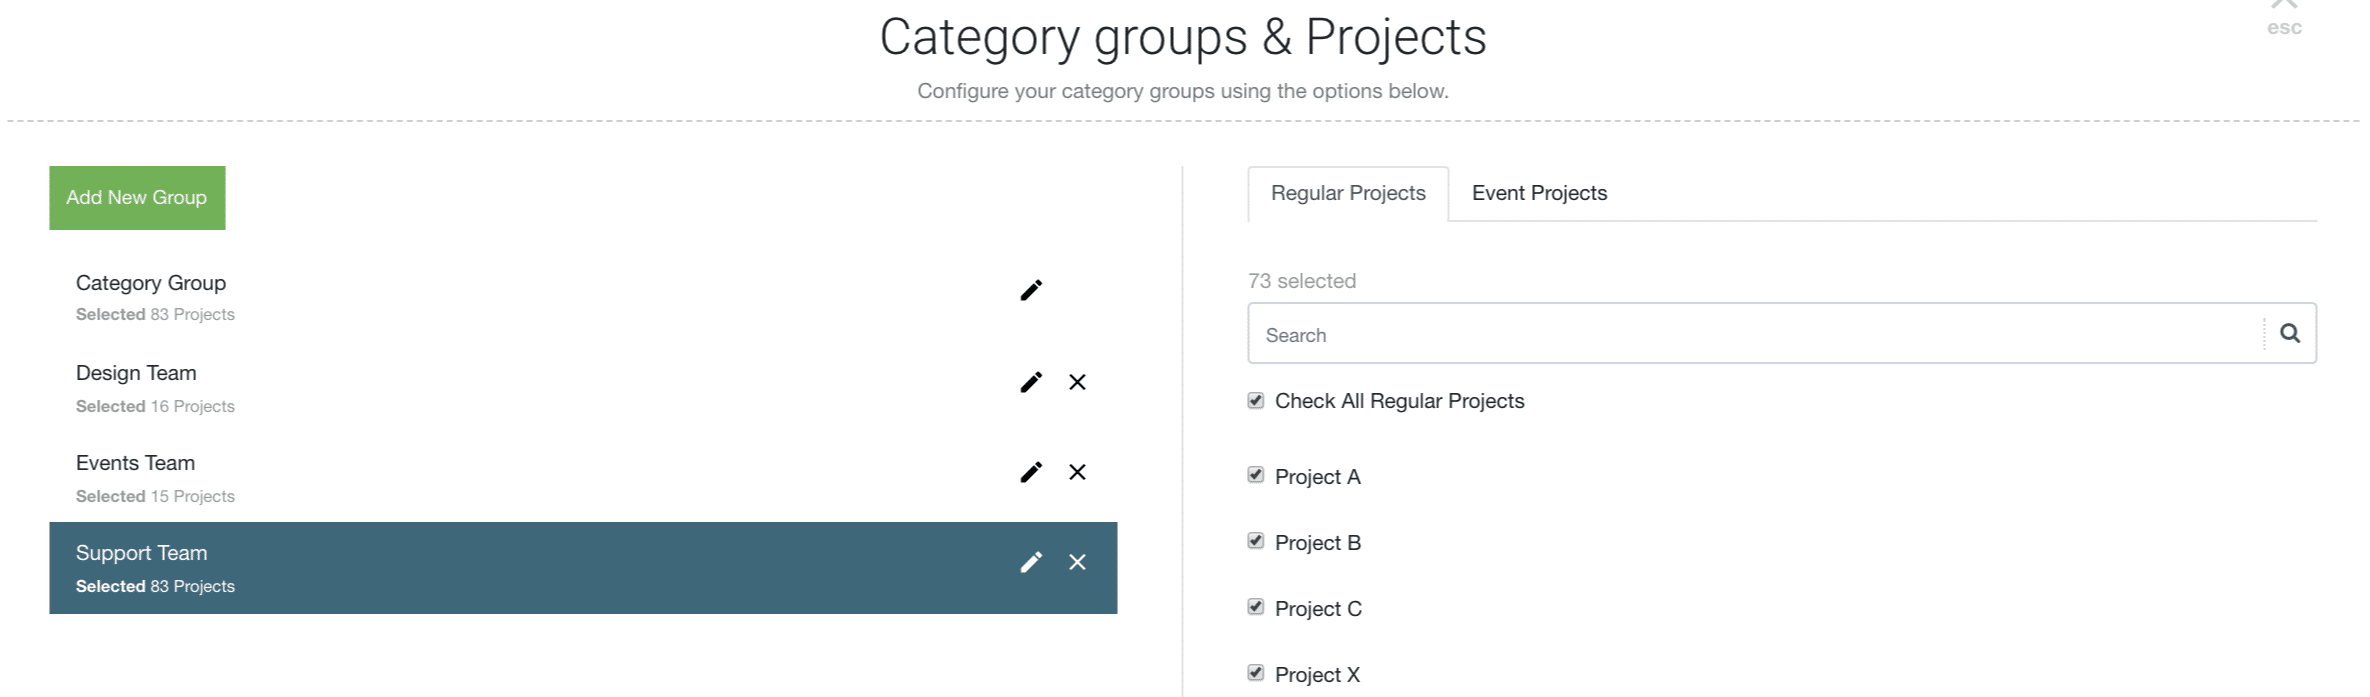
How to add a projects to a Booking Category Group?
Next, we need to add the projects and events to a booking category group.
Click the Booking Category Group, in the adjacent column you have access to the list of projects and events.
Tick the box of the projects/events you wish to add to the Booking Category Group you have selected. Under the category name will show the amount of projects selected.
Don’t forget to click save.
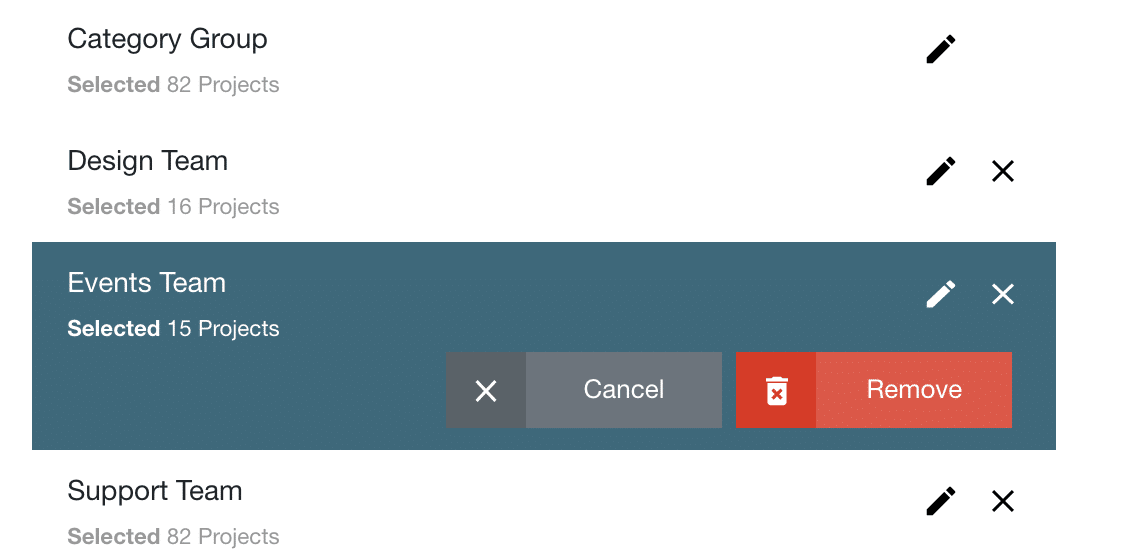
How to remove a Booking Category Group?
- Settings
- Account Setup
- Booking Categories
- Manage Groups & Assign Projects
- Select the Group.
- Click the X
- Confirm to Remove Booking Category Group
How to remove a Booking Category?
Click ‘X’ of the booking category you wish to remove. You will be asked to confirm the removal prior to action.
How to remove a Booking Category from a Group?
 Settings
- Account Setup
- Booking Categories
- Select the Group.
- Select the Category
- Click the X
- Confirm to Remove Booking Category Group

Allocation
How to enable a default allocation?
Adjacent to the manage groups and assign projects button is the settings gear icon. Click the drop down arrow for access to click the box. By doing so will enable the allocation option on booking categories.

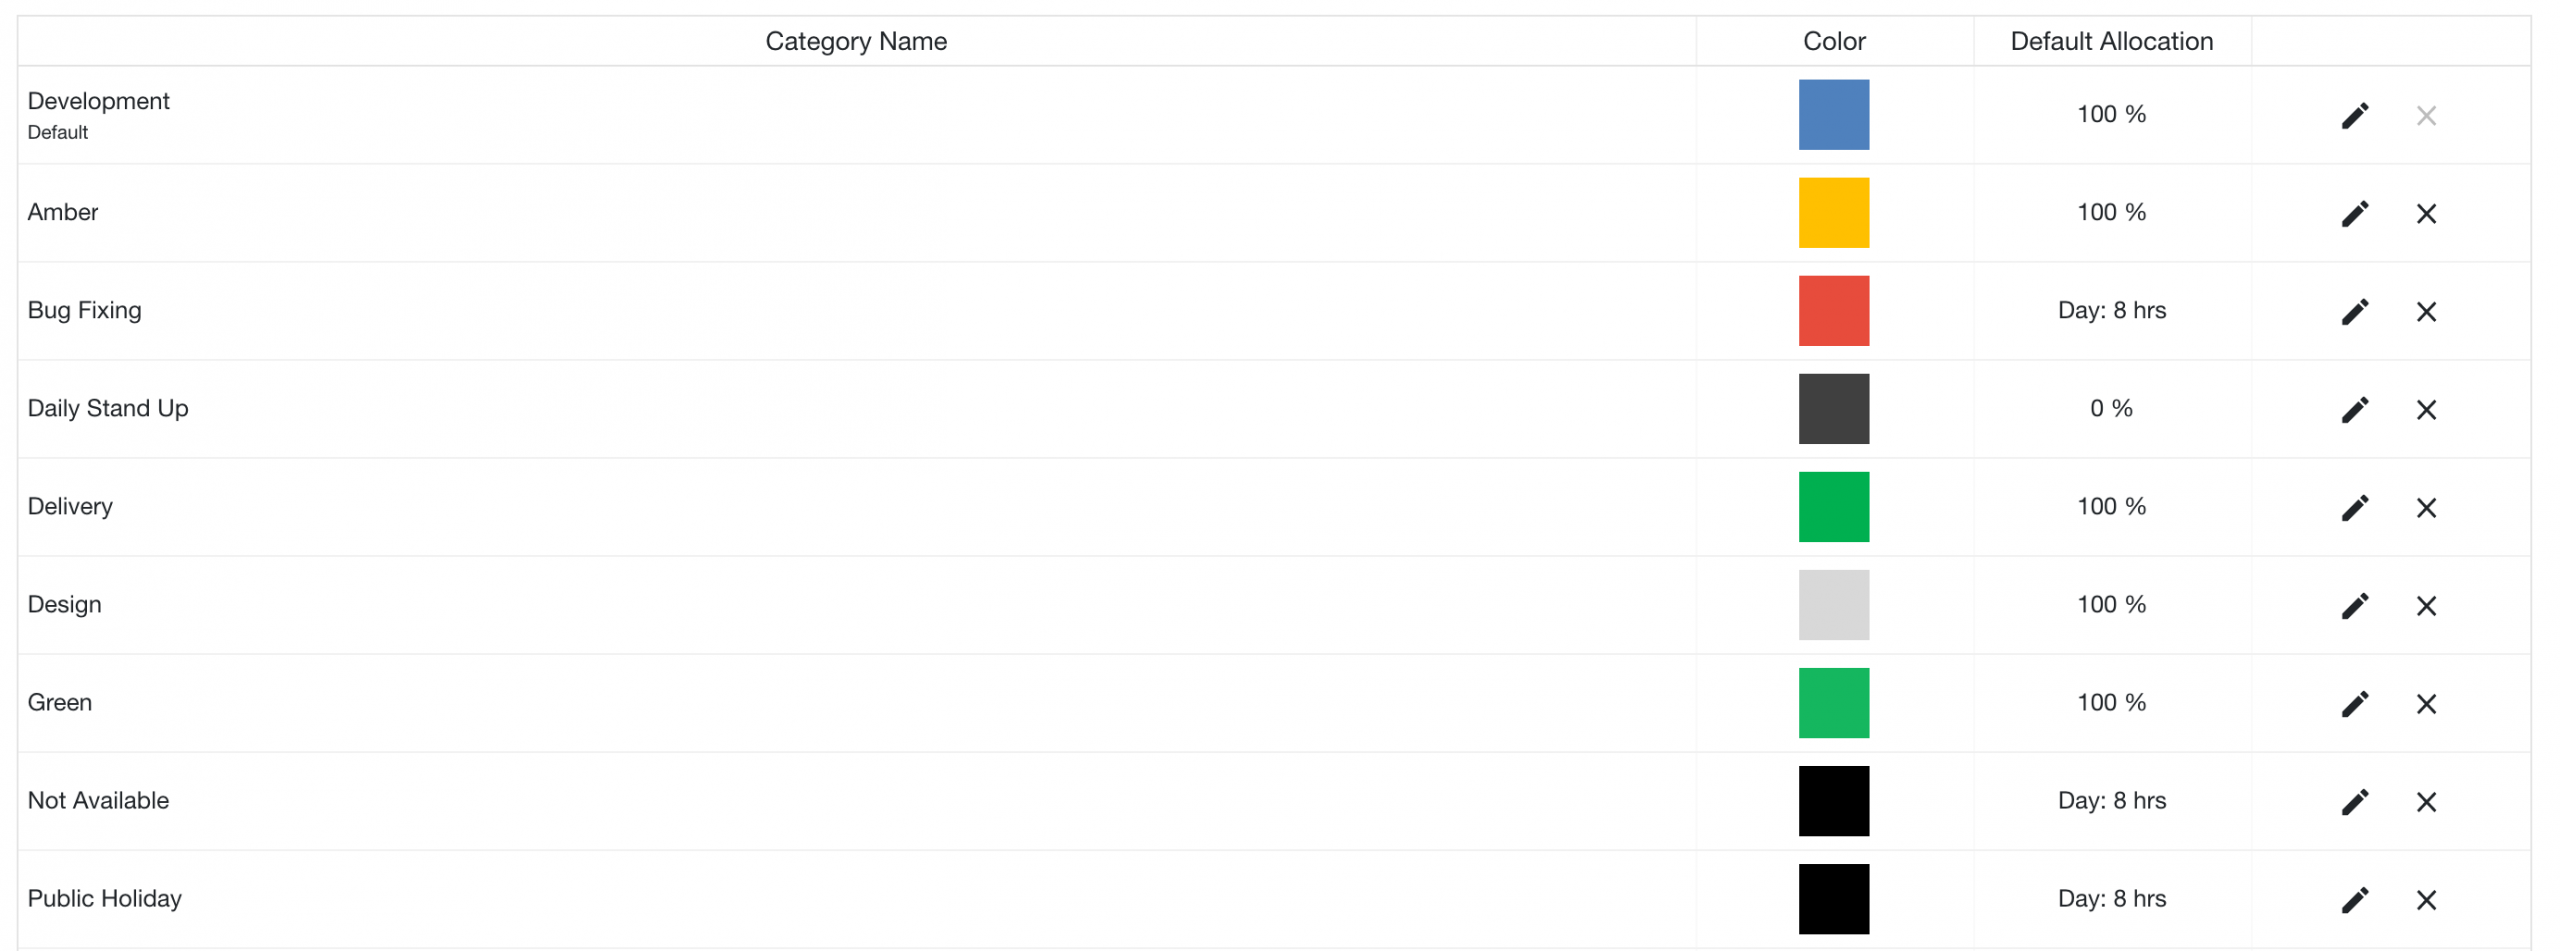
Once enabled the booking category allocation becomes live on the screen. Adding a new booking category now provides the option to apply a default allocation. The booking category allocation column appears between the category color and the edit icon.

Booking Category Allocation Default
How to switch what allocation type the booking category will automatically default to. To do so, follow these simple steps.
- Settings
- Custom Settings
- Customization
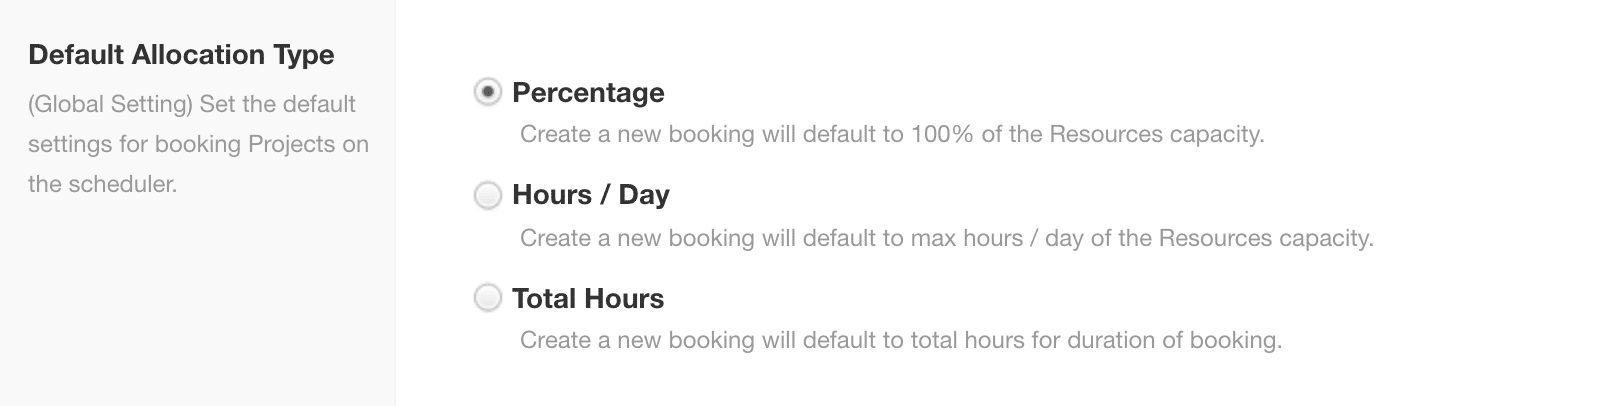
- Default Allocation Type
How to edit Allocation of Booking Category
To change the allocation of the booking category, click the pen of the category you wish to change. This will open the booking category modal.
Go to the Category Booking Allocation section. Switch the allocation type and click Save.
Can I switch Booking Category Allocation in different groups?
You can set allocation for every booking category. If you assign a booking category group to multiple projects. The default allocation will work the same across all projects. You cannot assign different allocations for the same booking category in different projects.
How to disable Booking Allocation?
Navigate to the settings gear icon at the top of the page beside the green button ‘Manage Groups & Assign Projects’. Click the drop down arrow and uncheck the box. This will remove the allocation options from the screen.
What happens to the previous bookings made under an allocated category?
The allocation will remain the same. There will be no changes.
A booking can have three different types of allocation.
- Percentage
- Hours / Day
- Total Hours
Percentage
Using this method books the resource a % of their availability each day. For example: If a user has a default capacity of 8hrs /day and you book them, 50% then the would be reported for 4hrs/day.
Using percentage can be useful when you want resources to spread out their time over different bookings.
Hours / Day
You can book a resource by setting their hours/day for that particular booking. This is always set to the default.
Total Hours
This can be used if your booking is scoped out at 20 hours for example. You enter 20 hours into the total and the hours/day is dynamically calculated based on the start and end dates.
Perfect For: The Scheduler bookings grid is perfect for those Monday Morning Meetings or Friday Evening wrap ups to see how the week ahead looks and how the current week went. Everyone can easily digest where the gaps are in production within a few glances at the schedule.
Scheduler
Using Booking Category Groups in the Scheduler
Let’s take a look at how the booking category groups will look in the Hub Planner Scheduler.
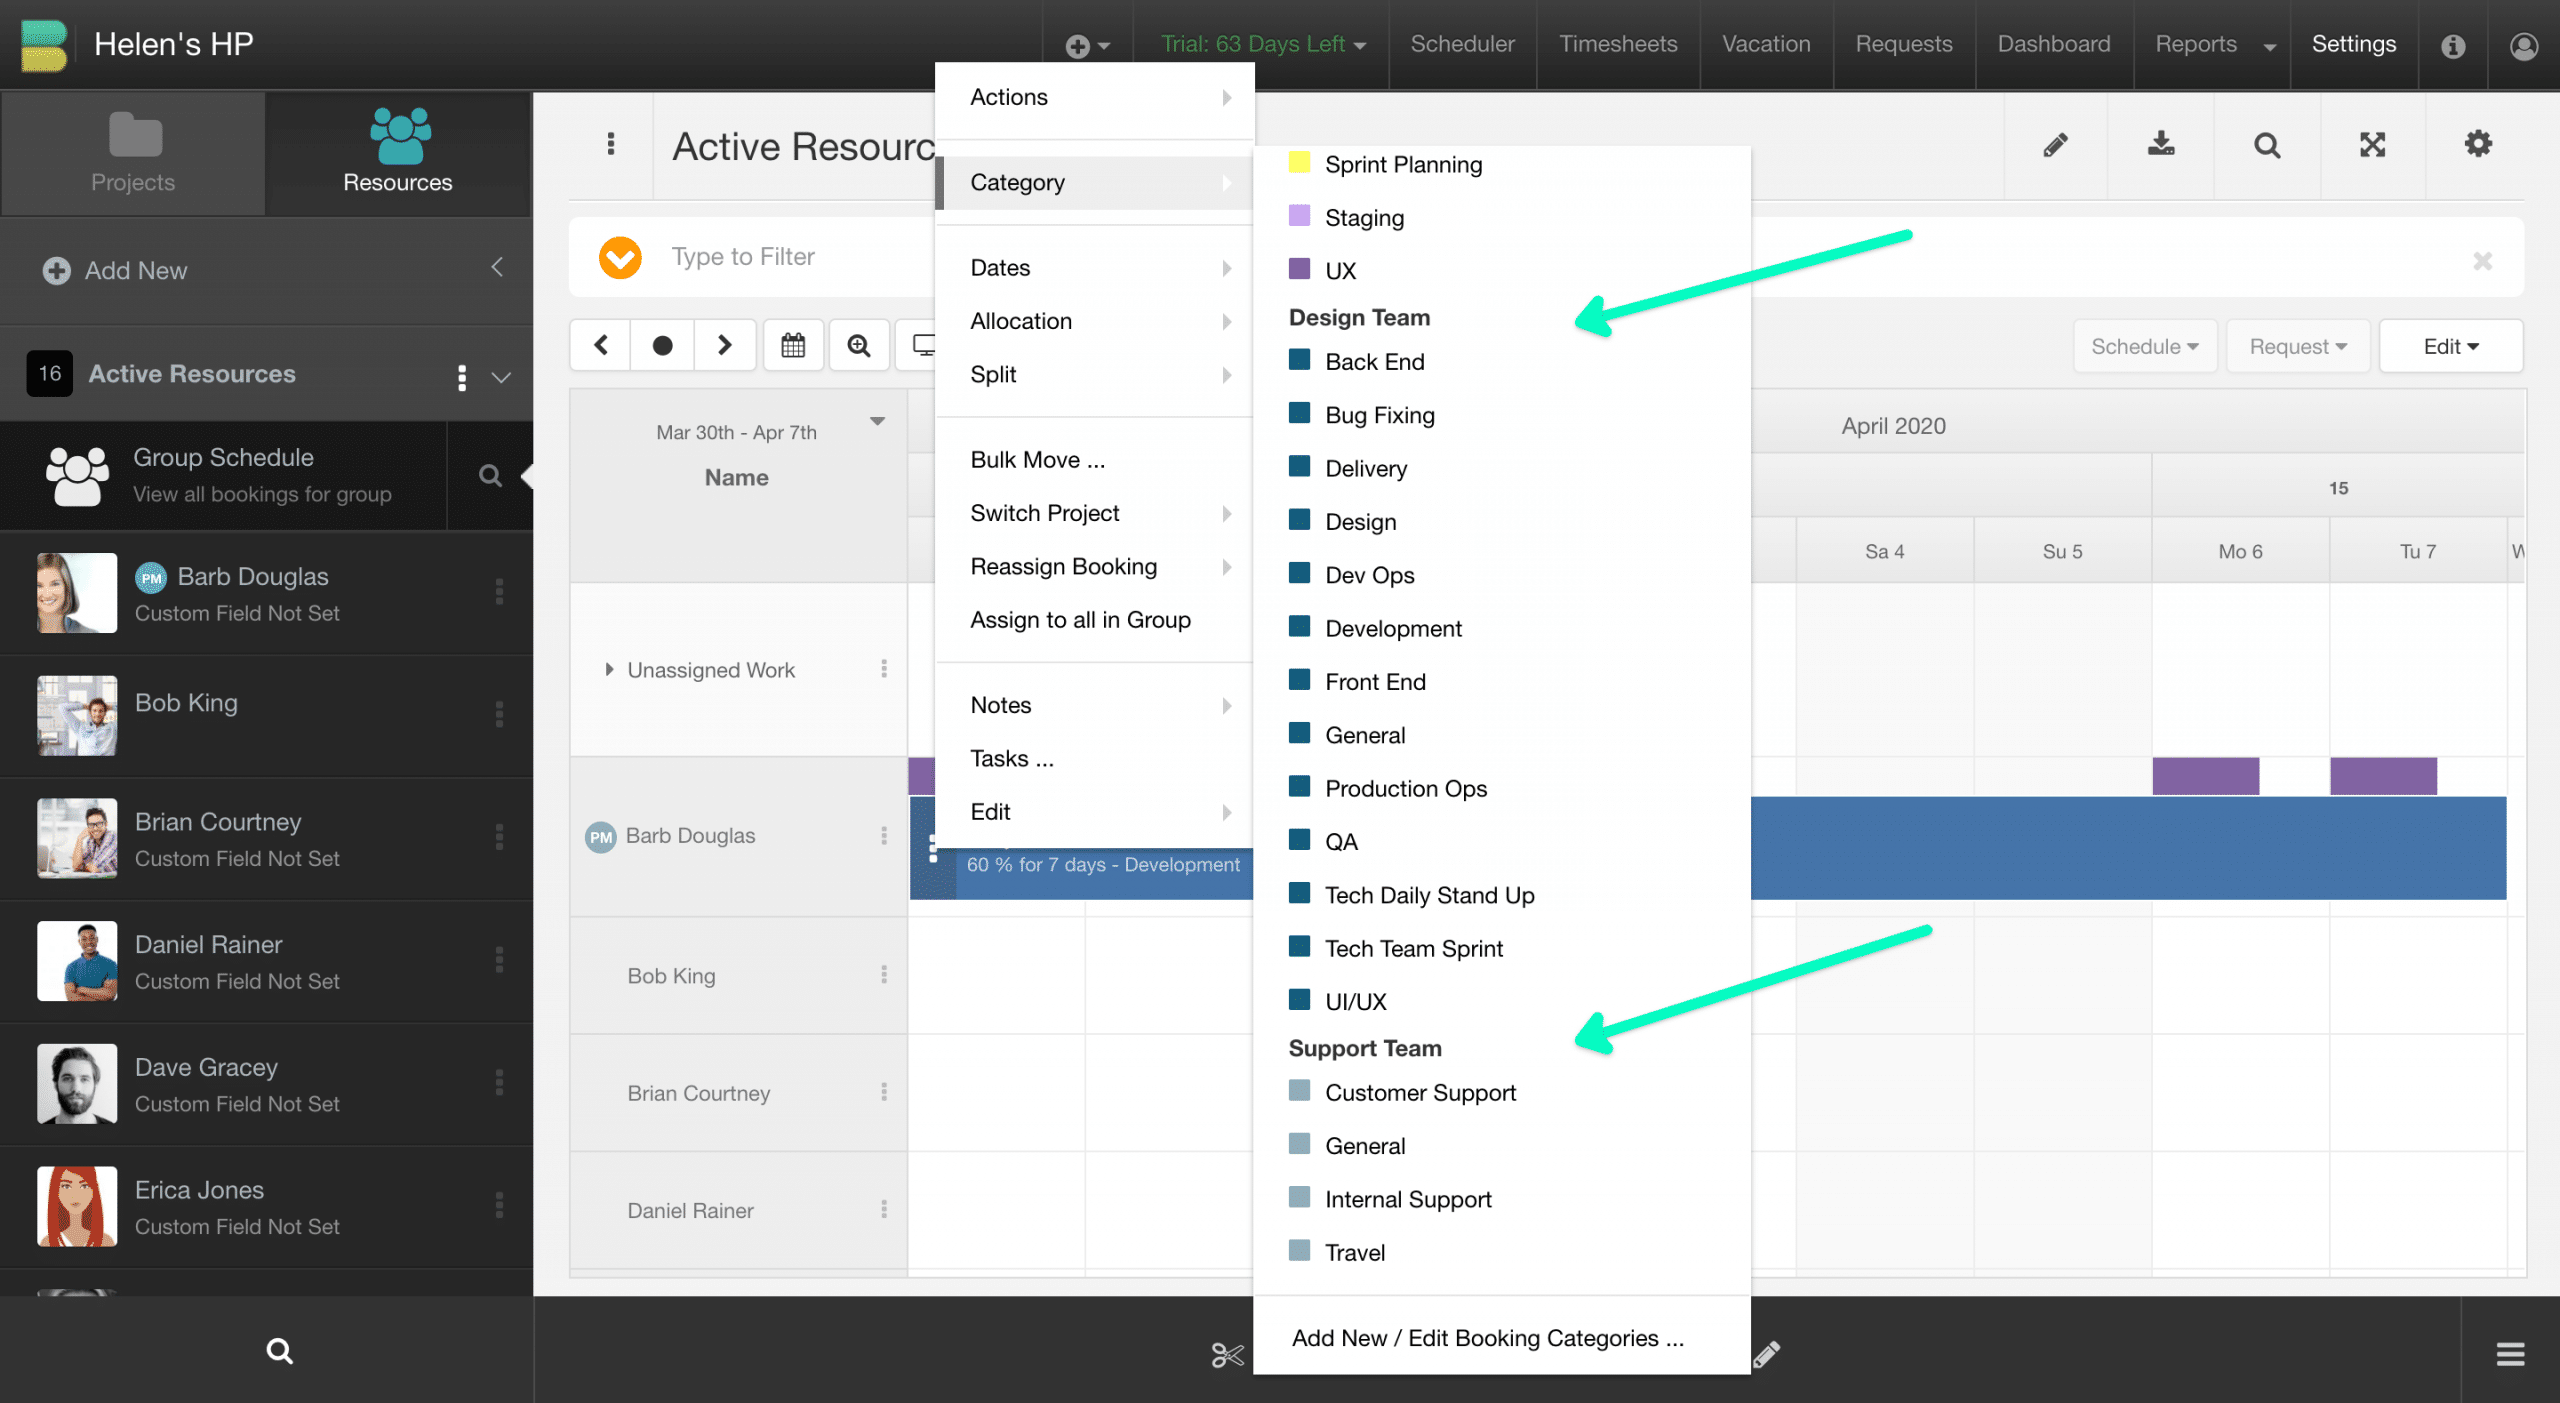
When scheduling a resource on a booking and choosing a booking category.
- Click the 3 vertical dots of the booking to open the booking menu.
- Select Booking Category which will open up a subsequent menu of booking categories
- The Booking Category menu will be split into the groups selected for this project.
- Sorted by order of Booking Category Groups starting with the default booking category group and followed by the subsequent booking category groups.
- Note each category group will have the heading name of the group as pointed out in the below image.
Note, if you have a previous allocation set in the booking. The booking category allocation will override the previous booking category allocation. You can easily adjust accordingly by simply clicking the allocation options in the booking menu.