Adding Request Notes to Resource and Vacation Approval Workflow
We have added the ability to add free text description request notes which allow for the recording of information that eliminates the need to email, slack, skype or searching for further information on the request purpose. Furthermore, if it is still relevant. Adding text to requests are a simple but ever resourceful feature that creates even more efficiency when creating and managing requests and resource scheduling.
Why Add Request Notes?
Hub Planner already supports resource tags, project tags which are useful for short label and can be limited to what you wish to document. Adding notes allow for a free text descriptive details that can support the resources and vacation time you seek. They can also act as a visual reminder or flag to the resource booking.
“Bob has worked well with this client before, it would be great if you could free him up to work on this project.”
Where can I use the Request Notes?
You can add notes when you are require vacation time or alternatively, when requesting a resource a resource to work on a booking or project.
Where will I see the Request Notes?
There are four areas where you will see the notes.
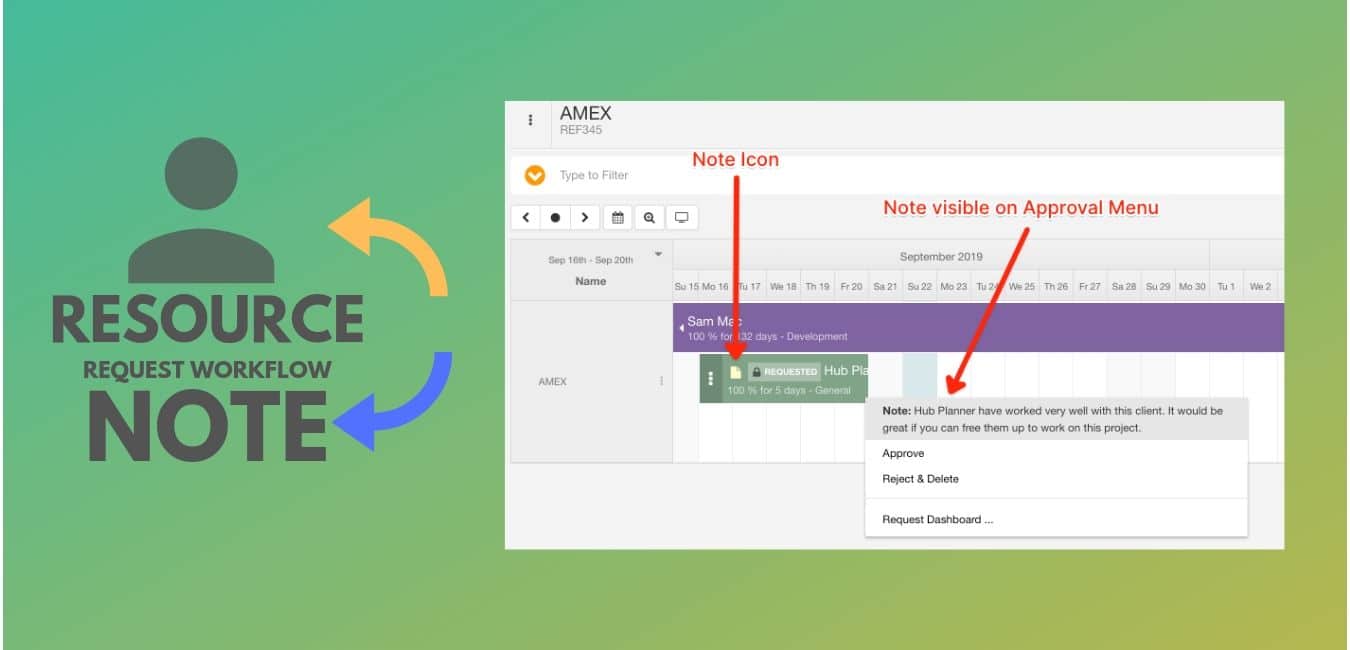
- Request Bookings in Scheduler. The note icon has been added to the booking that shows you there is a note.
- Request Approval Menu from the Scheduler. The text of the note is shown in the approval menu.
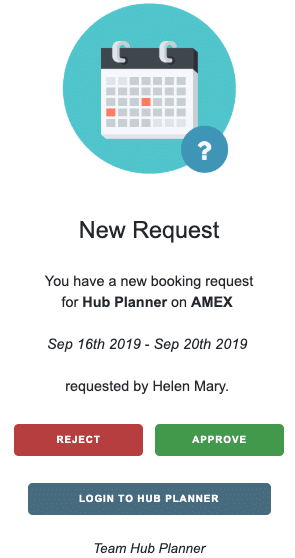
- Email Notification. You will receive a full descriptive text of notes that accompany the request.
- Tooltip Display. The tooltip displays the text from the note which assists greatly for quick reminders.
How to Add Request Notes?
Requesting A Vacation Steps to Take
- Navigate to the Vacation Tab or Requests Tab
- Click Request Vacation (Suitcase Icon)
- Select the day or range of days from the calendar.
- Select the approver
- Add Request Note
- Select the Requested Vacation Allocation
- Click ‘Request’
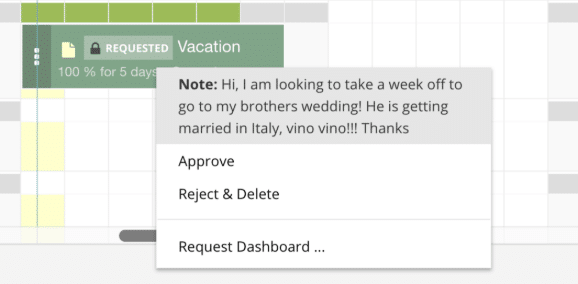
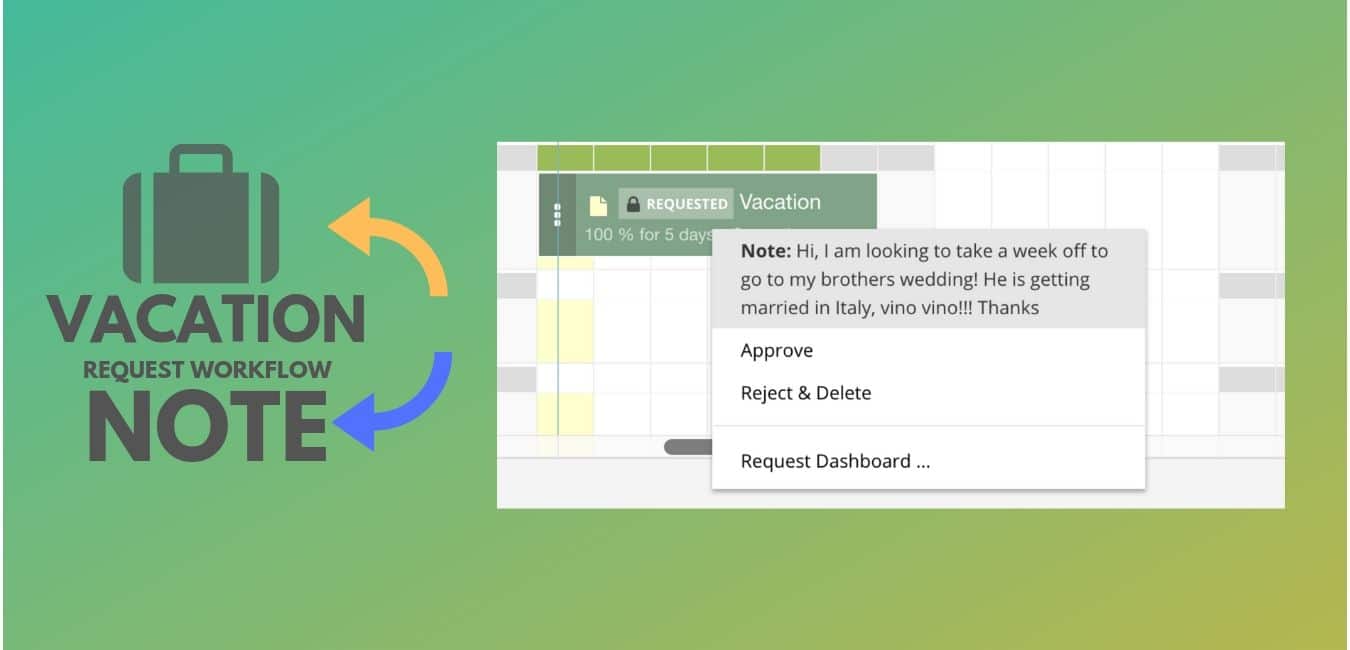
The note you added is visible from your dashboard table as well as from within the scheduler.

“I am requesting a week vacation leave for a family wedding in Italy!”
Requesting A Resource Steps to Take
- Navigate to the Requests Tab
- Click Request Resource (Person Icon)
- Select Resource
- Select Project or Event
- Apply the Requested Dates
- Requested Booking Repeat if any
- Select Approver
- Add Request Note
- Select the Requested Resource Allocation
- Select Booking Category if any
- Click “Request”
The note you added is visible from your dashboard table as well as from within the scheduler.

Approval Workflow
You can approve or reject a request with a note from the request table. You can also approve direct from the scheduler approval menu or indeed from the email notification.
Who will see the Notes?
Resources with approval rights have sight of the notes for resource or vacation requirements. You can set the access rights of resources within the Settings menu.
Further Reading
Learn more about Hub Planner’s Request & Approval Workflow and also the Vacation Workflow that makes for efficient Resource Scheduling.

