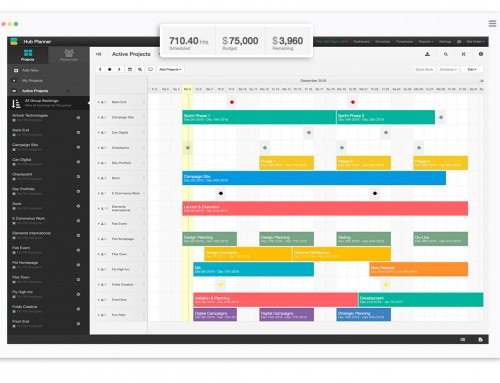
With Hub Planner you can customize the scheduler to suit your visual needs. Each customization is saved on a user level, so each logged in user can set the scheduler up how they like it. This is a great way to let individuals customize the experience aroudn their resolution and preferences. You can do the following customizations:
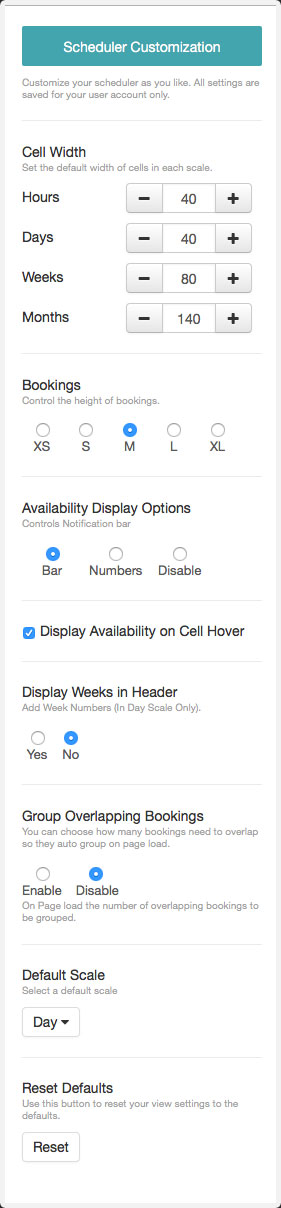
Change Cell Width
For each scale in the scheduler you can change the width of the cells. Basically zooming out and in how you like. The bookings on the scheduler dynamically change with this with and you can set different widths for each of the available views.
Booking Size
Similar to an article of clothing you can choose between XS, S, M, L and XL for your scheduled event and project bookings. Whichever preference suits you.
Availability Display Options
You can decide weather to have the availability turned on in the scheduler and which type of availability to display. This also comes with a hover option when using the notification availability bar.
Display Weeks in Header
Clients who need to show week numbers in their scheduler header, have this option.
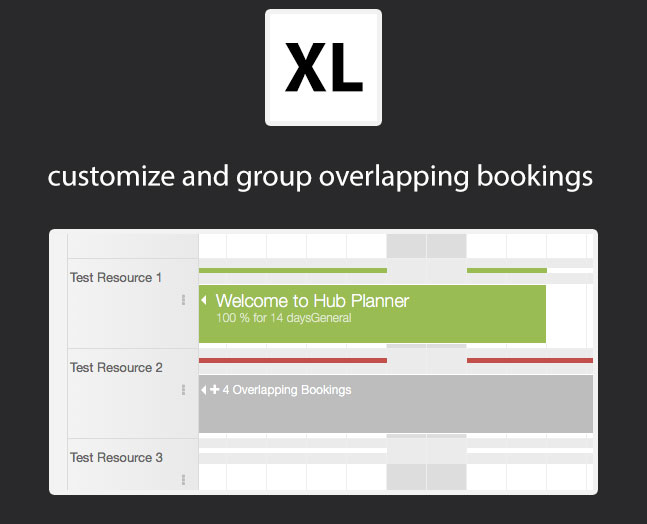
Group Overlapping Bookings
Decide weather you would like to group overlapping bookings in the scheduler. What this means is that it groups concurrent bookings which overlap each other into 1 collapsible group. You can set the threshold of when a group should be created. For example, maybe you only want to group bookings over a certain level.
Default Scale
You can set the default scale of your scheduler. The Hub Planner default is days, but if you prefer to plan in hours, weeks or months you can set this here.
Reset Defaults
Use this option to reset to the factory setting defaults.
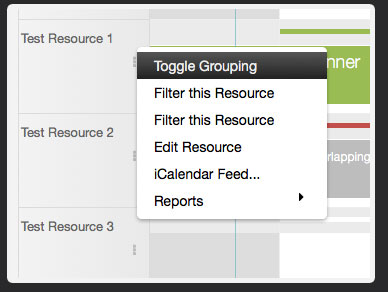
You also have the ability from the row menu to toggle the grouping over an individual row.