How Zapier Integration Works With Hub Planner
Hub Planner’s integration to Zapier expands the use options and flexibility for our customers. Integrating Hub Planner to other apps can increase users productivity and simultaneously save users plenty of time.
What is it?
Zapier is an online tool that connects your favorite apps together, making them sync and do the work for you in the background. You can connect one or more apps as you like and automate tasks. To get started, you will need to create your ‘Zaps’ (the Zapier’s workflow between apps). An activated Zap watches for triggers, which you specify, and results in an action you want it to do. For example every newly created project in Hub Planner will automatically create a new Trello board, or every new resource in your Basecamp will be automatically added as a new resource in Hub Planner.
If you need more detailed documentation on how to create Zaps, click here for a comprehensive Zapier learning center.
Who should use it?
Supporting over 1000+ apps Zapier is a powerful tool that will connect and link different apps. Today, no business relies on one monolithic single software. Nowadays, most businesses will have multiple smaller more tool specific apps which Zapier will link together. By adopting the integration platform you will boost functionality, save time and maximise productivity. Letting Zapier do the job and automate tasks for you saves you a considerable amount of time which you can use to focus on more important things.
To set your Zaps up, you don’t need to be a coding expert, in fact, no coding is required.
To get started, you need to sign up for a free Zapier account here.
What Hub Planner’s Triggers and Action are Supported?
Supported Triggers
Coming soon
Supported Searches
Find Project
Supported Actions
New Resource
New Project
Update Project
Lets Get Started
In order to link Hub Planner with other apps on Zapier, you first need to connect and authenticate your Hub Planner account. Have a look on the quick guidelines to get started.
Note: You will need a personal invite. If you don’t have Hub Planner’s invite to Zapier yet, please, contact us here. We will get back to you shortly.
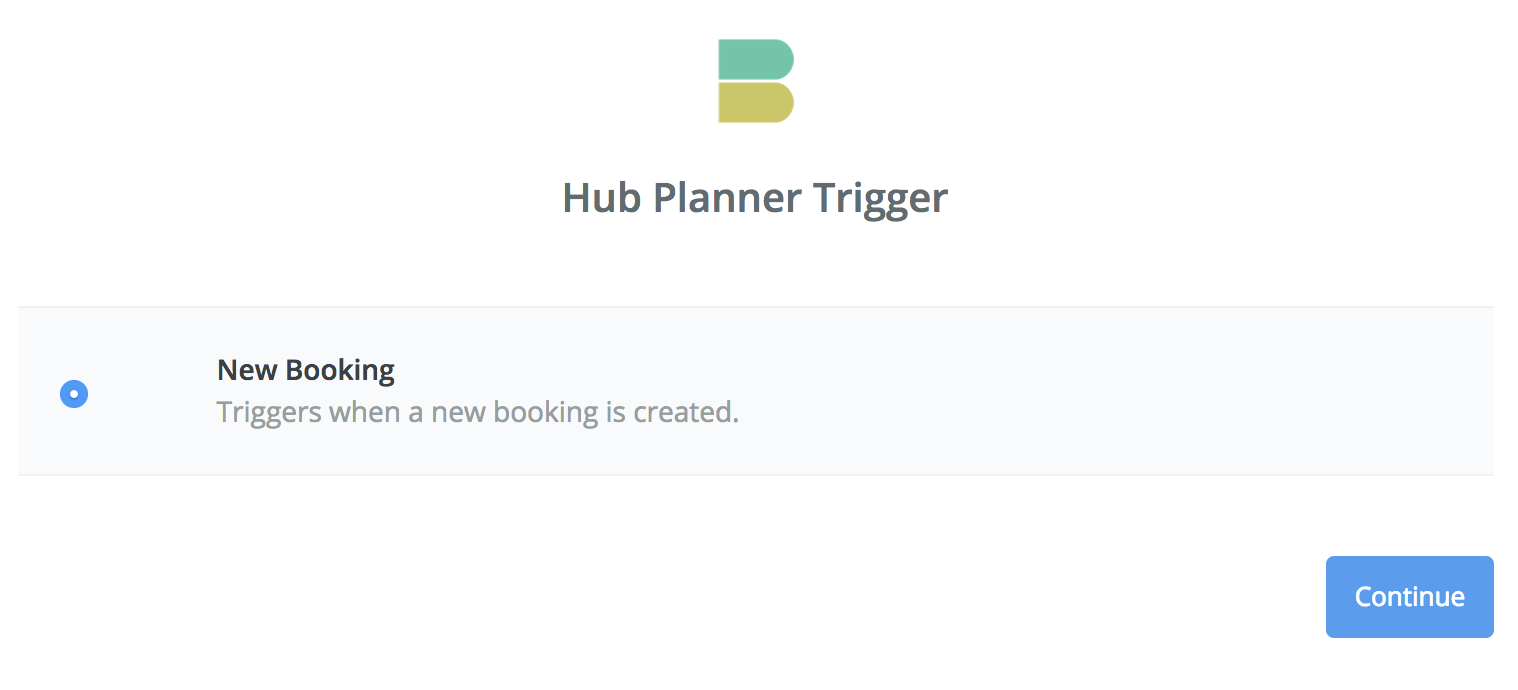
1 – Select Hub Planner to connect your account to your Zap as an action
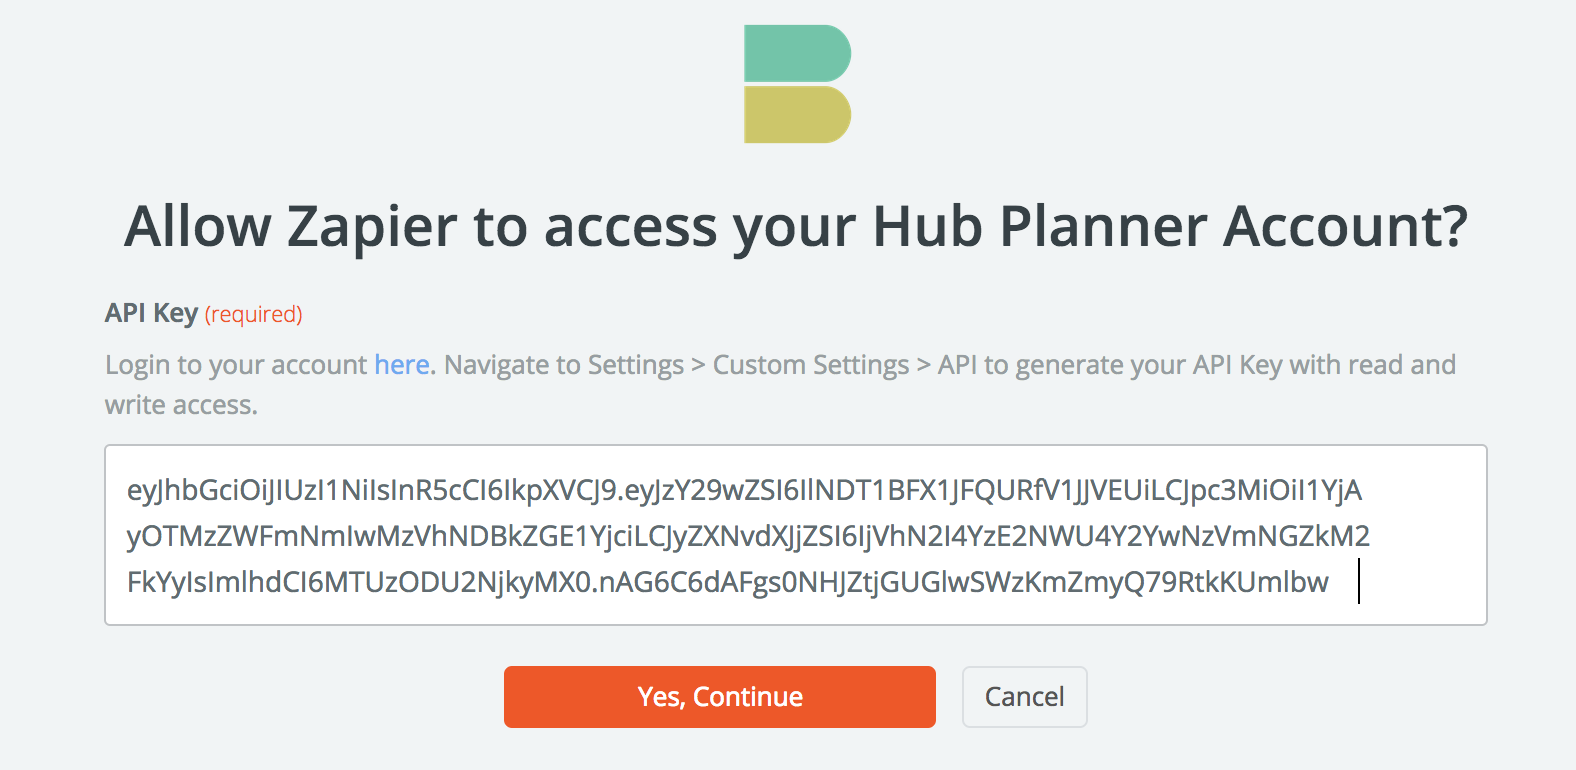
2. You will need to enter your API in order to continue

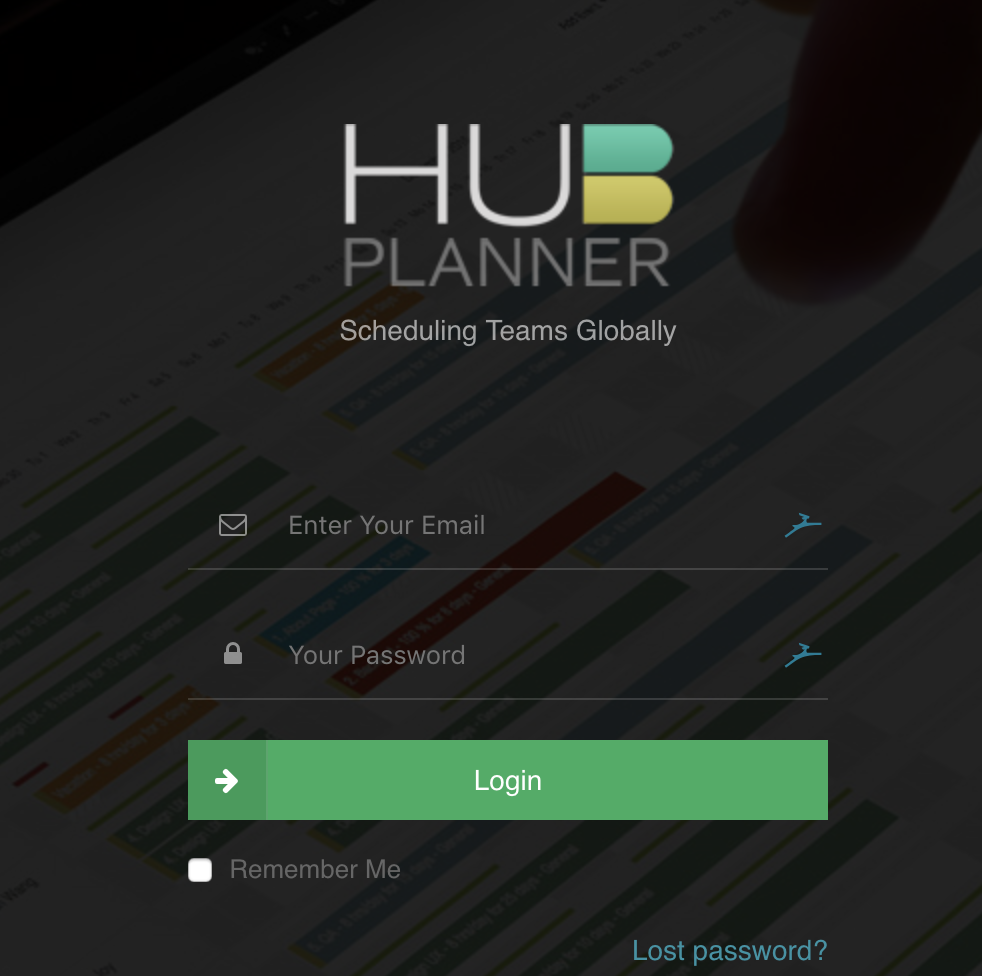
3. You may need to log in to your Hub Planner account if you are not logged in already
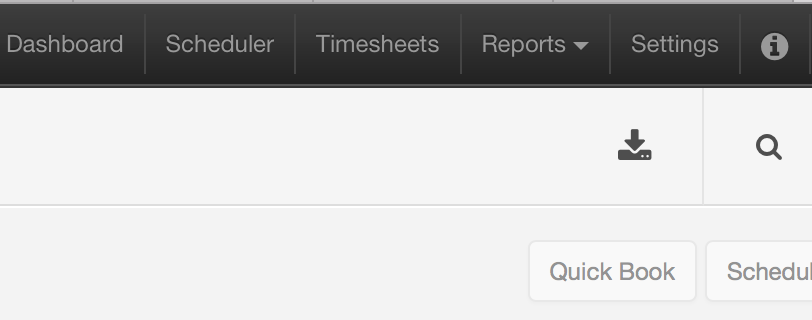
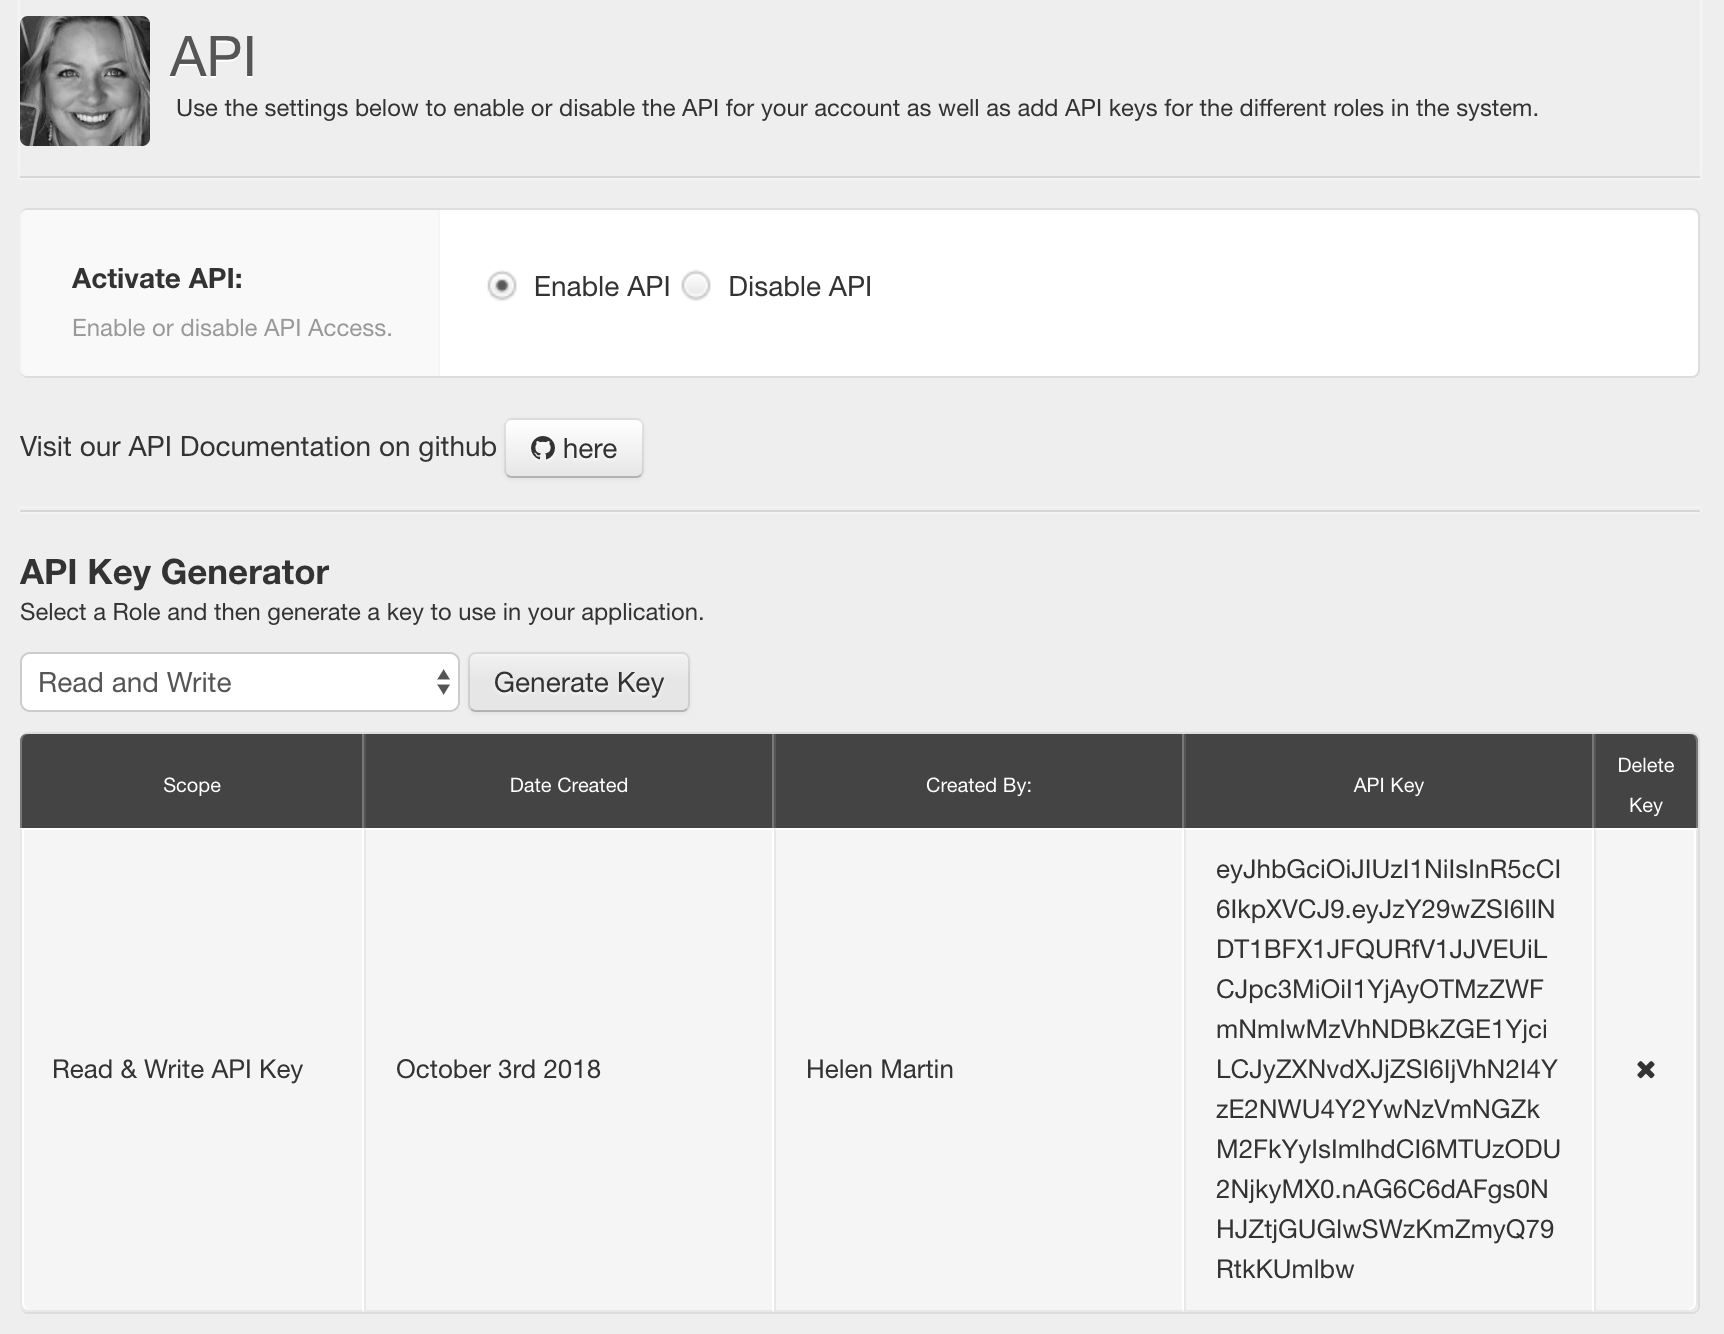
4. After you logged in with your username and password, navigate to Settings from the toolbar. In the left sidebar, scroll down to API.
.
5. Make sure you generate a ‘Read and Write’ API key. Now copy the generated API key and paste it in to ‘Allow Zapier to access your Hub Planner Account’ field
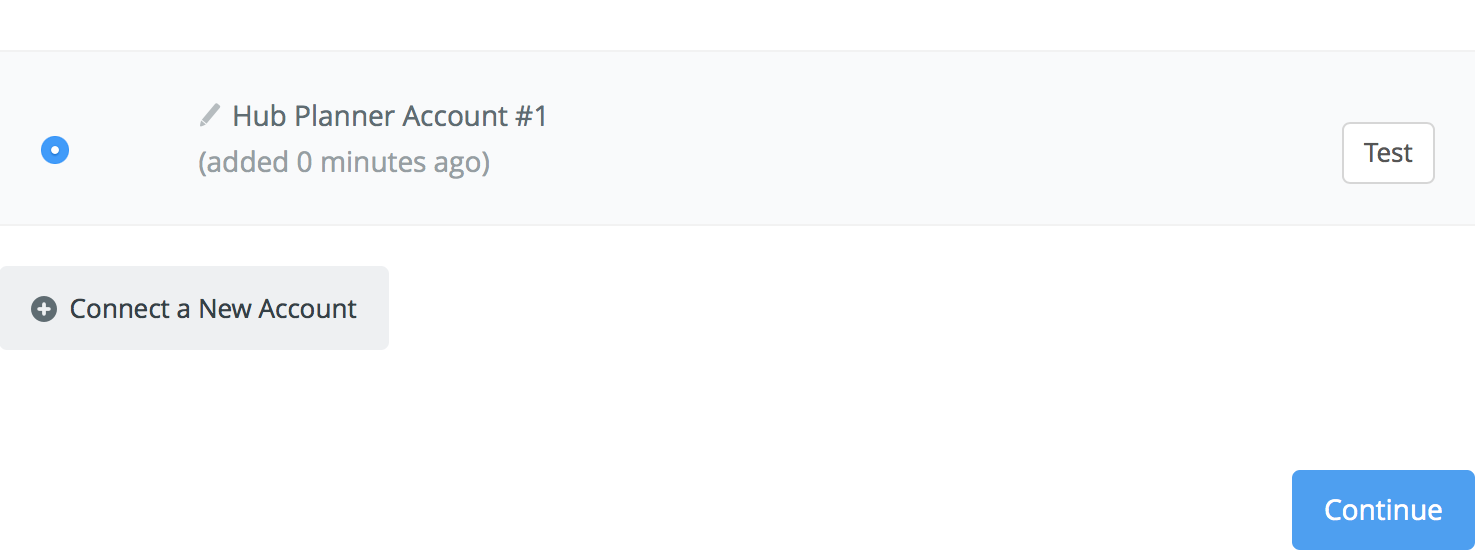
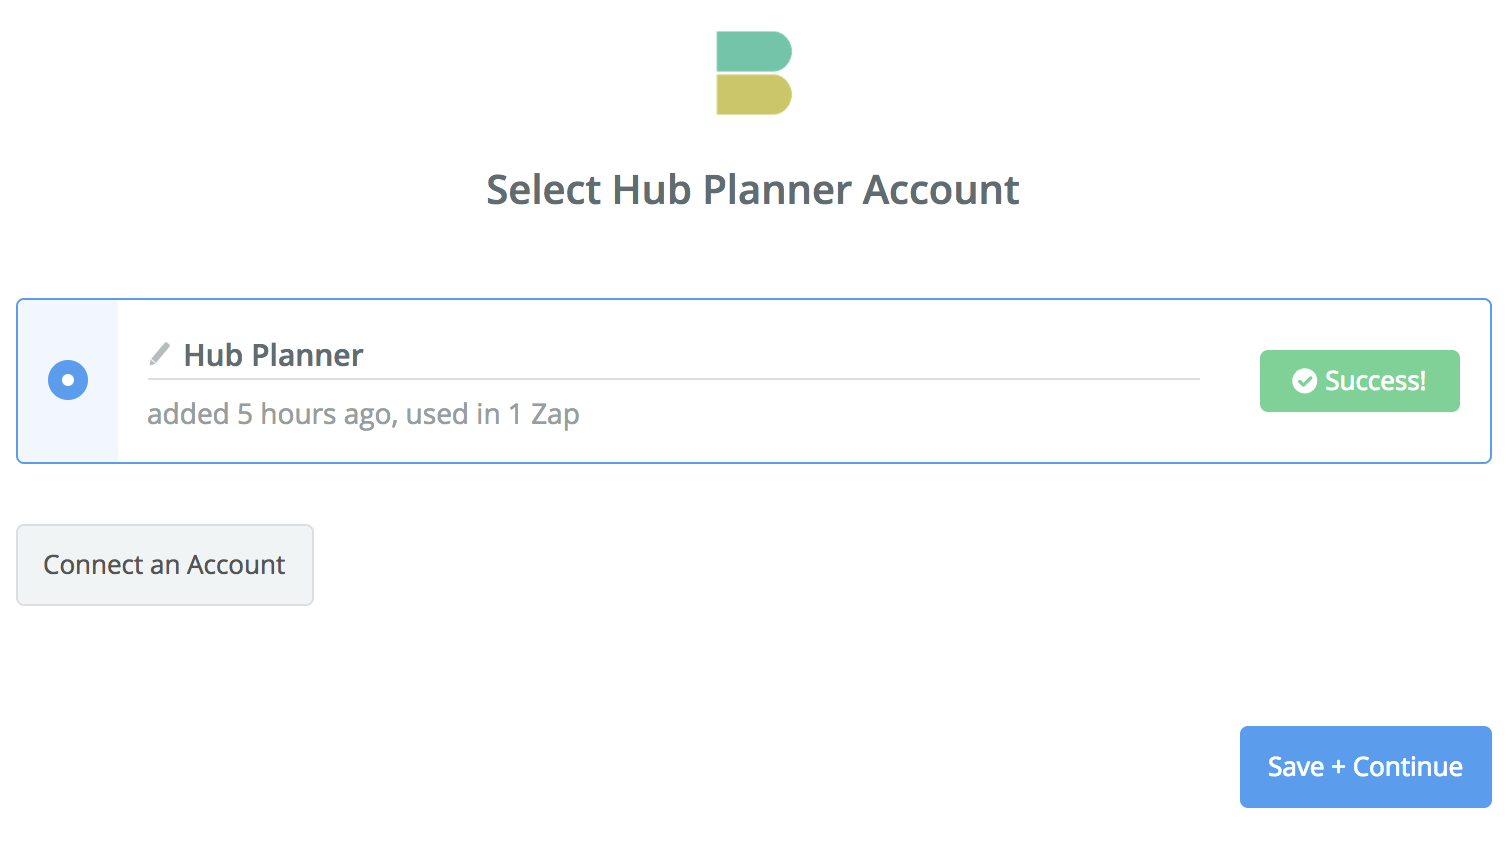
6. Your Hub Planner account should be successfully connected
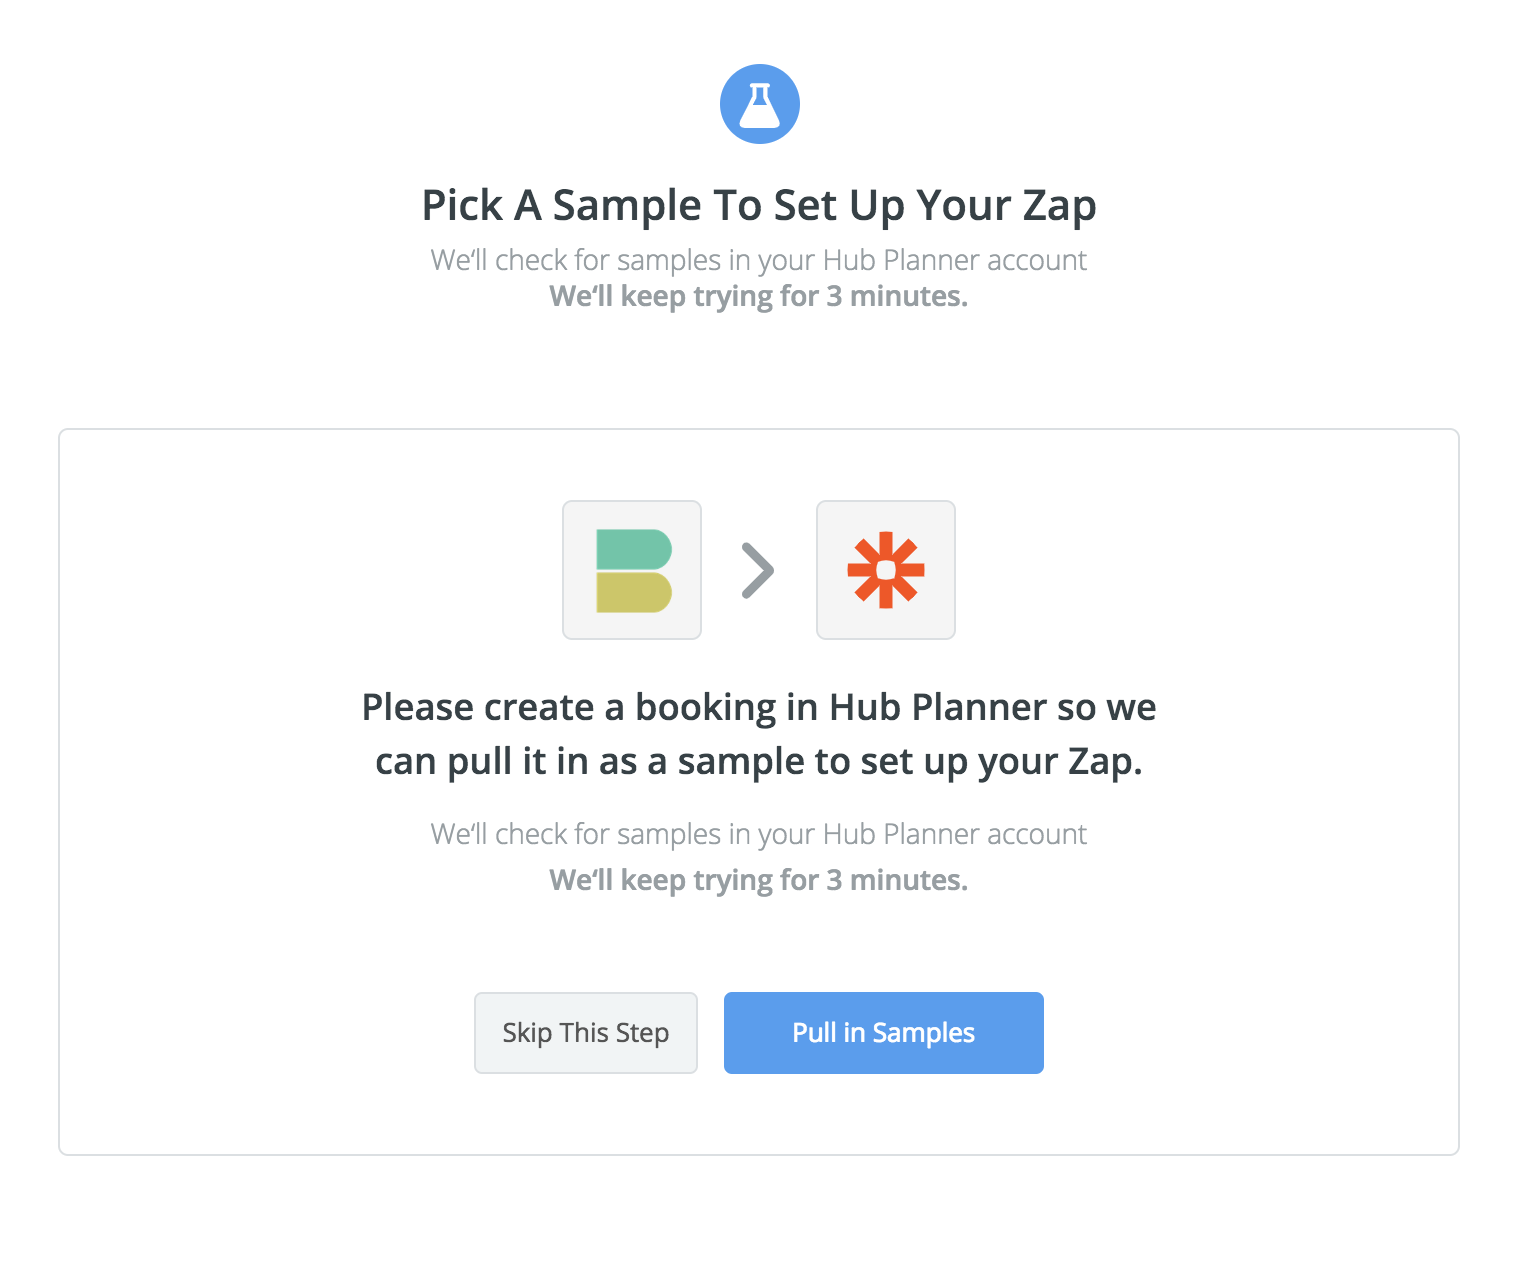


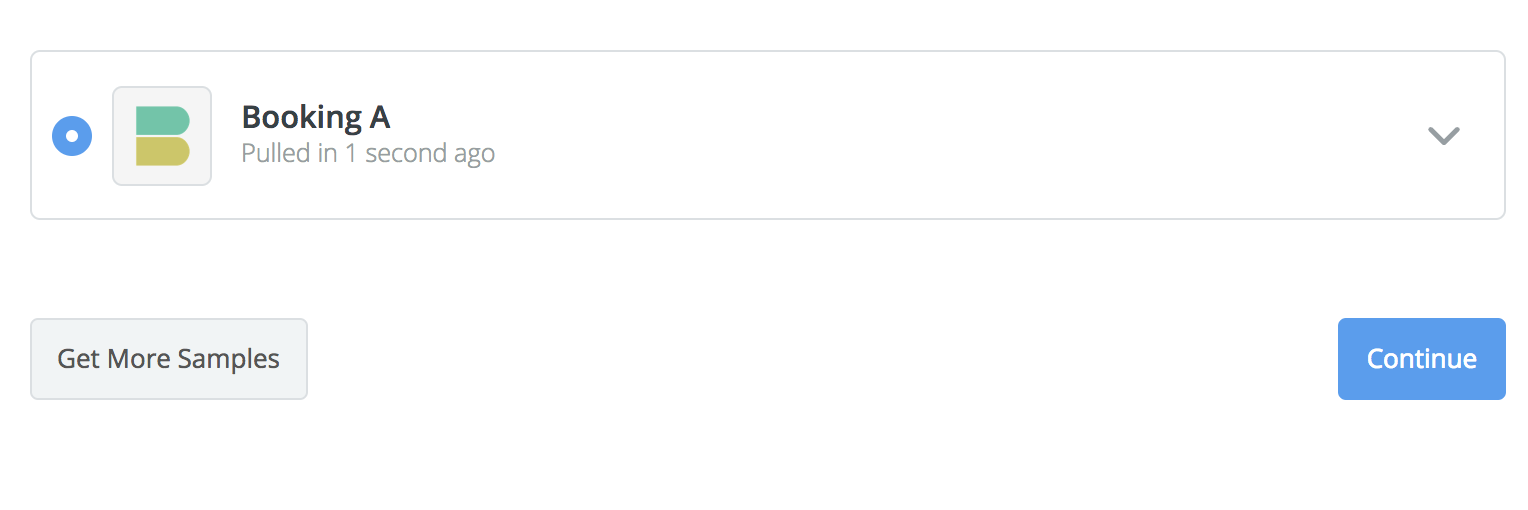
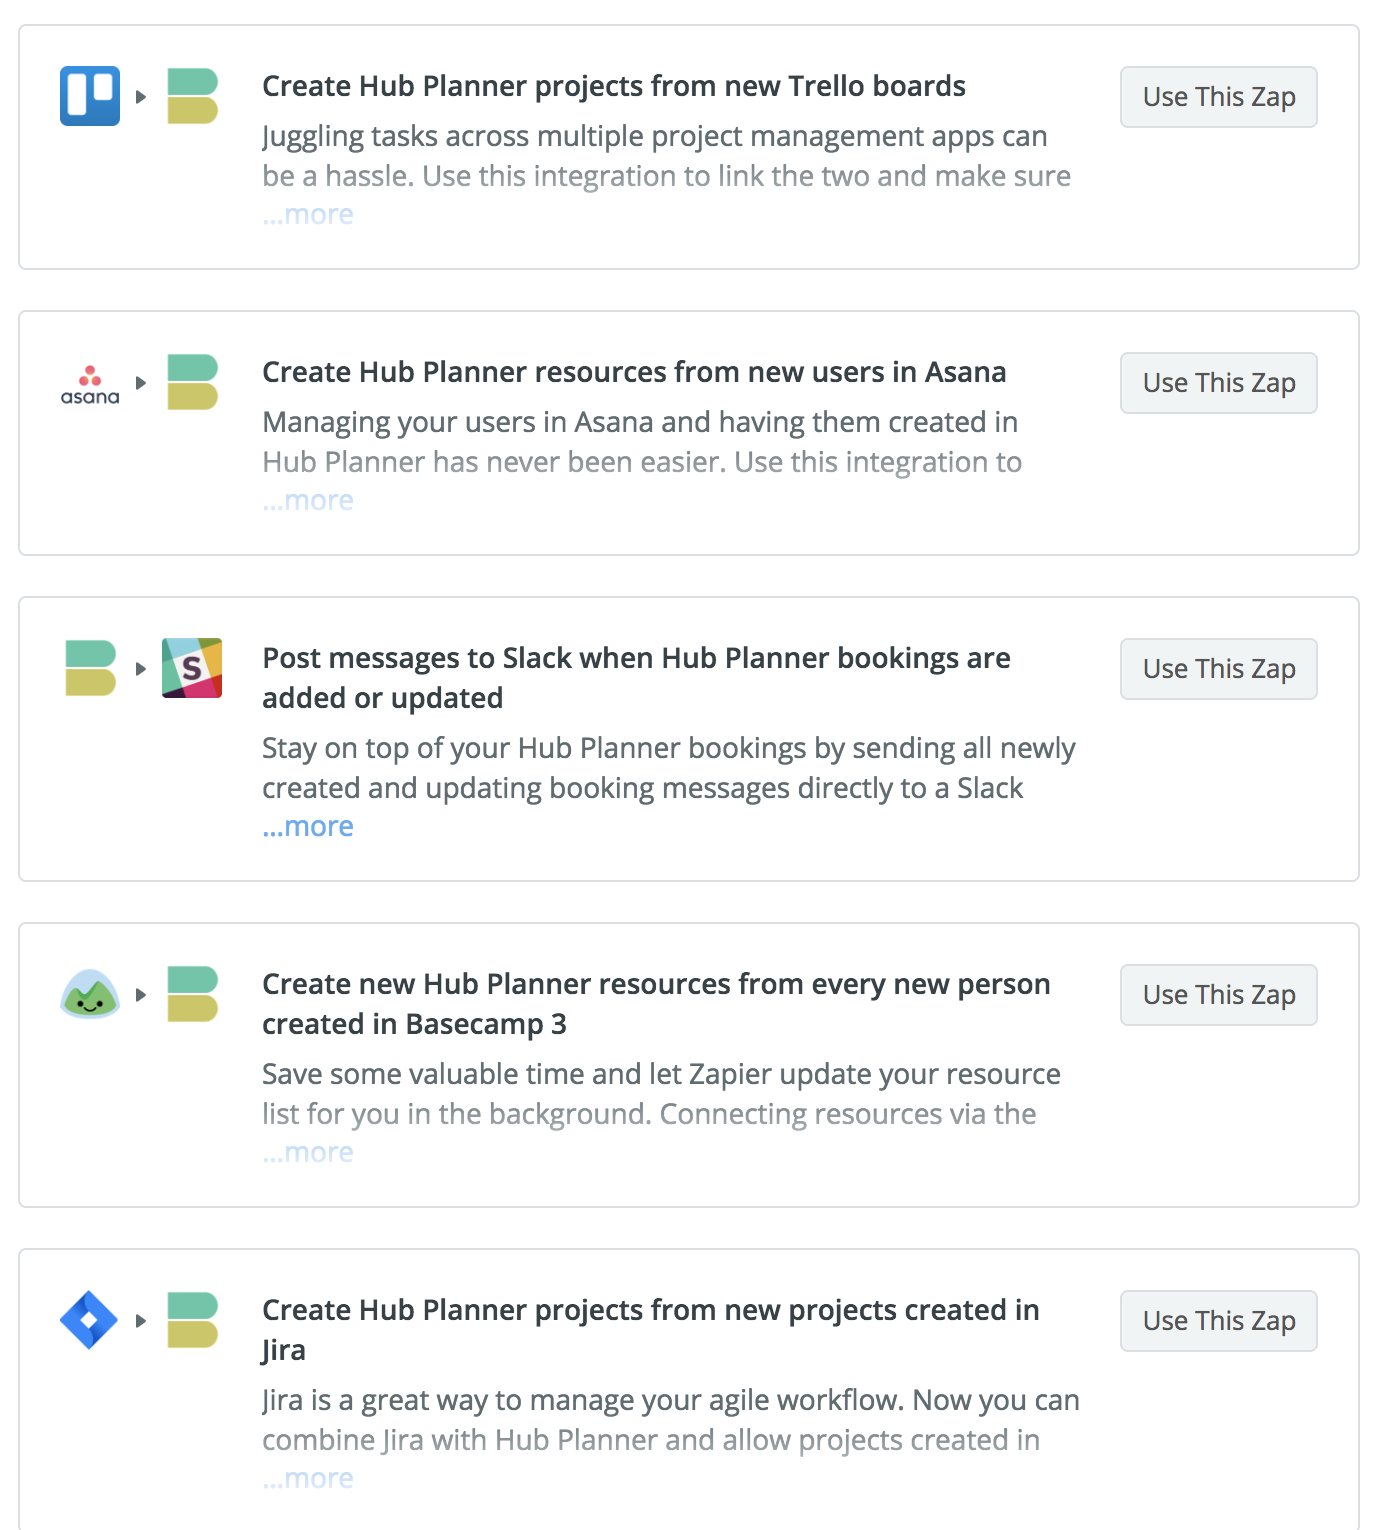
Create Hub Planner’s Zaps From Our Templates