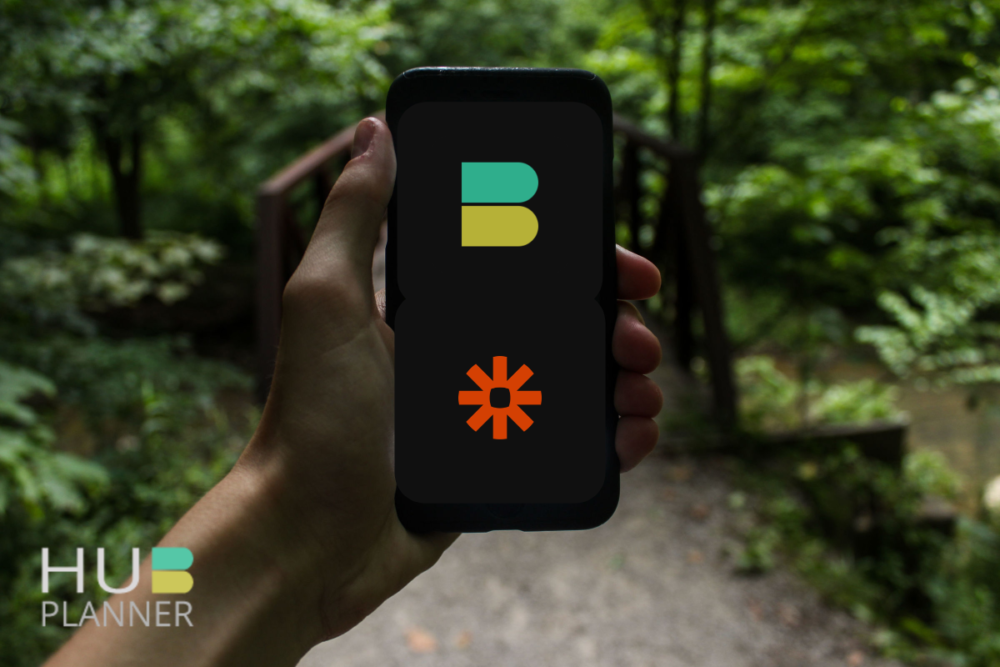
Connect Hub Planner and Combine Apps via our Zapier Integration
The more we learn about our customers, the more we see how unique every customer’s approach towards scheduling and planning is. Very often, they combine Hub Planner with their favorite apps that would leverage their workflow into one. We are not surprised at all! There is no ‘one for all’ tool that exists for every workflow scenario. With that in mind, and given the vast amount of Apps at our disposal why not combine them together via Zapier? We at Hub Planner have provided this integration platform for our users to connect their workflow tools with Hub Planner.
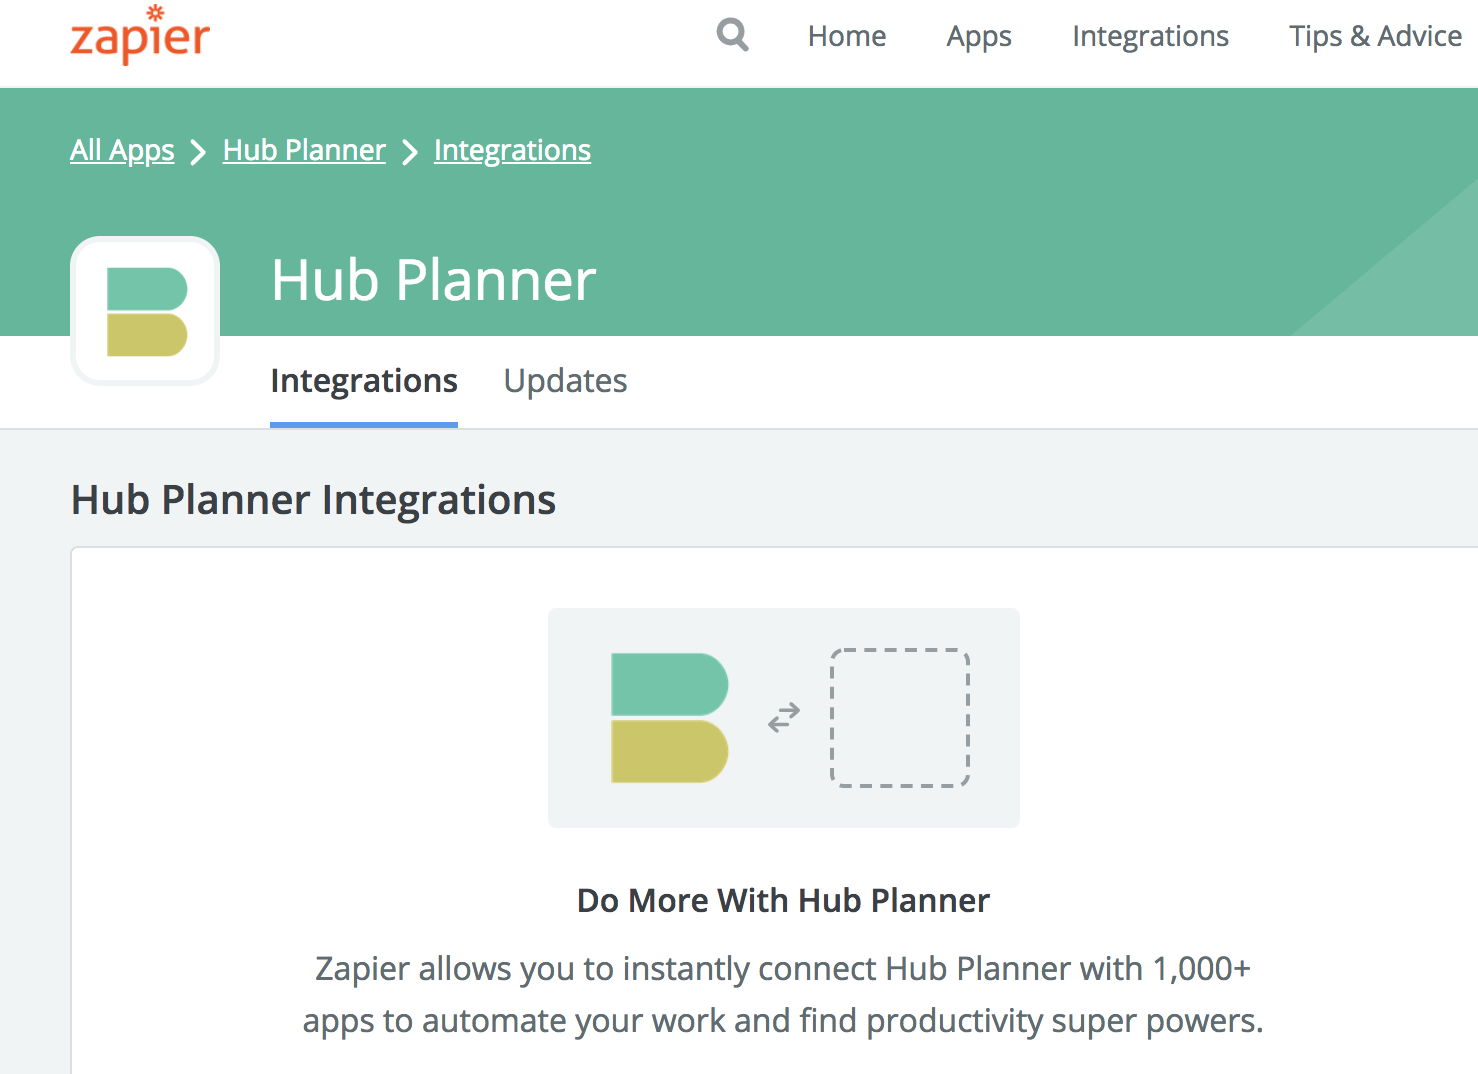
Thanks to Zapier, this usually time-consuming work, can now be done so easily. Zapier is a tool that allows you to connect different apps of your choice together and automates their workflow for you, thus saving you the work and time. If something happens in one app, it triggers an action in the other app, this process is called ‘ZAP’. What triggers the actions and what actions should exactly be taken is all based on the rules that you set up. To get started, you need to sign up for a free Zapier account here, which lets you to make up to five Zaps. Check out Hub Planner’s Zapier Integration Page here
How To Create a ‘Zap’
Zapier has a detailed documentation on how to create your ‘Zaps’ here. To give you a quick glimpse, here are the steps you need to take. Please note, that as we you will first need an invite. To get one, please contact us via our contact form.
| Create A ZAP | |
|---|---|
| 1 | Define the trigger app that you want to start the Zap |
| 2 | Choose the actual trigger, such as ‘creation of a new project’ or ‘new booking’ and save it |
| 3 | Authorize Zapier to connect to the app and save it. To authorize Zapier to allow access to your account, you will need to enter your API. |
| 4 | Edit options. They are ideal if you need to including other fields or app options into the Zap |
| 5 | Test it out |
| 6 | Then choose your action app that you want the action to be applied to |
| 7 | Define the actual action, such as ‘create new Trello board’ or ‘create new spreadsheet row’ and save it |
| 8 | Authorize Zapier access to the app, save it and set up a template (a point where you can customize your Zap) |
| 9 | Test your Zap doing the task for you |
| 10 | Finish all smoothly by naming your Zap and saving it. Don’t forget to toggle the Zap to ‘On’ mode by clicking on the On/Off button |
Don’t forget you will need an invite code from us to get up and running. To get one, please contact us via our contact form.
Zap Templates
Below is a sample of some of the ZAP templates ready to start your integration. However, please do visit HERE to see more of Hub Planner’s ZAP integration templates.
For more information on Hub Planner’s Zapier Integration, check out the feature page HERE