How to make the Ultimate Resource Report in Hub Planner?
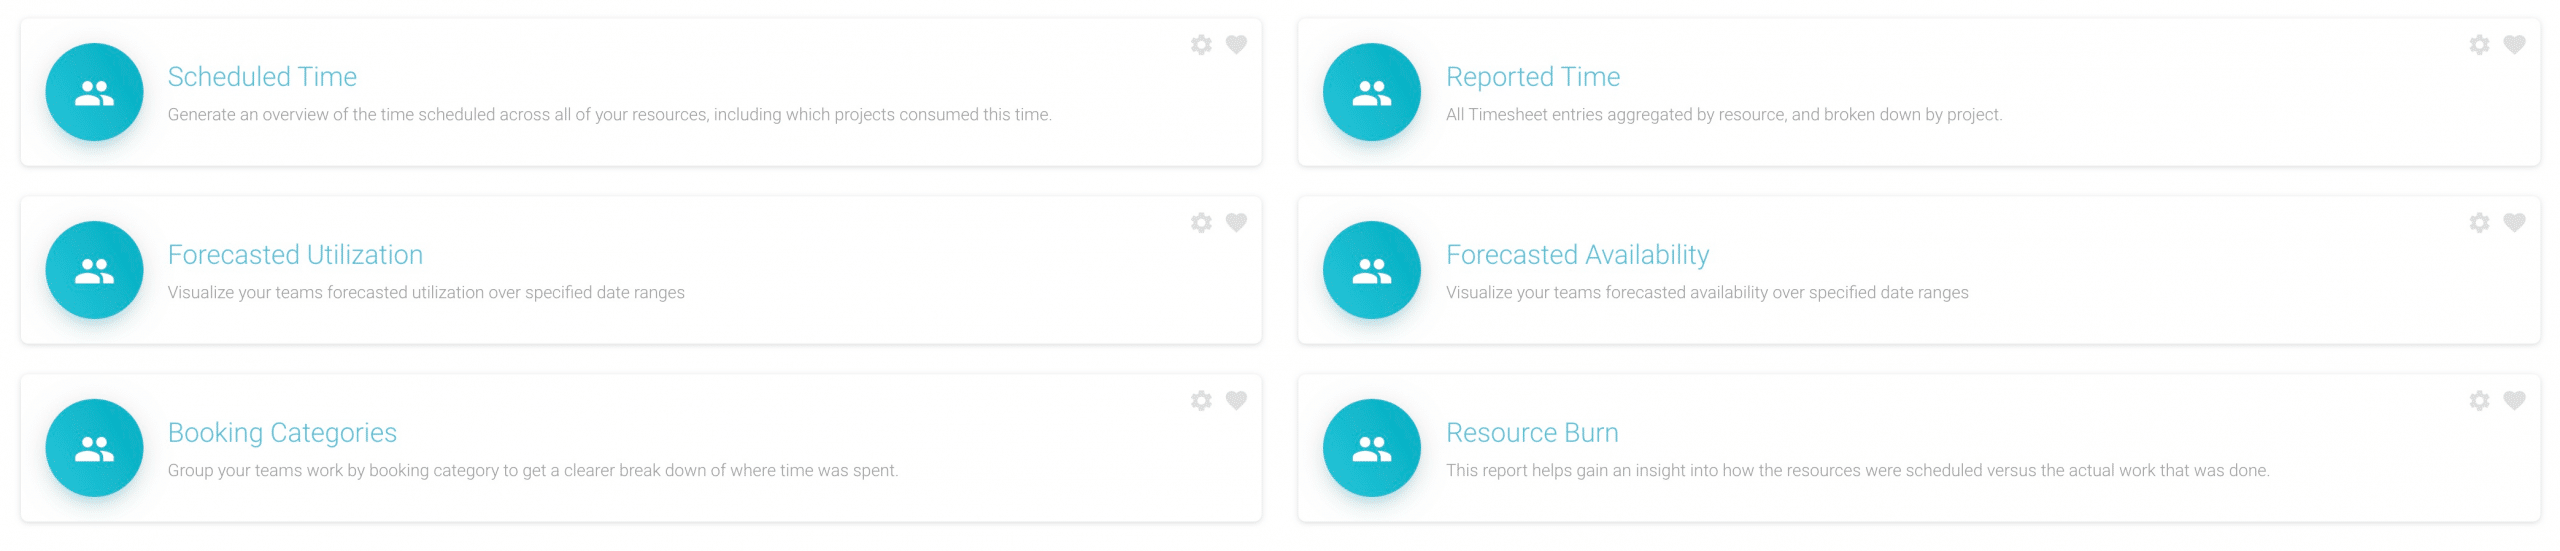
How to make and build the ultimate resource report that shows all you need to know? Hub Planner contains multiple templates that show scheduled time, reported time, booking categories, utilization etc. etc. But, we want to combine these to the one report, the one page. How do we do that?
Any Hub Planner report pre-formatted template can be edited to your own custom liking. You can then save your new customized report in either your own private reports or within Internal reports for all who have access to see. Each time you navigate into the saved report. It will automatically update in real time. The saved reports are also clever to recognise and update the date range that you selected. So say you created a monthly resource report. It will update each month with the real time information.
What do we want to see in the ultimate resource report?!
Completely up to you. But let’s show you how you can create your own customized resource report.
We can either amend a current template, or we can go from scratch and build your own. To edit a template, we are still accessing the Report Builder. So let’s show you from scratch how to create a resources report from the report builder.
Step 1 – Open the Report Builder
Open the report builder by either choosing the folder or the option on the sidebar.

Step 2 – Choose the Report Type (Resource)
Types include Project, Event, Resource or Unassigned if you have it installed. We will select ‘Resource’. Why do have to choose? This will populate what is in the next tab. The Data tab. Choosing the resource report type, will pull in the corresponding resource groups, and individual options to create the report from. Had we had chosen projects, it would pull in the project groups and projects to select from etc.

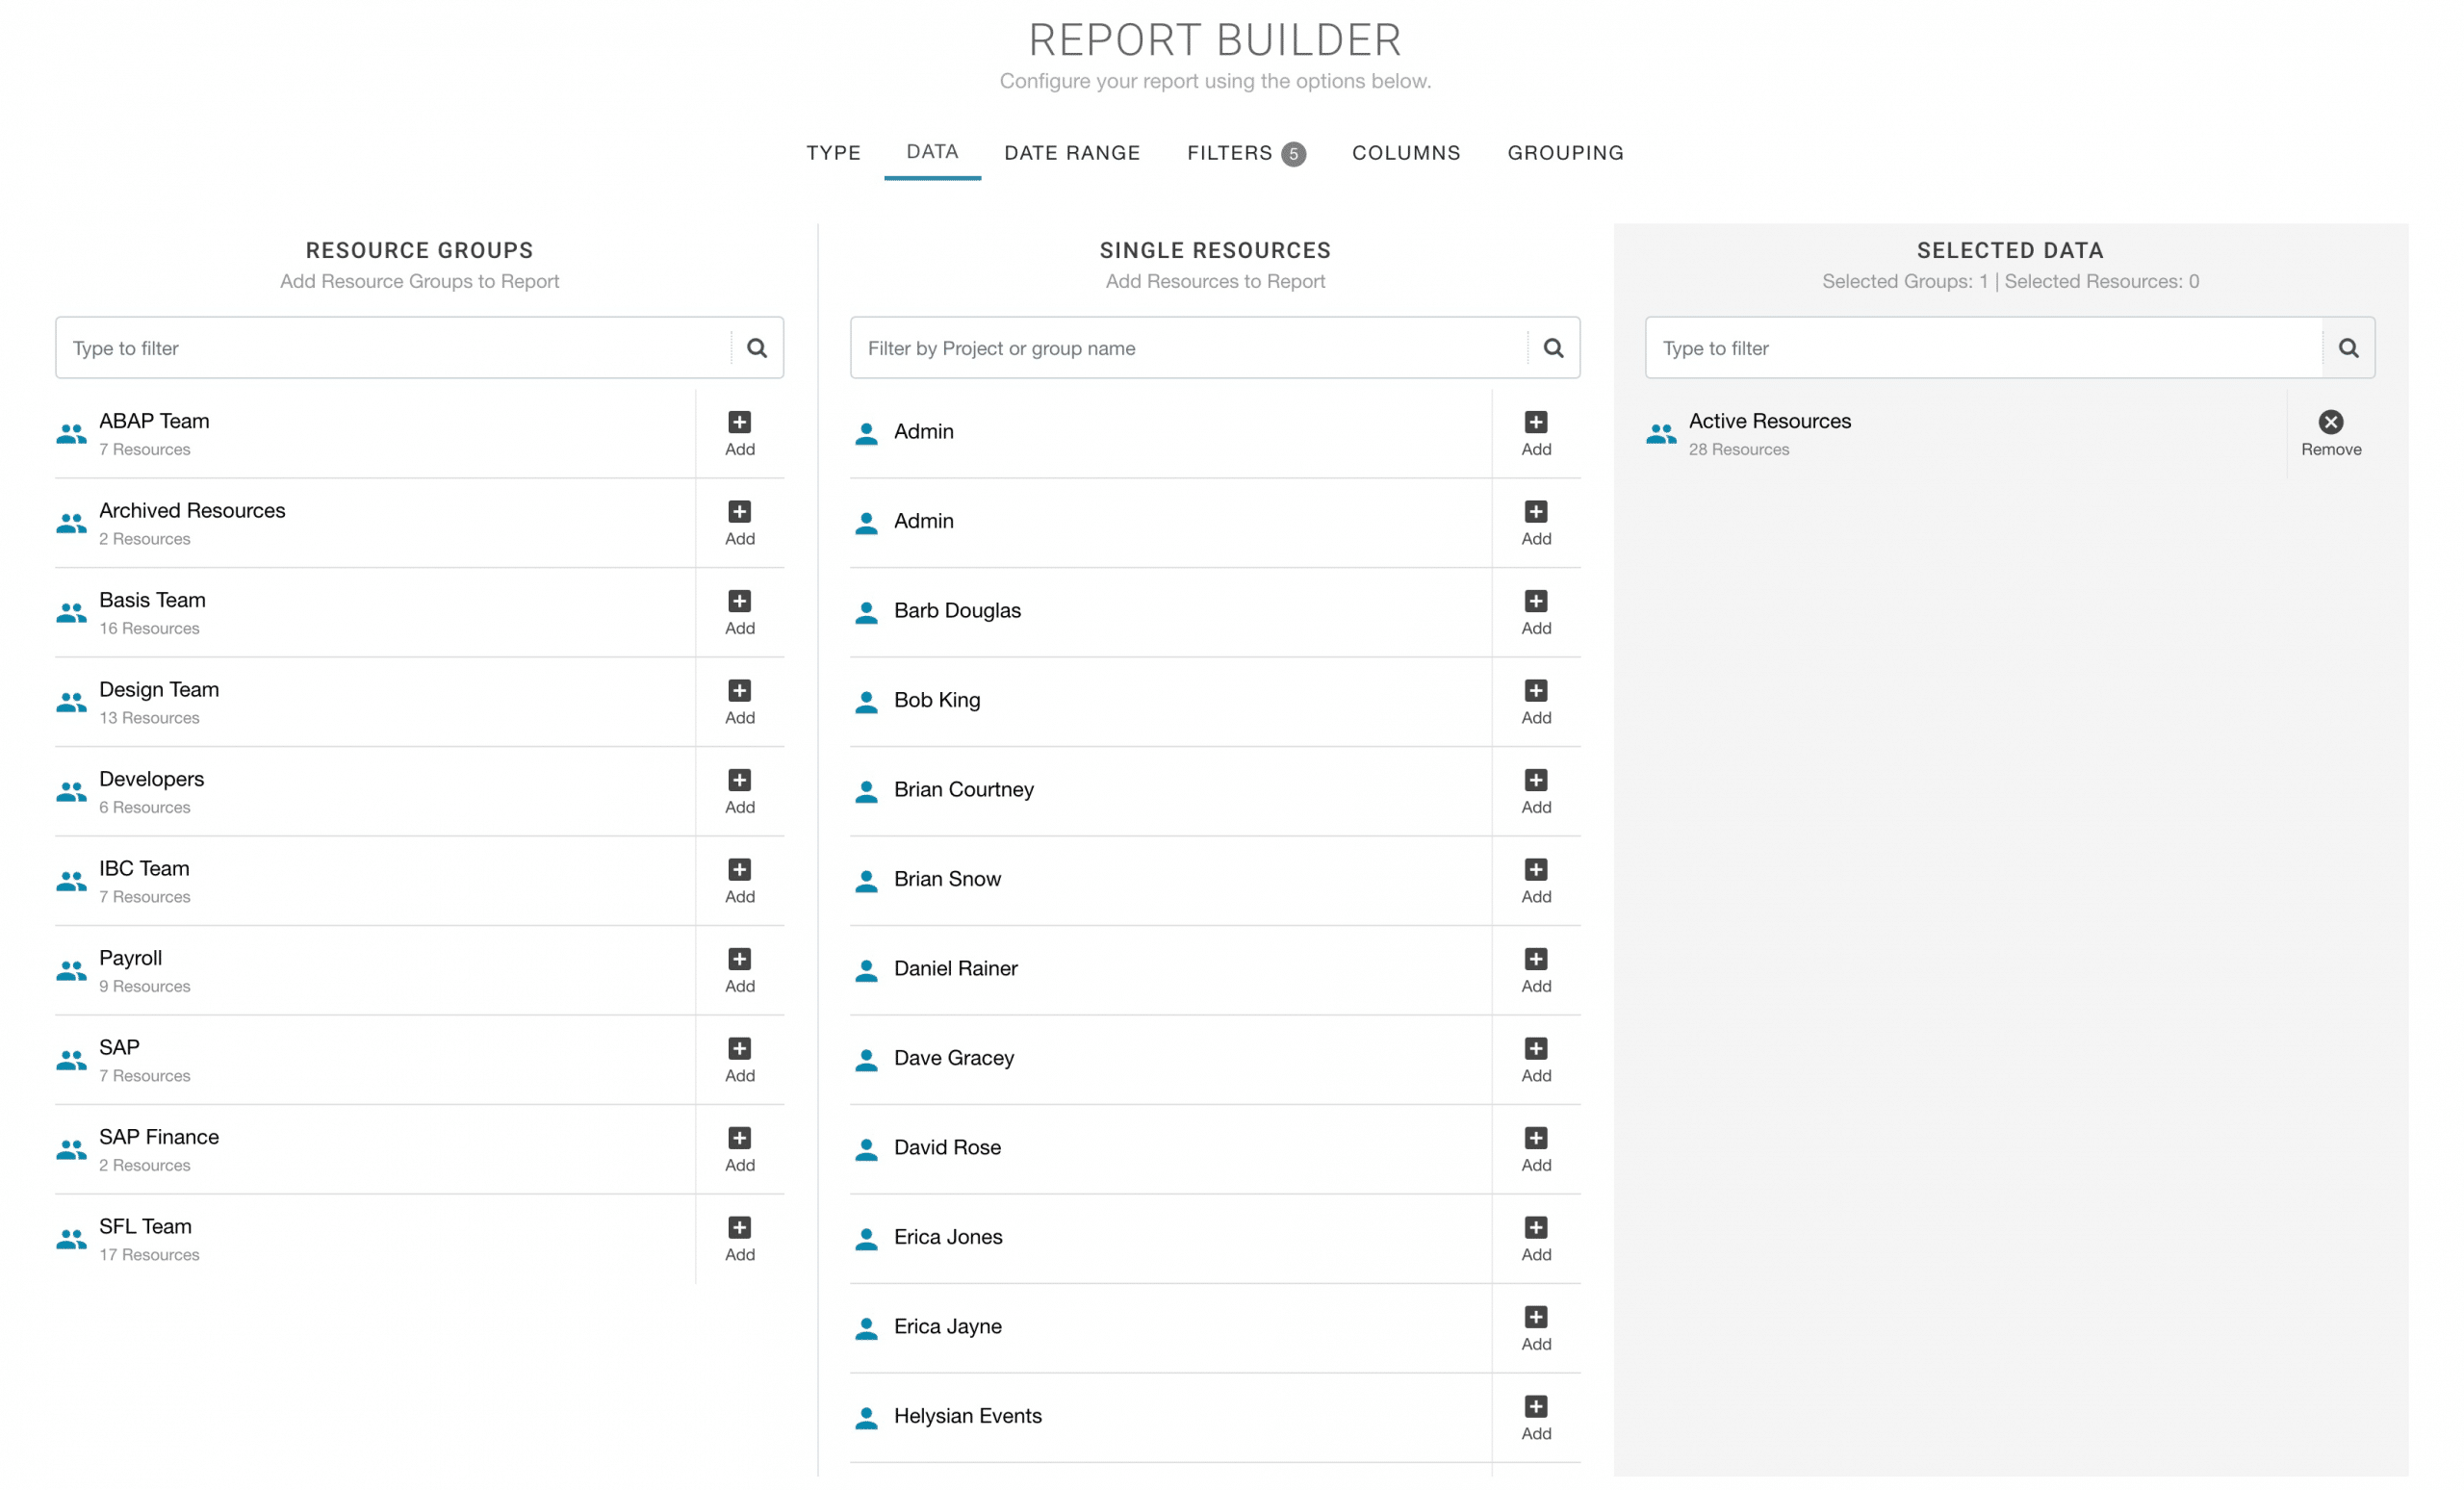
Step 3 – Data
Here is where we will choose who do we want to create the report of? Do we want all resources? Perhaps different teams, or just some single resources. You can create multiple reports as you wish. In this example, we will choose All ‘Active Resources’.
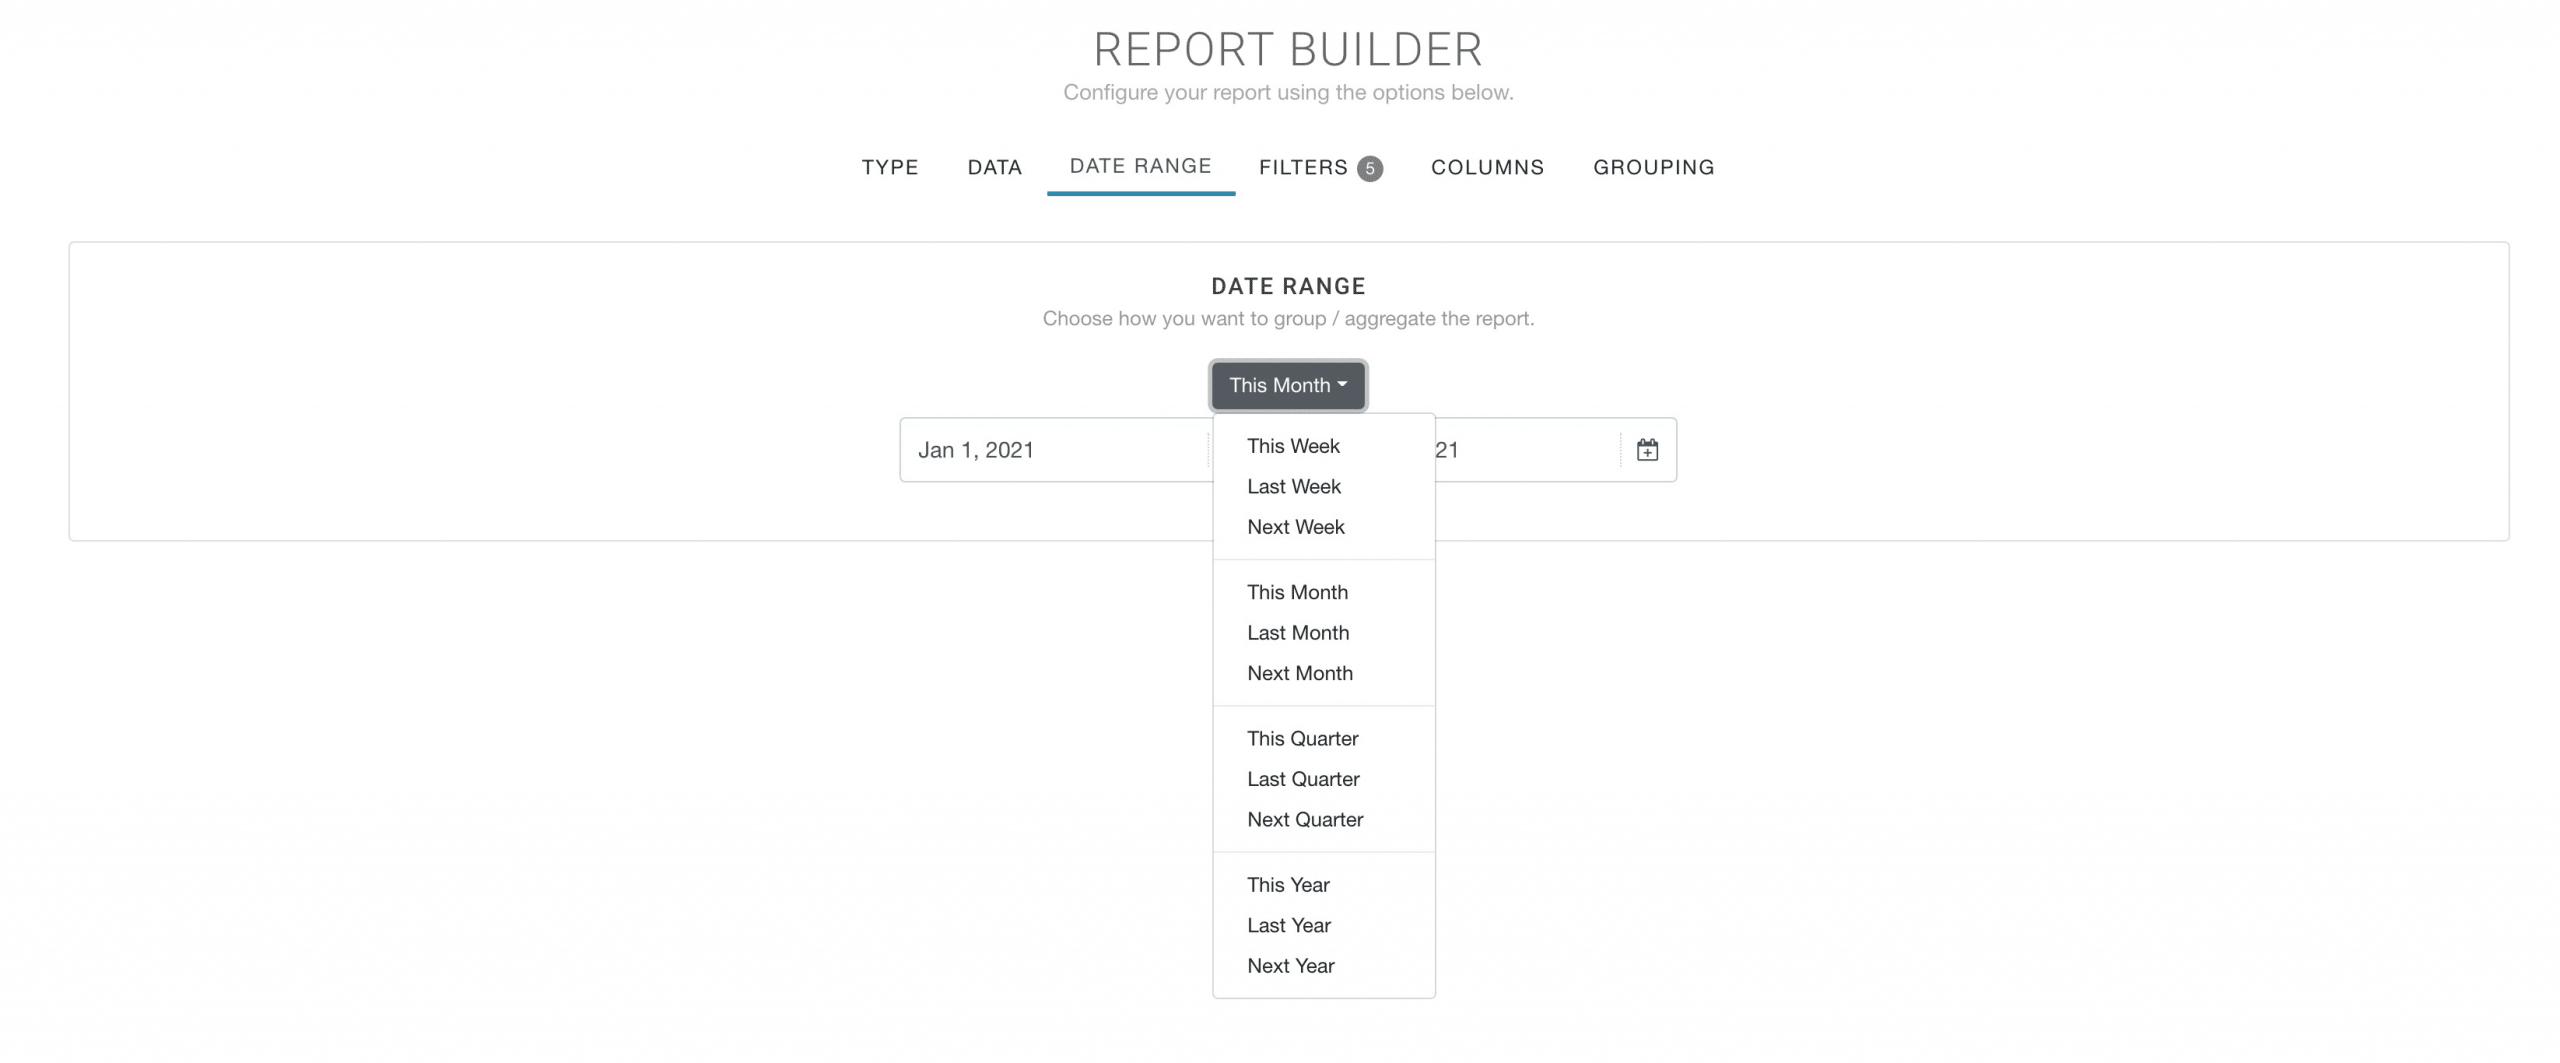
Step 4 – Date Range
There are a number of pre-formatted date options to choose from in the drop down list. Alternatively, you can choose the date range from the date picker. Note, that if you save the report, it will automatically save the date range type. So if it’s This Month, This Week. Or you choose a 6 week date range in the date picker. The next time you are in the report, it will automatically update to the original date range. You can always update the saved report if you wish to change the date range.
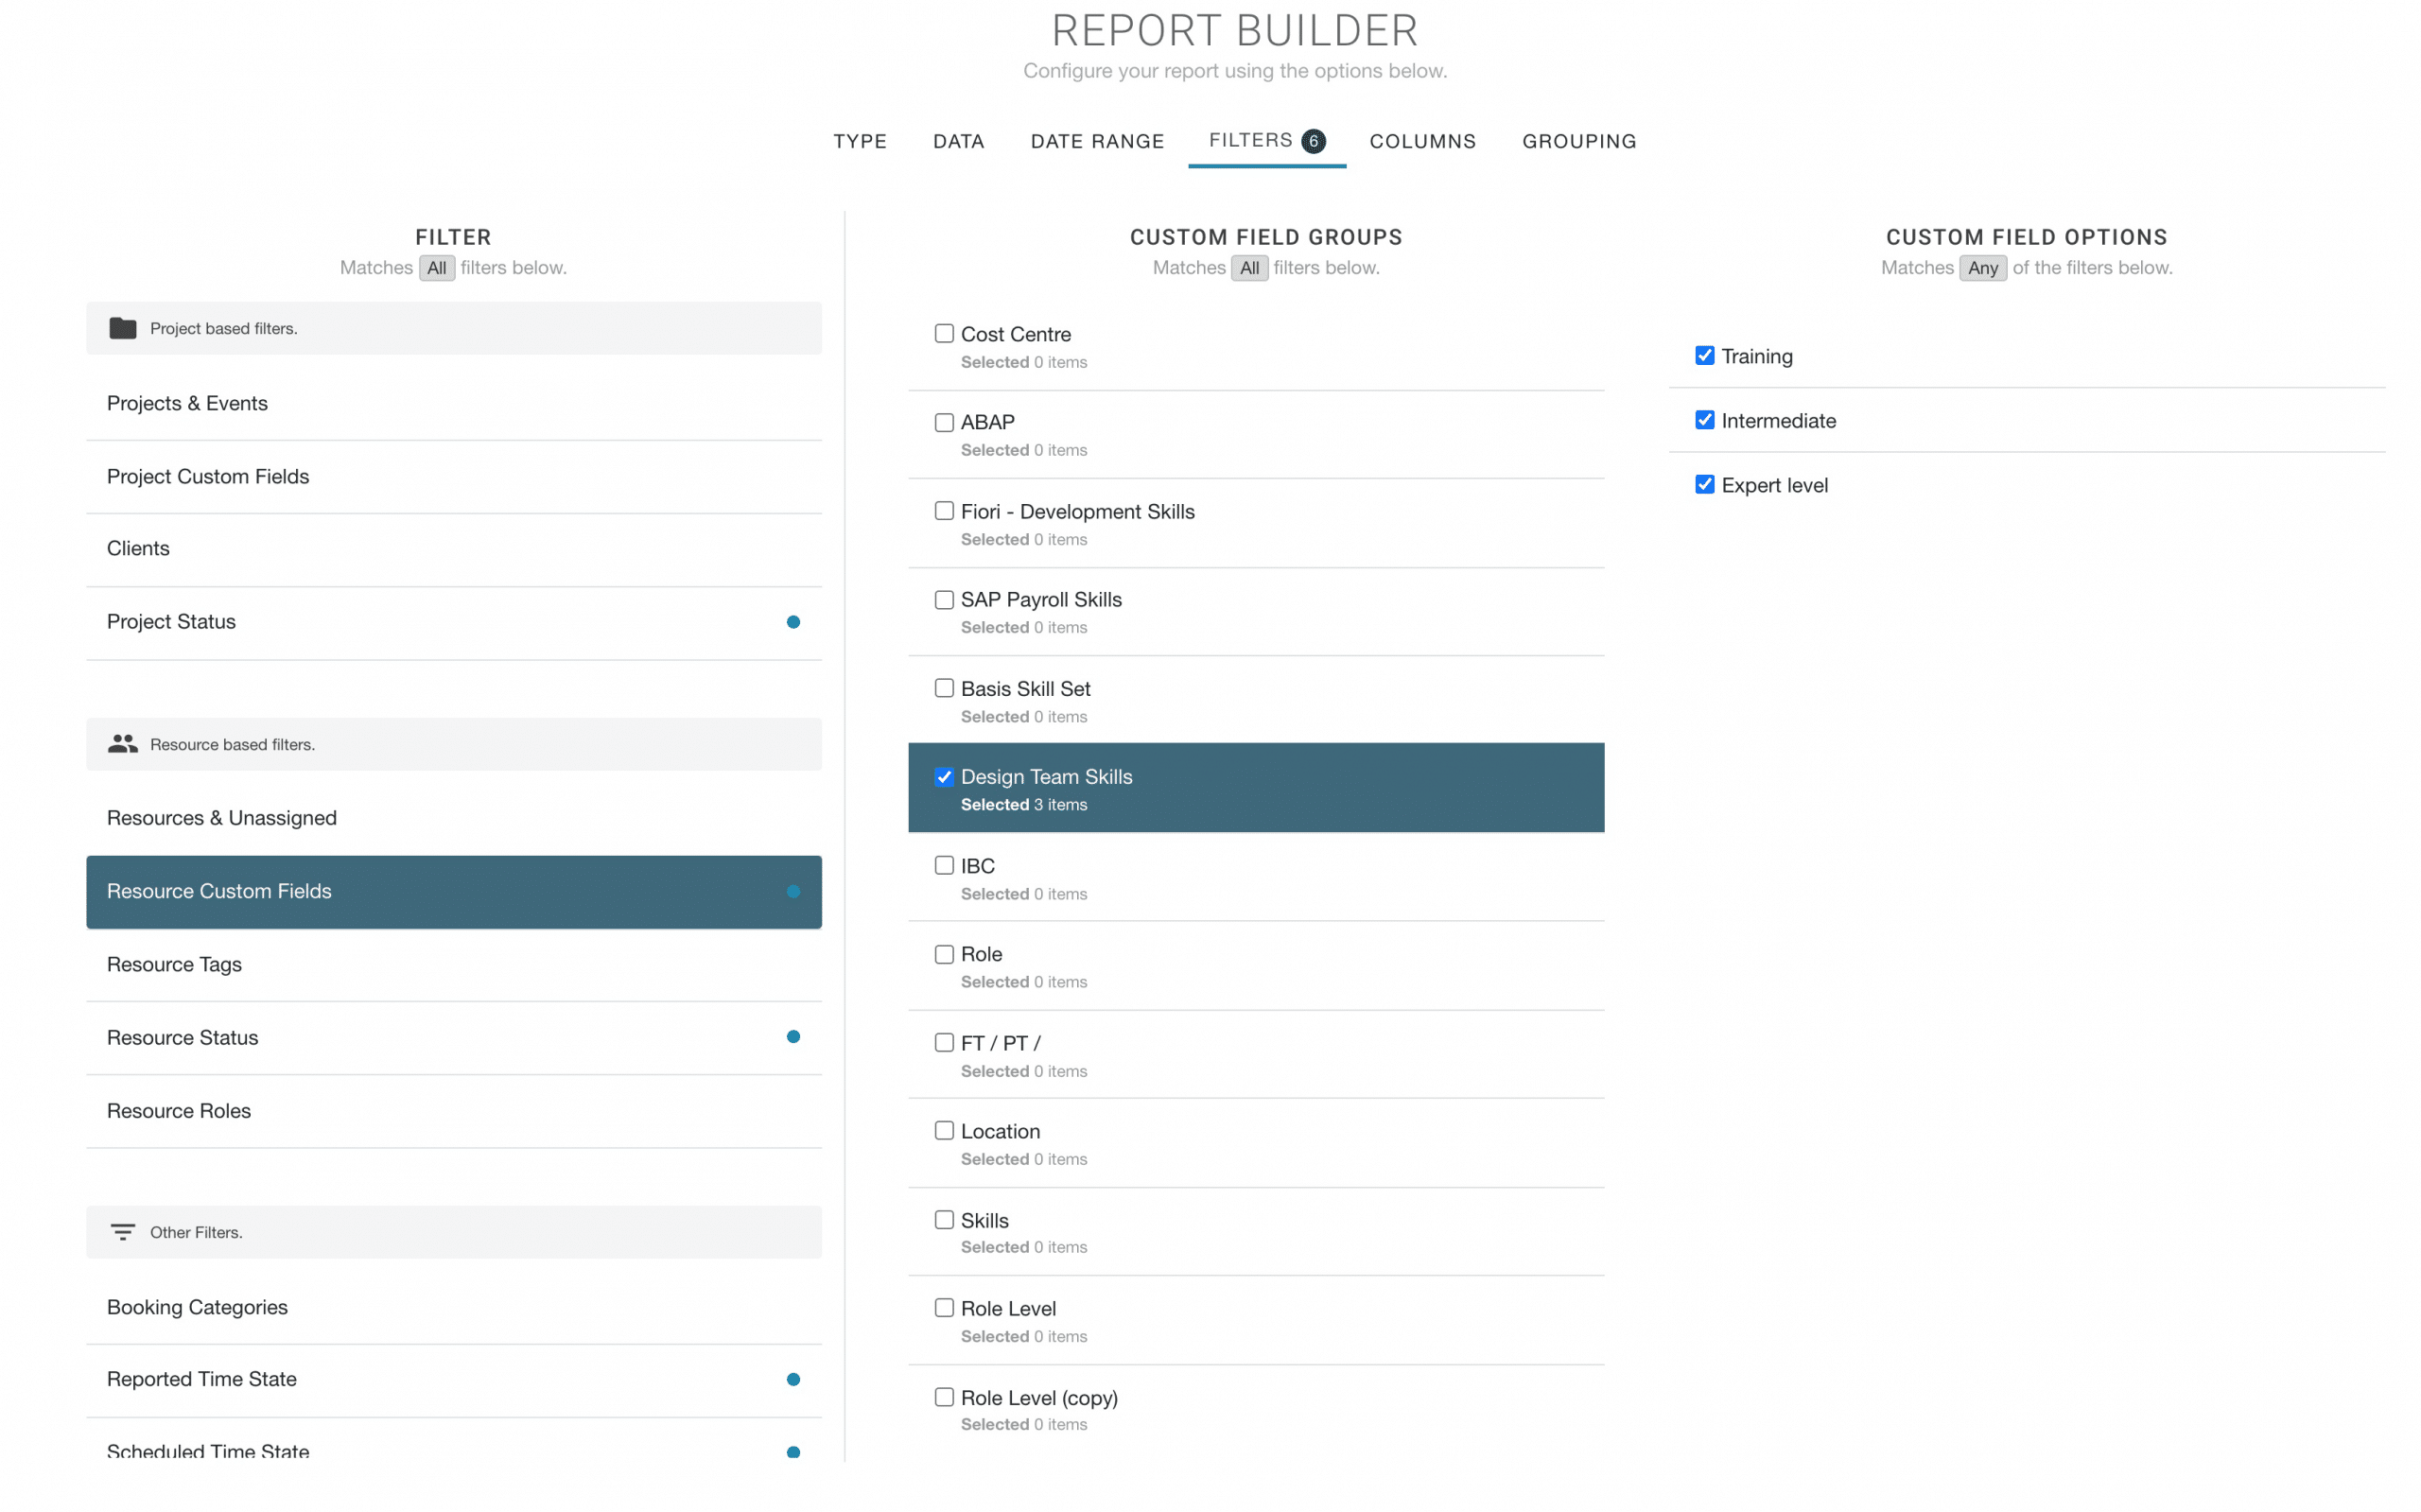
Step 5 – Filters
In this example, we’re not going to change any of the filters right now. You can opt to apply some filters to the report. For example, you might use the Custom Fields to search through specific criteria you have set. You could filter by booking category etc. There are also some pre-arranged filters that are present by default.
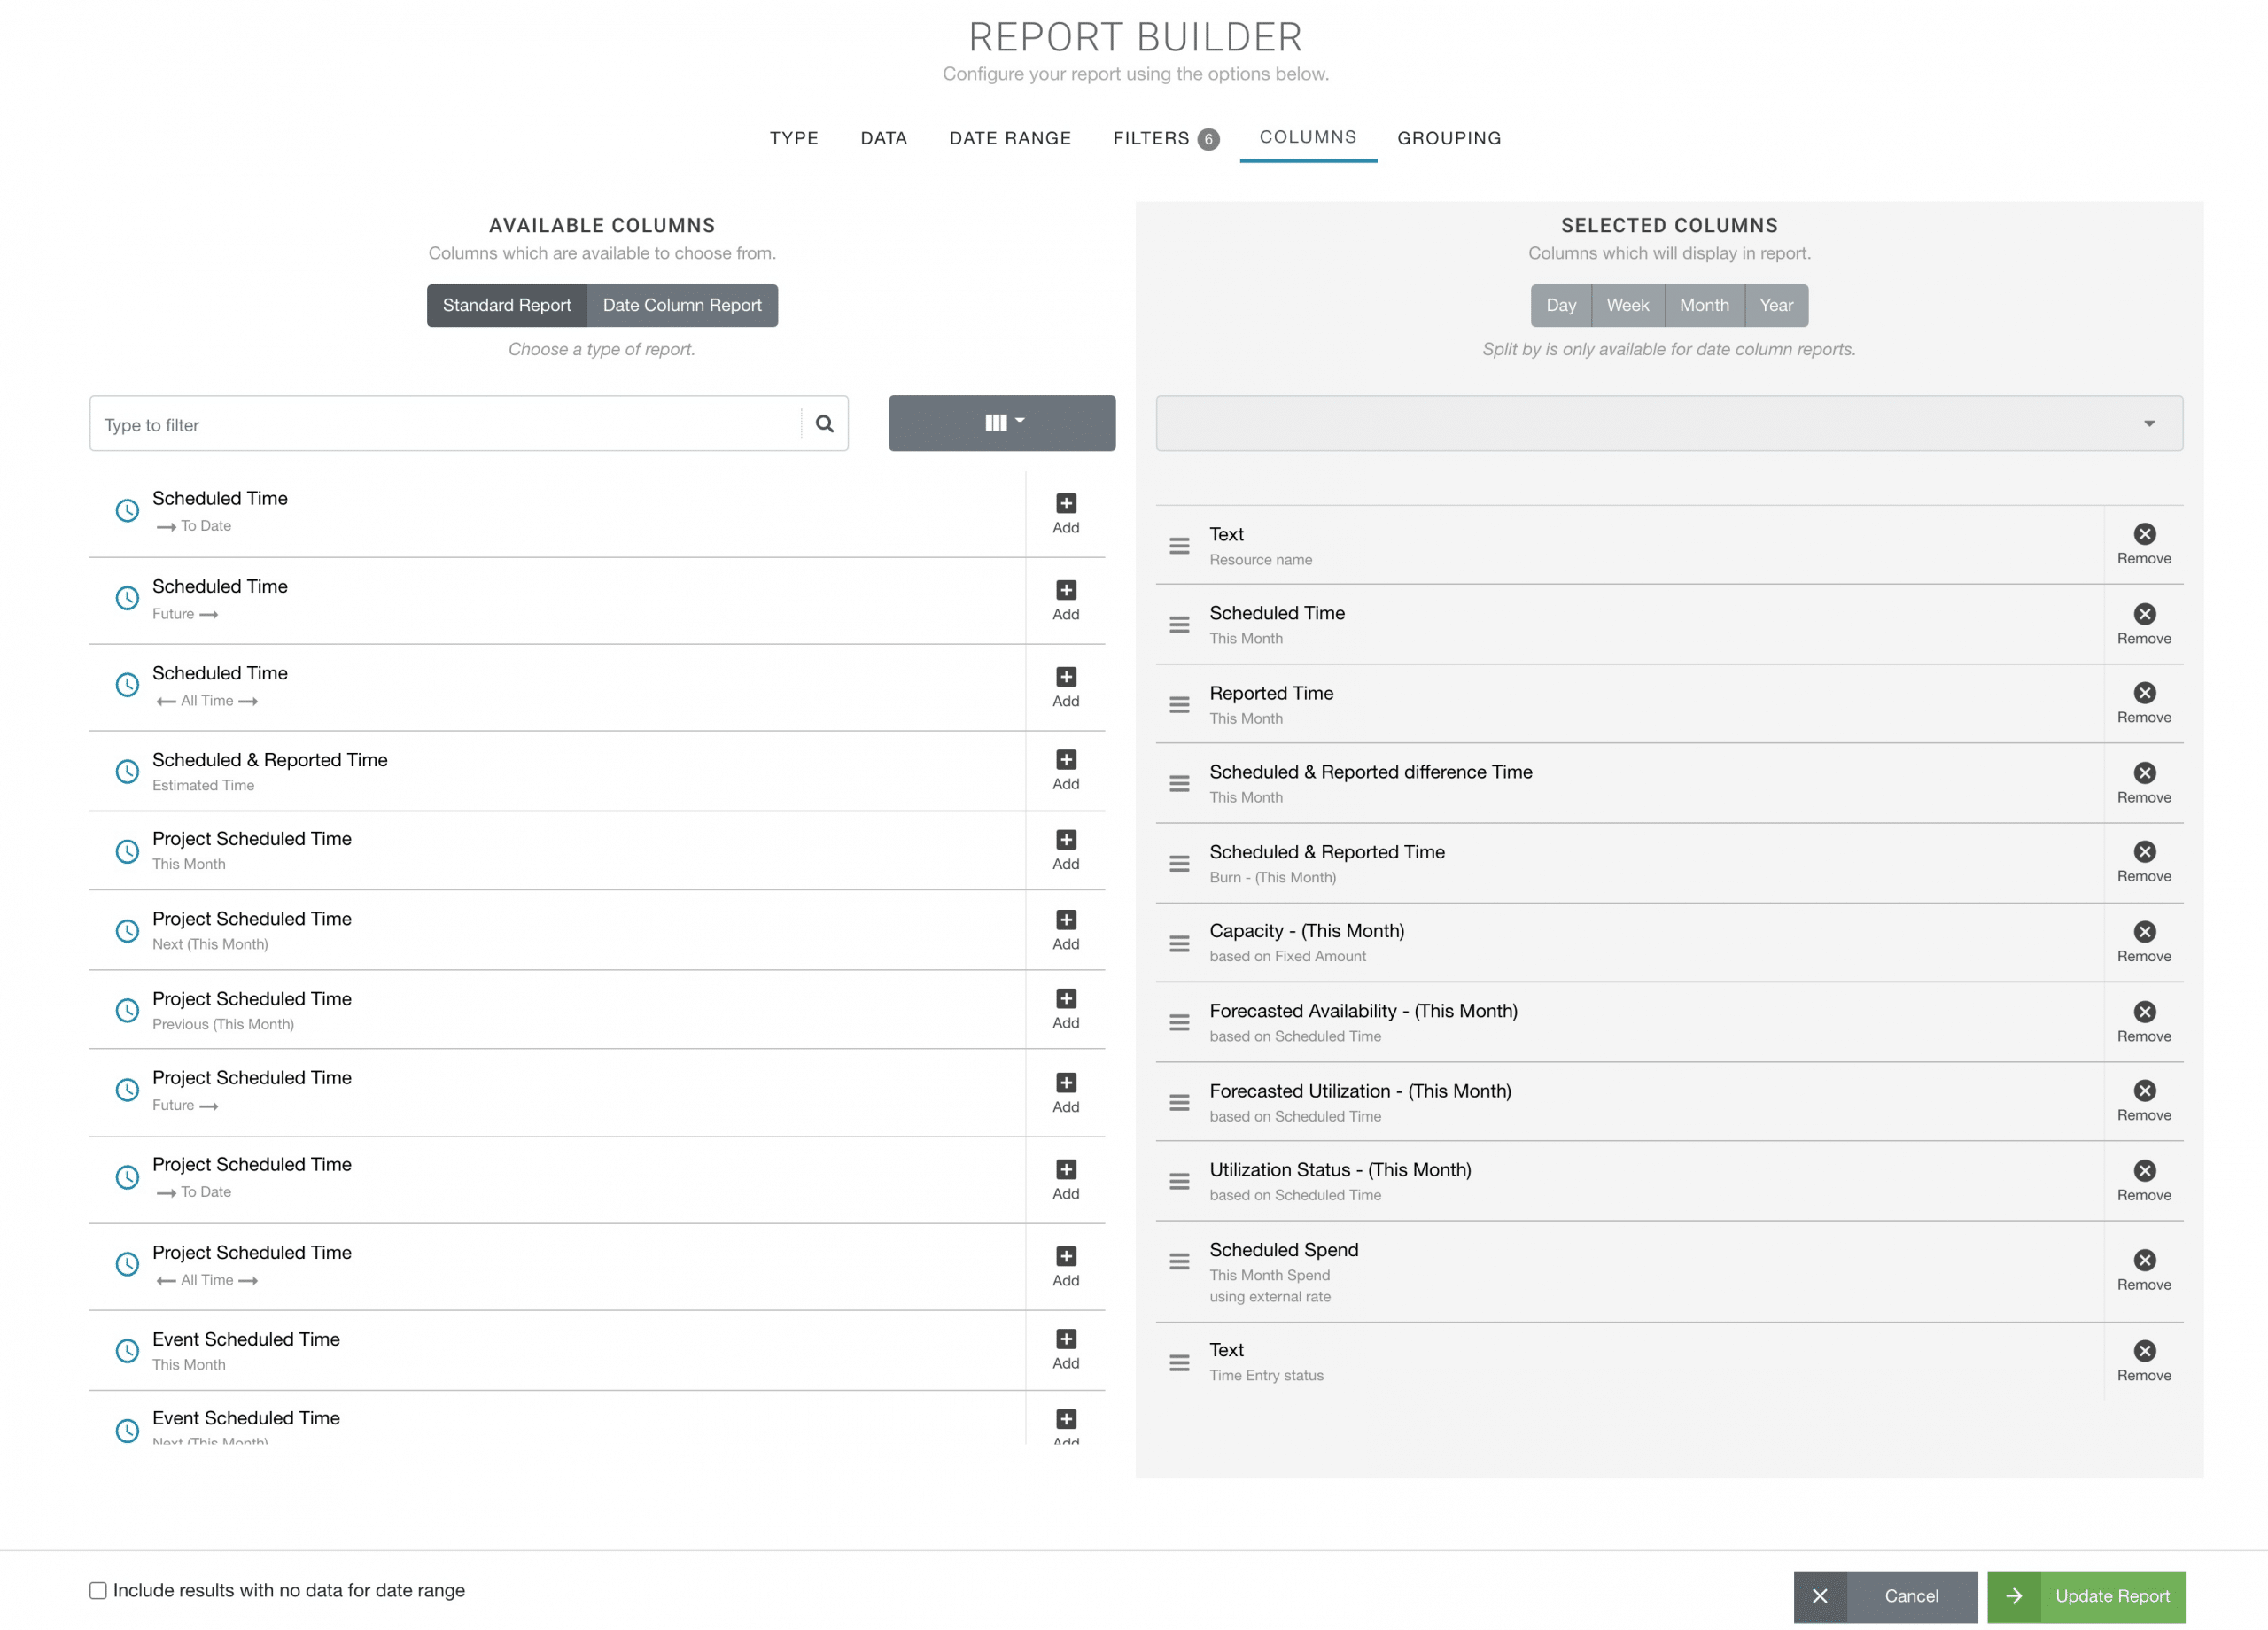
Step 5 – Columns
Columns is where you will pick and choose what data you want to see. What is going to show on the report. Here is where you will choose options from the available column. Once picked it will automatically populate in the Selected Column. These are the some of options you can choose to include in your report.
- Resource Name
- Scheduled Time
- Reported Time
- Resource Burn Rate %
- Scheduled v Reported Time Difference
- Resource Capacity
- Resource Availability
- Forecasted Utilization Rate %
- Resource Utilization Status
- Resource Spend
- Time Entry Status
We can opt to create a Date Column Report which is like a heat map style of report. You would choose one of the columns to breakdown the data as per the frequency you choose (Day, Week, Month etc). You can find more information on that ->
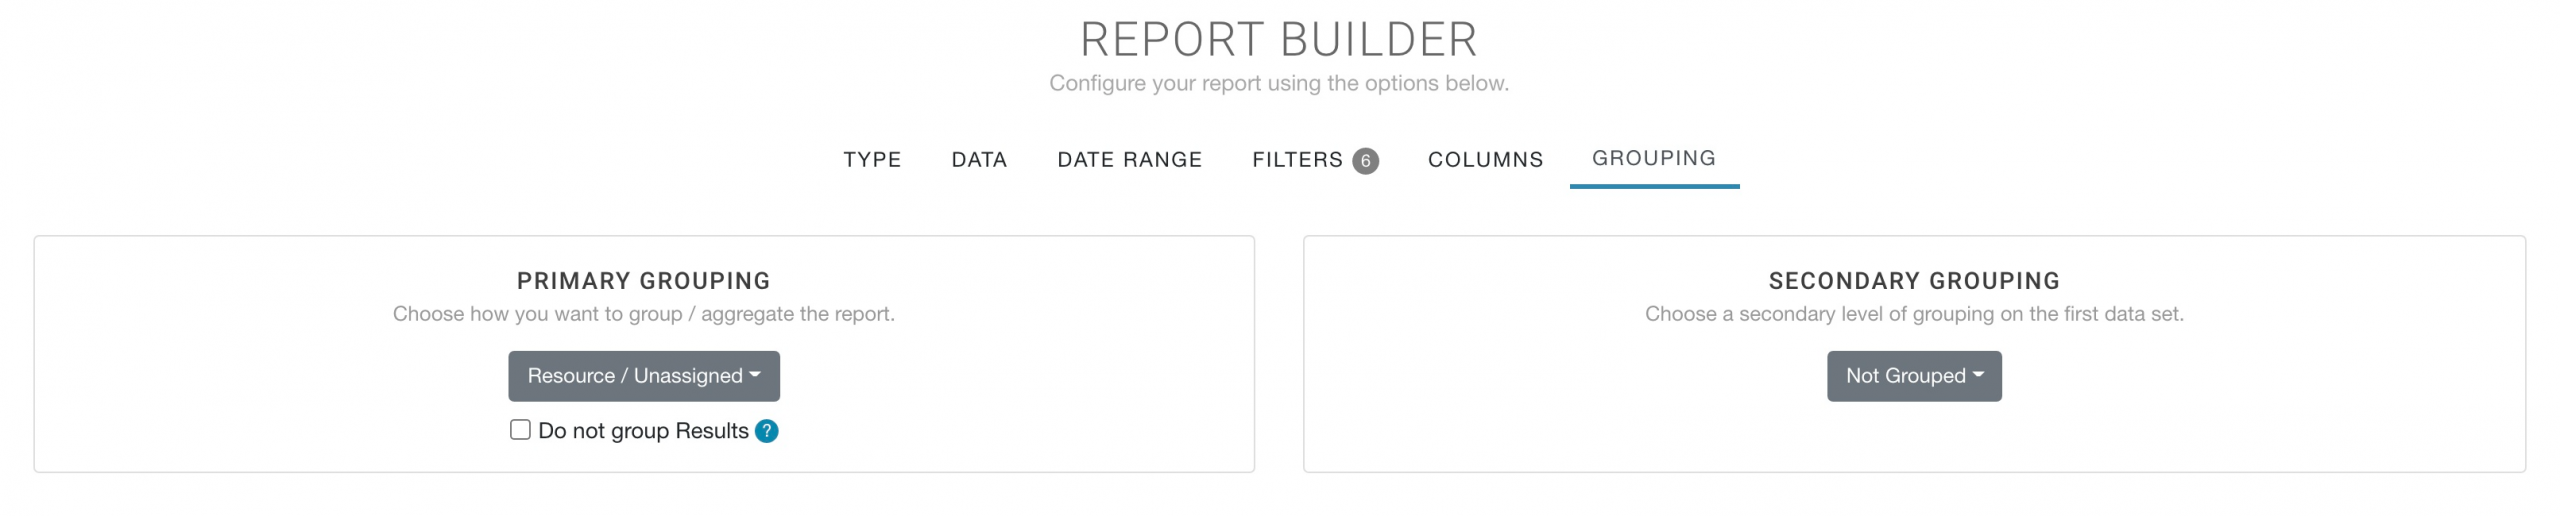
Step 6 – Grouping Resource Report
For now, we won’t change the grouping. What this means is how the data will be displayed or grouped by. Automatically a resource report will default to the primary grouping of by Resource/Unassigned. You can choose to add a secondary grouping. For example, by Project/Event. In turn, this will break down the data further and show
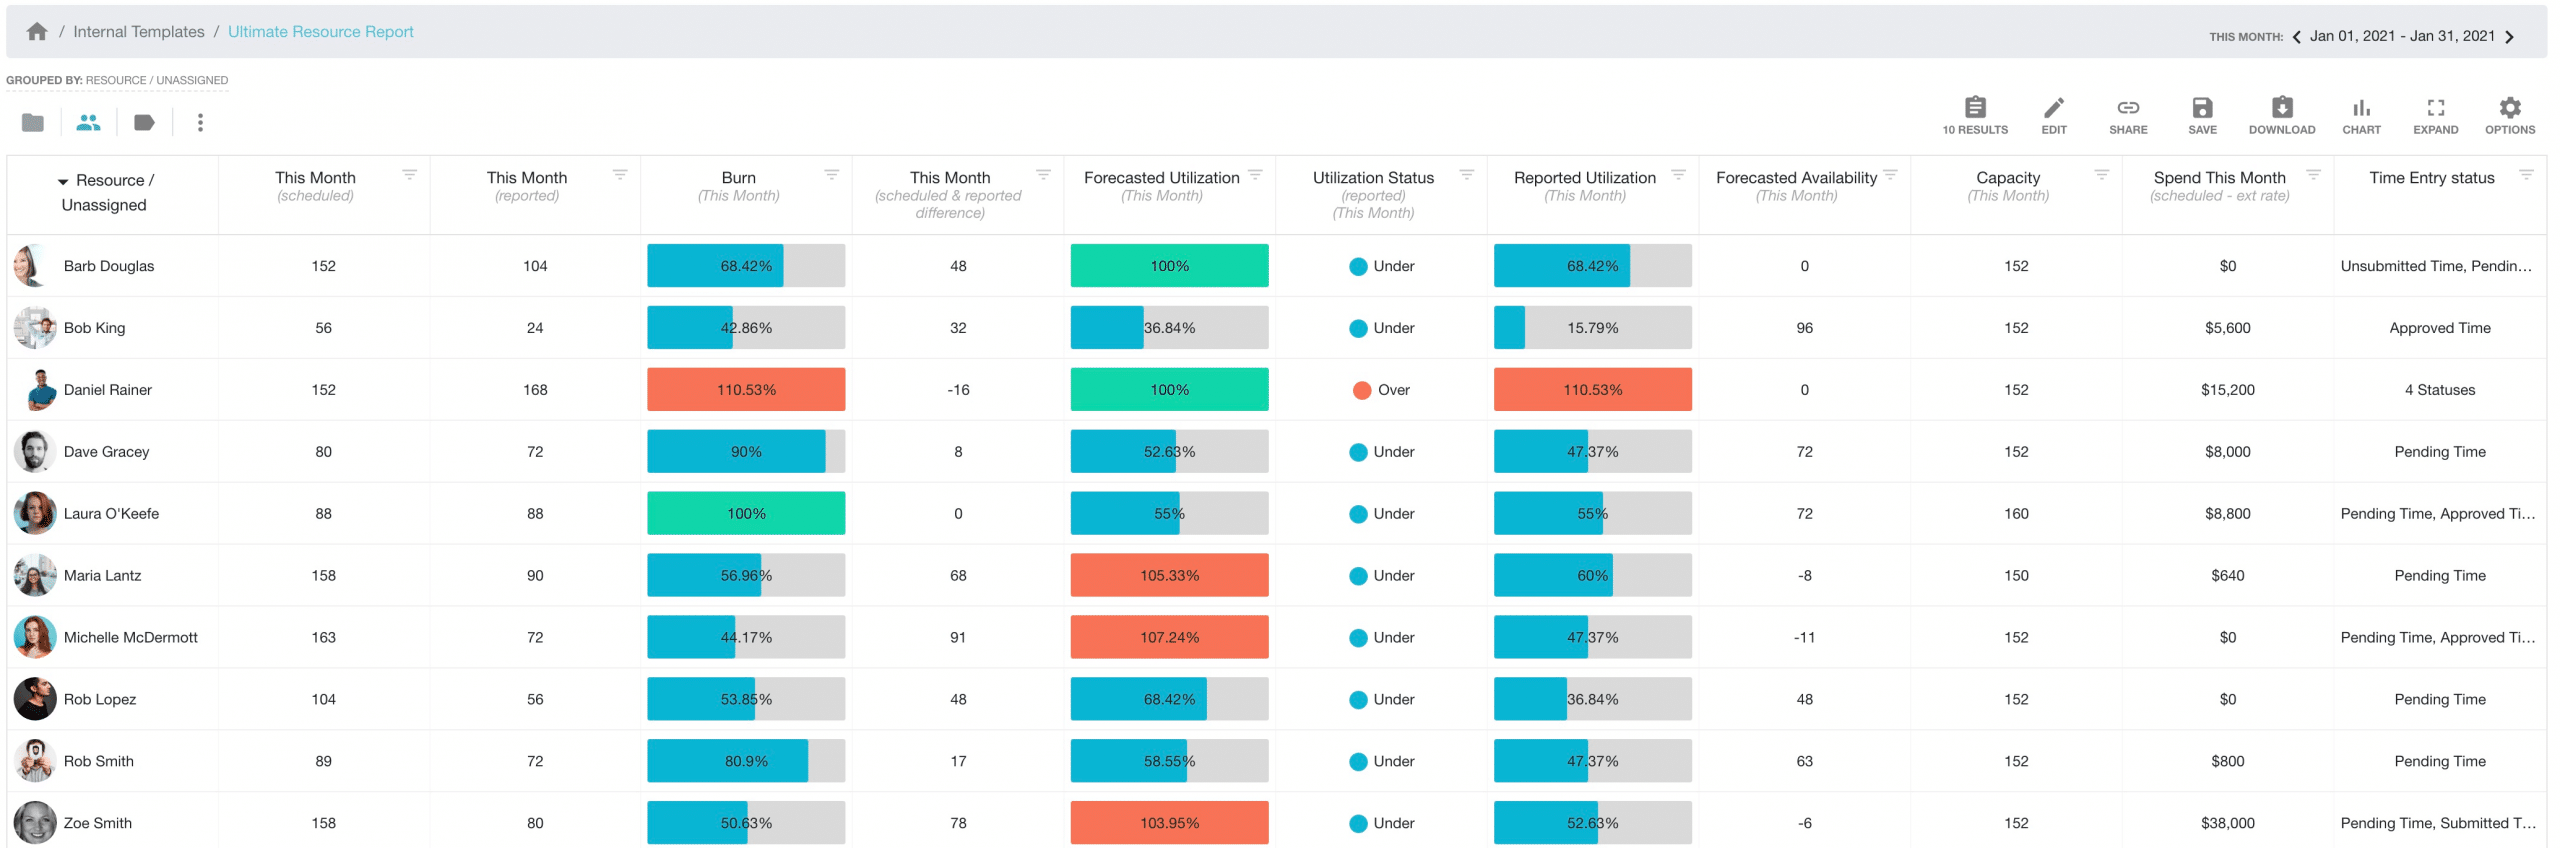
Step 7 – Build the Ultimate Resource Report
Here’s what you will see. You’re finished product. Now, you can opt to play around with the layout of the columns, you can add some more, take away some if required. Add or remove some data, which makes the best resource report for you. There’s one last step, and that is to save the report.
Step 8 – Save Resource Report
You’ve gone to all the effort, so you may as well save it for the next time you want to view the data. A couple of options are available to you. Save to either Internal Reports or to My Saved Reports. Saving to internal reports will allow colleagues to view the resource report too. Whereas, saving to My Saved Reports will just allow you have access to the report.
You can also send the link to colleagues who have access to reports. Alternatively, you can opt to export or download the report either by PDF or XLS format.
Each time you navigate back into the report, the data will update in real time. Not only that. The saved data range will auto default to what you created. So, for example if you had a date range of the month of January. When you open the report in February, it will update with February’s figures.
Further help?
How to make the ultimate project report? Well, you can do just that. Follow the same steps as above. All you need to do is choose a project report and add in the Project columns you want.
Here are some more helpful articles and reference guides to assist you in your reporting.